At 24km one way with minimal elevation on good riding trails, it’s an easy day trail for anyone new to cycling.
This post will give you all the details you need to know about this ride.
TABLE OF CONTENTS
DETAILS ABOUT THE WAIHI TO PAEROA CYCLE TRAIL
Rating?1![]()
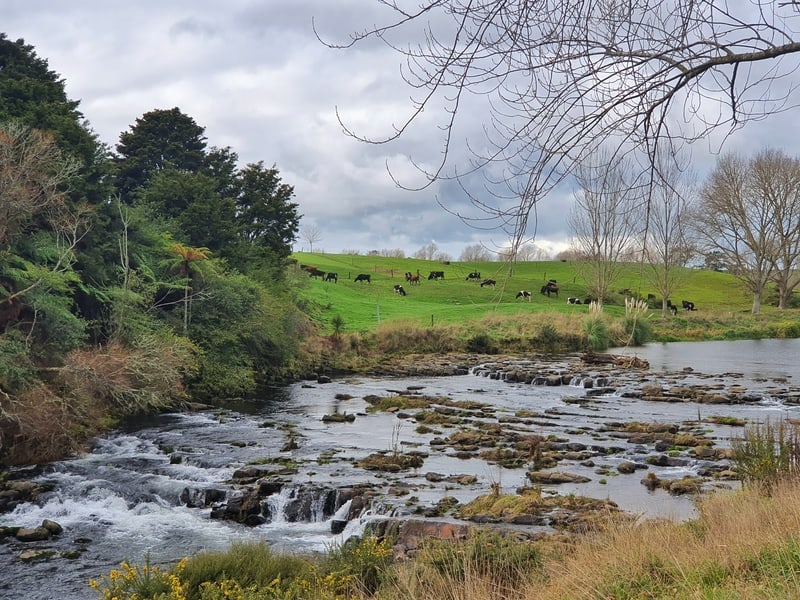
I’m giving this 4.5-stars as it’s pretty epic. Paeroa and Waihi have some attractions in their own right but on the cycle trail itself there are a variety of things to do, and you could easily spend a day making your way along the trail. I’ll detail those further below.
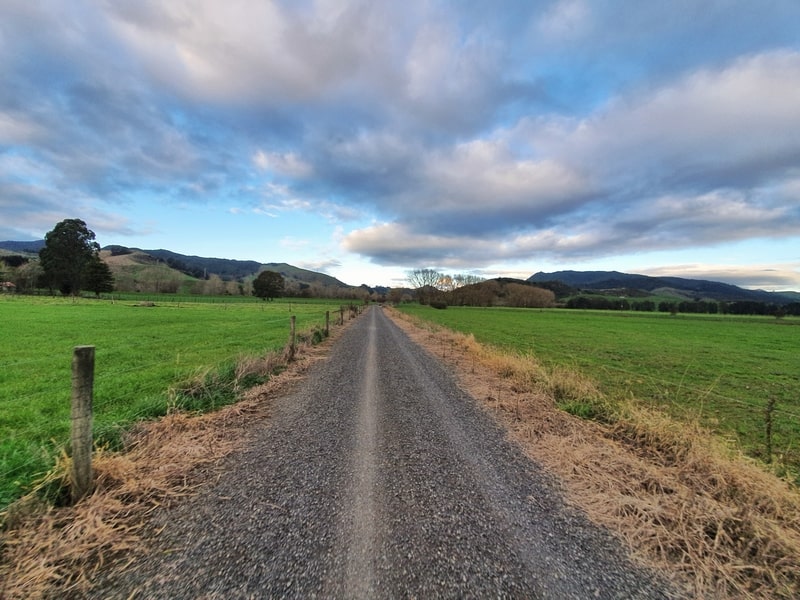
The trail itself avoids roads almost the whole way which is nice. While you share the path with walkers on a few of the Karangahake Gorge walks, the trail is always wide enough.
When2: June 2020
Ride Distance3: 24km one way. This is what the official site says, and correlates to what my Strava details have.
Difficulty4: Easy
Incline5: I’d estimate the elevation at a little under 100 metres.
Ride Duration6: I was staying in Karangahake Gorge so actually rode to Waihi, Waihi to Paeroa and then Paeroa back to Karangahake Gorge. The section from Waihi to Paeroa took about 1 hour and 17 minutes. This was going at a steady pace with no breaks for photos, or tourist attreactions. I have no idea on how that speed translates to an average (new to cycle touring).
PAEROA TO WAIHI MAP
Above is the trail as per Google Maps. I’ve added attractions, cafes, and toilets to it. If you click on the top-right icon the map opens in a new window.
It’s also on Maps.me which some of you might use.
And of course, you can see the map on the NZCycleTrail.com website.
WAIHI TO PAEROA BIKE RENTAL OPTIONS
If you haven’t got your own bike, you’ll need to arrange a bike rental. As I wrote this, I realised this is the best resource for the latest bike rentals, and shuttle arrangements if needed: NZCycleTrail.com.
For me, I was lucky enough to be staying at Riverside Accommodation in Karangahake and they had bikes that guests can use for free. They aren’t the flash, but it got me through the trail no problems.
MY WAIHI TO PAEROA CYCLE TRAIL EXPERIENCE
I’ll talk about the ride from the Waihi to Paeroa direction as that’s the route I cycled right through. I had visited all the attractions previously so I didn’t stop off at them but I’ll be sure to mention them as required in this post.
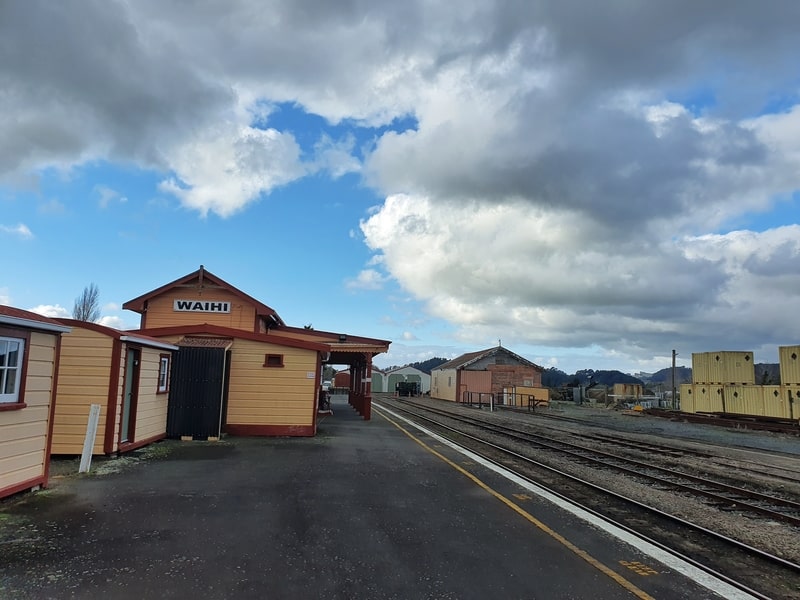
The starting point for the Waihi end of the Hauraki Rail Trail is right by the historic railway station (they have train rides between Waihi and Waikino – timetable). You ride next to the tracks for the first couple of hundred metres before you switch onto the quiet Lawrence Road which leads onto the gravel track. Once you leave Lawrence Road you won’t be riding on any roads until Paeroa.
The whole trail is rated as grade 1 meaning it’s the easiest level of riding. The bonus? In the Waihi to Paeroa direction, it’s net downhill of about 90 metres which is great. There are just a few undulations throughout.
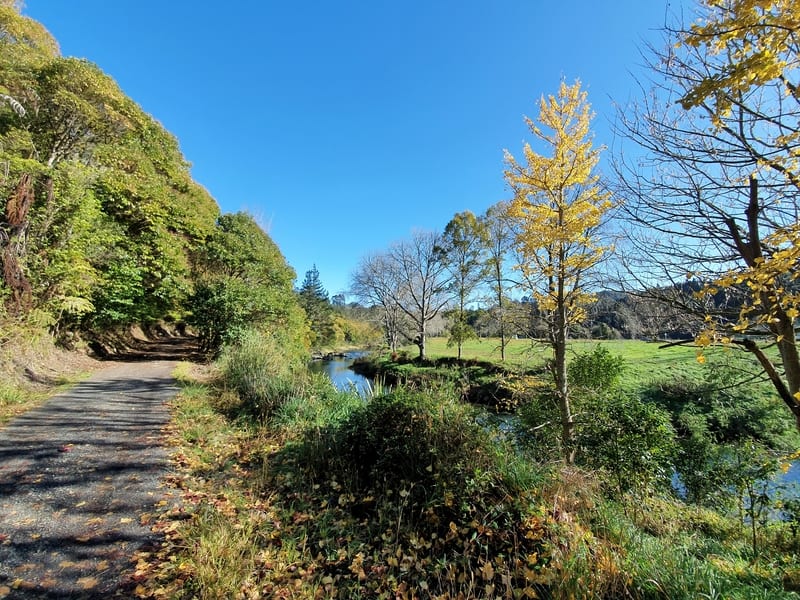
Once you cross the bridge over the Ohinemuri River, you’ll be following the river pretty closely which offers some stunning views throughout. I loved the falls colours in some of the photos below.
RELATED POST: MISTAKES I MADE CYCLE TOURING NEW ZEALAND
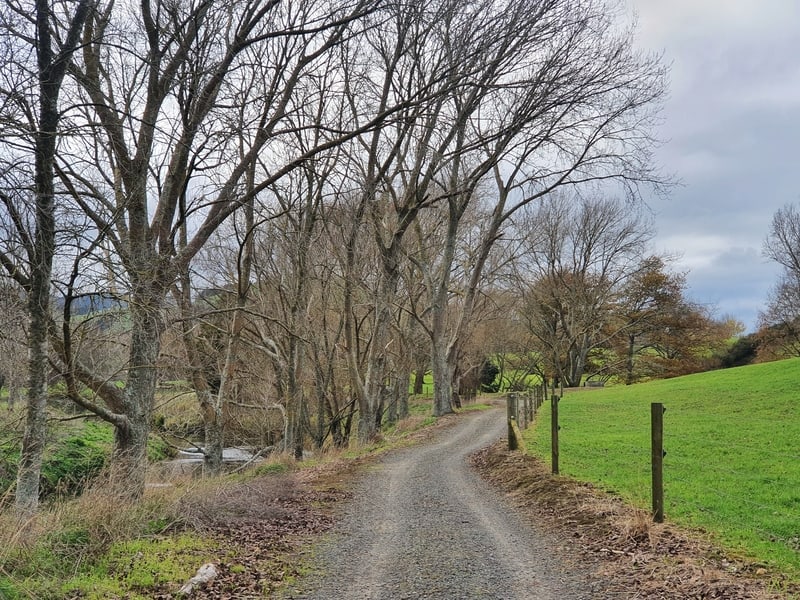
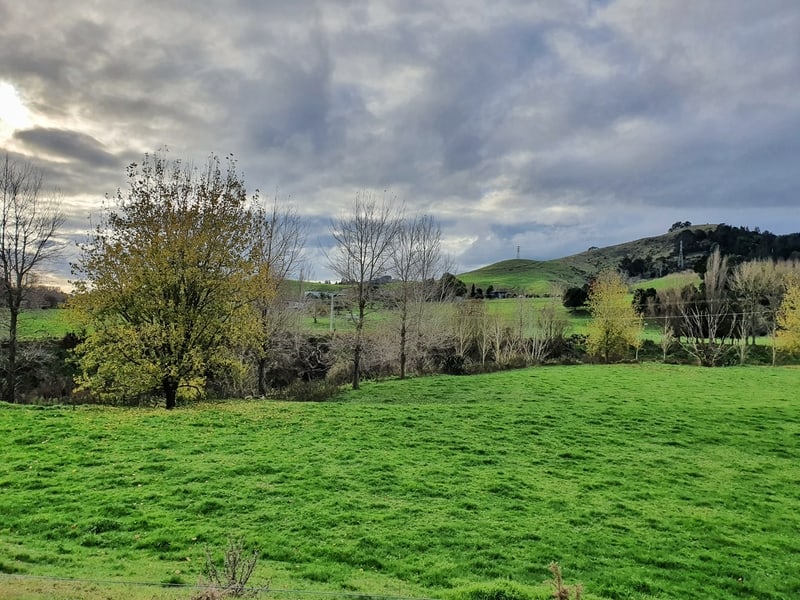
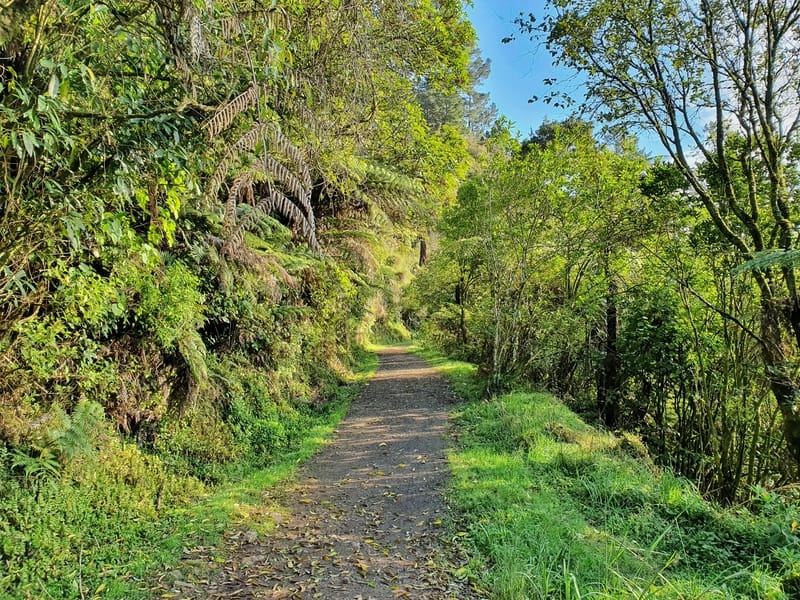
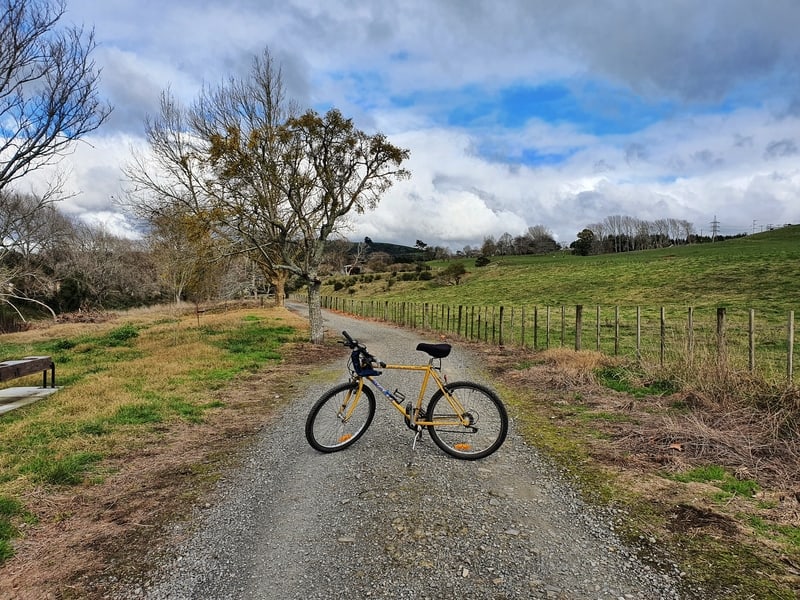
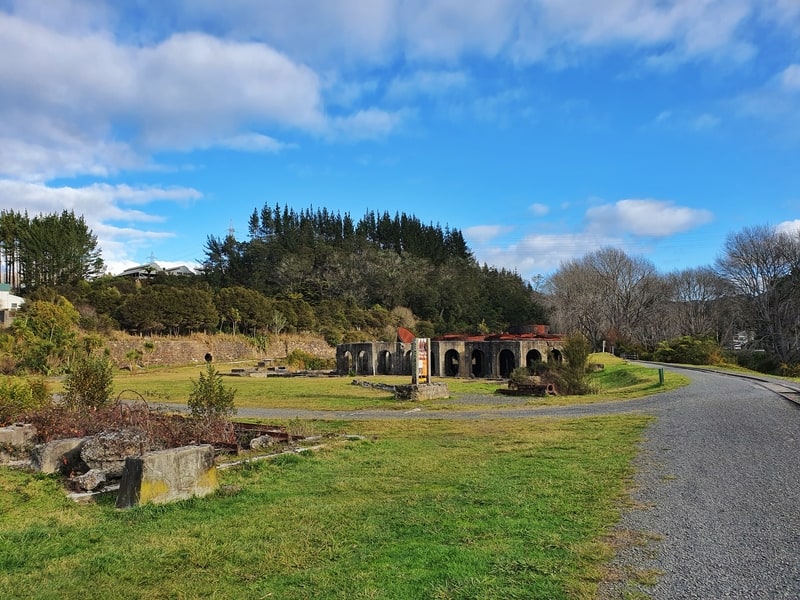
The first attraction you’ll visit is the Victoria Battle Reserve (below) after about 9km.
Depending on what’s open you could easily find yourself here for a couple of hours with the historic remains, tramway, and museum. The latter two are often closed though.
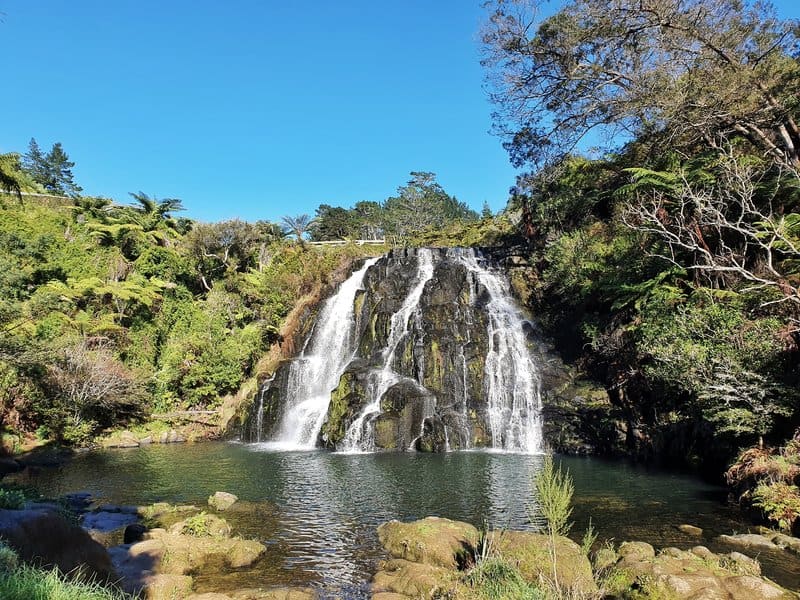
Back on the bikes, it’s just over 1km to Owharoa Falls. There’s a couple of cafes in the vicinity which I’ve marked on the map above, but they are The Falls Retreat and Waikino Station Cafe. The waterfall is nothing massive but a solid NZ waterfall to tick off the list.
This section is a part of the Karangahake Historic Walkway (between Karangahake Gorge and the Reserve so you’ll see more people walking on the track now).
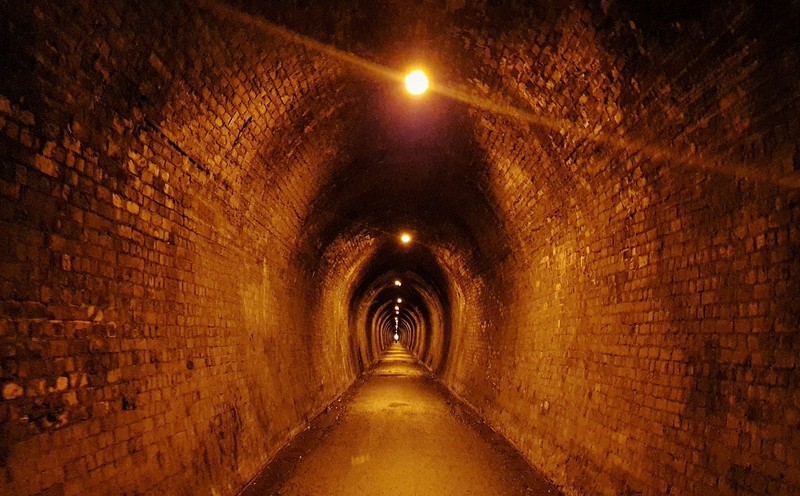
And then you’ve got a pleasant ride until it’s time to cross back over the bridge and enter the 1.1km tunnel. The tunnel is lit up, but if you’ve got some form of lighting it’s a good idea to bring it. It’s super cool they were able to include the tunnel which leads onto another bridge back across the river.
Now, if you want to do some of the Karangahake Gorge walks you’ll want to turn left after the bridge and head into where the gorge walks start. Or you might want to visit Talisman Cafe or Ohinemuri Winery.
But to continue to Paeroa, it’s simply a matter of following the path towards Paeroa. It’s not exactly well marked, but you can’t really get lost. Just follow the gravel path.
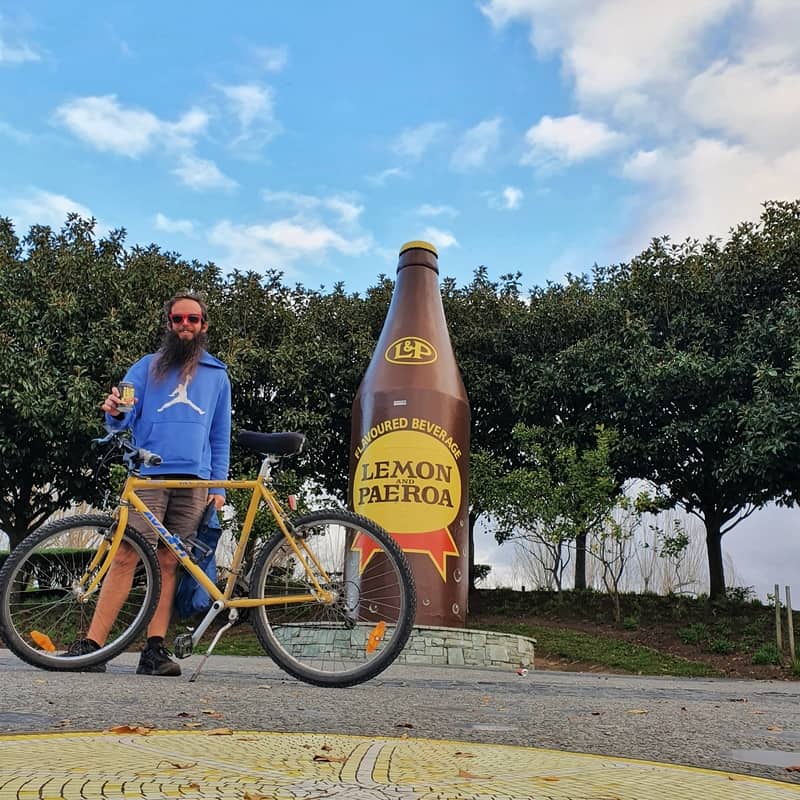
I found this section of the ride not so exciting, but you can get some nice views all the same. In terms of tourist attractions, there’s nothing to stop for until you arrive in Paeroa where you can post in from of the Giant L&P bottle (as I did in the first photo). There are plenty of cafes and takeaways available if need be.
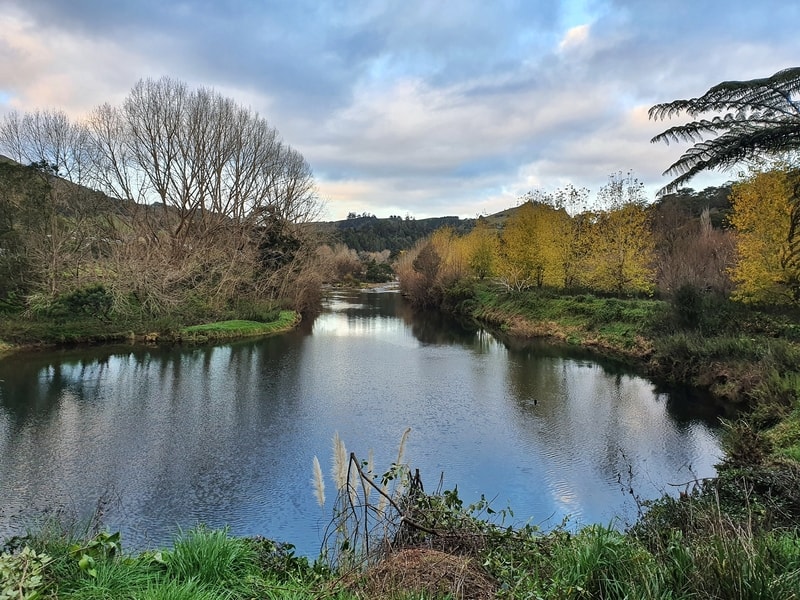
From here you’ll all have different plans, so I’ll leave it there.
If you have any questions, please ask 🙂
As someone who isn’t well accustomed to cycling, I really enjoyed this. The trail was perfect for a beginner, and there are enough attractions between Paeroa and Waihi to justify regular breaks 🙂
RECOMMENDED READING
All the fun things to do in New Zealand
In case you needed any more ideas on what to do in this stunning country.
Hiking the epic Mount Te Aroha
If you’re doing the complete cycle trail, consider hiking to the highest peak in the Kaimai Ranges.
Walking from Waihi Beach to Orokawa Bay
A wicked cool walk down the road from Waihi
Wharekirauponga, The hidden hike near Whangamata
If you’re spending lots of time in the Coromandel, consider walking to the waterfalls at the end of the Wahrekirauponga track. Yes, you can swim in the waterfall.
Hey, it’s Jub here. I’m the guy behind Chur New Zealand, helping you have the best time hiking, trekking, walking…whatever you want to call it…in NZ. I’m based in Queenstown and am always out and about exploring trails, old & new. If you have any questions, reach out.
