
The Mount Crichton Loop Track is a 7-8 km loop track 15 minutes from Queenstown on the epic scenic drive to Glenorchy.
With mountain views, rivers, a little bit of history, and a couple of waterfalls, this is an underrated walk in Queenstown.
This post will give you all the details about the Mount Crichton Loop Track walk (there’s plenty of photos too).
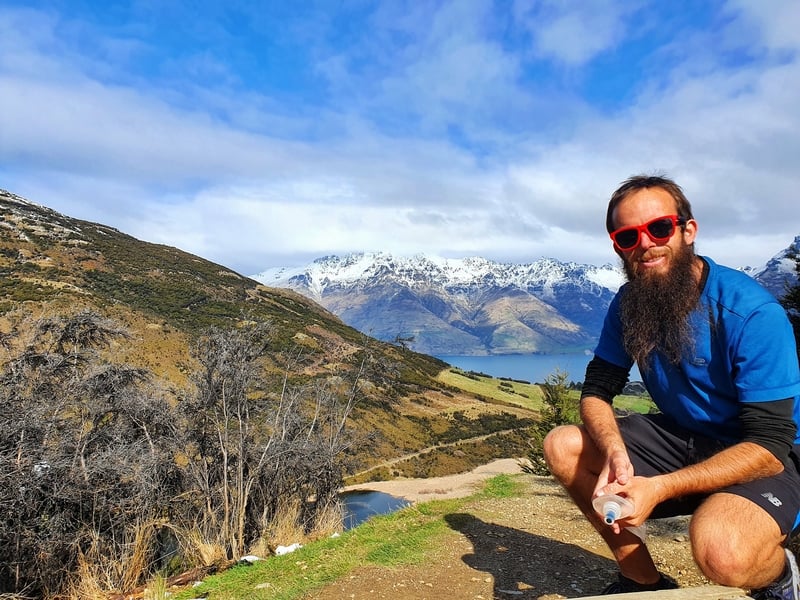
Proof that I’ve been on the walk. That view!
TABLE OF CONTENTS
1. Mt Crichton Loop Track Details
2. Mount Crichton Loop Map
3. How To Get There
4. My Mount Crichton Loop Experience
1. MT CRICHTON LOOP TRACK DETAILS
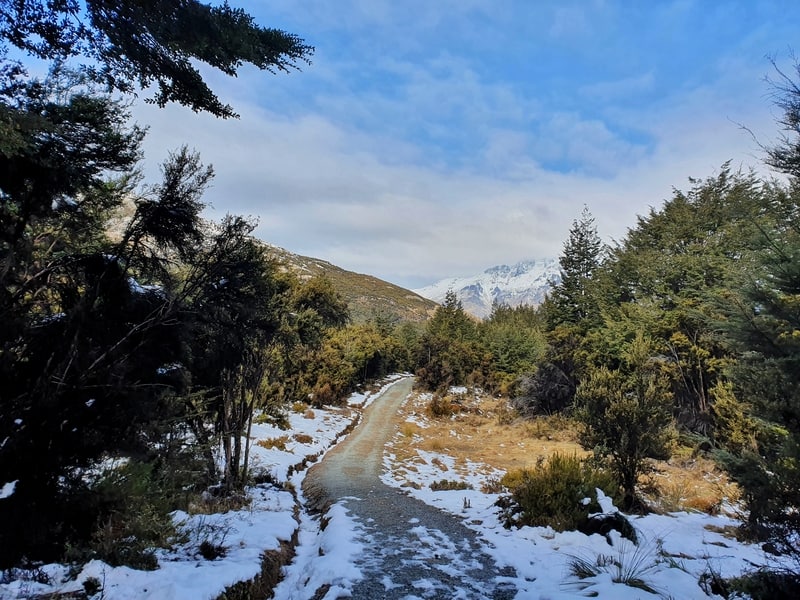
You’ll see in the description below, but I genuinely love this walk. Since writing this post in 2020, I’ve done this at least a dozen times, and it still goes good!
For a little under 8km, there’s so much variety. I’ll keep this description short and sweet, I gush a lot further down.
How hard is the Mt Crichton Loop Track?
Easy to medium. There’s some incline, but it’s spread out across the well maintained track.
If you’re looking for a more difficult hike, you could try summit Mount Crichton, which is a super advanced hike that starts on the loop track.
What distance is the loop?
While DOC mentions it is a 6.4km loop, most people are going to start from the carpark (see section below) which makes it just under 8km in total.
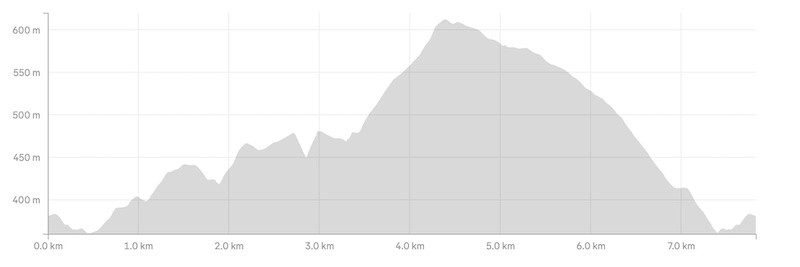
What is the elevation gain on the Mount Crichton Loop Track?
Each time I do the loop I get in the 340-ish metres of elevation gain. There’s no long overly steep climb at all on the track so everyone should manage this ok.
Here’s the elevation profile:
How long does it take to complete the hike?
It took me 1 hour and 48 minutes to complete the loop, walking at a decent pace, but stopping for photos constantly. The DOC signs suggest it takes 2-4 hours, but that’s obviously conservative. If you take longer than 3 hours I’d be very surprised.
What’s the best direction to do the Mount Crichton Loop?
I’ve done the hike in both directions and tend to prefer going in the clockwise direction. You’ll see people going in both directions.
2. MOUNT CRICHTON LOOP TRACK MAP
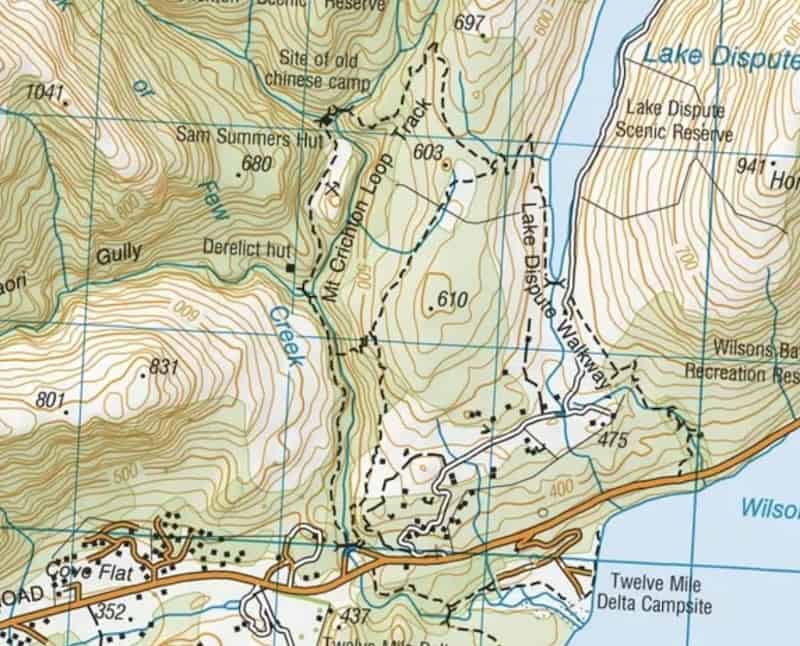
The map above is the Mount Crichton track as seen on topomap.co.nz. You can click on the image to scroll /zoom in further. If you want an app for this, NZTopo50 is the one to get (it’s paid app, totally worth it!).
You’ll also see the map on Maps.me app and you can see most of it on Google Maps.
3. HOW TO GET THERE
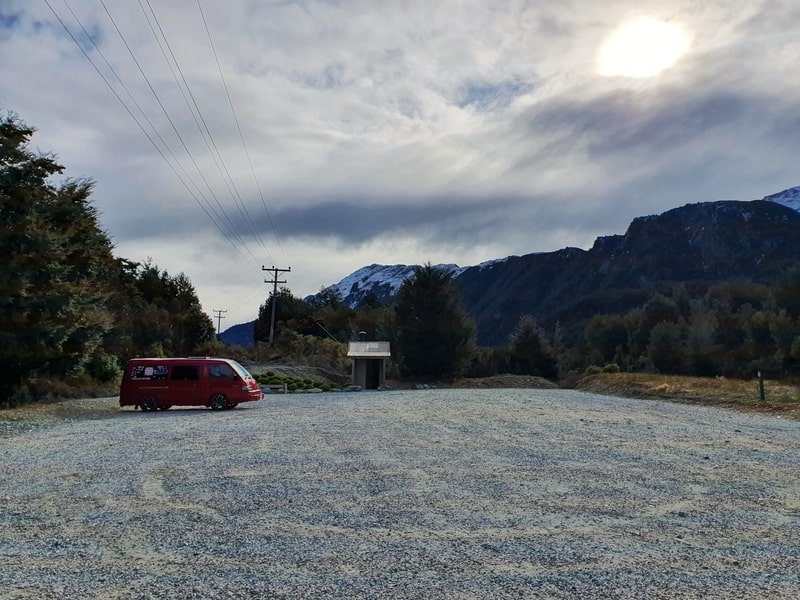
The Mount Crichton carpark is on Google Maps here. The carpark is massive, parking shouldn’t be an issue. There’s a toilet at the trailhead too (bring your own TP).
You’ve got just the two options to get there, driving or hitchhiking. Although if you’re super keen, you could bike too.
Driving, it’s a matter of driving southwest along Lake Wakatipu for 11-12km from Queenstown. The parking lot is signposted and is on the left (from the Queenstown direction). As you’ll see above, the car park is large. There’s a toilet there too.
If you’re hitchhiking, you’ll want to stand in this area on the edge of town. I had luck standing there (it’s a bit awkward with bus stops and yellow lines, but it worked ok). There’s space to safely stand roadside near the trailhead for your hitch back too.
4. MY EXPERIENCE ON THE MOUNT CRICHTON LOOP TRACK
I wasn’t sure what to expect with the Mount Crichton walk. It’s not talked about much compared to the nearby Moke Lake track and Bob’s Cove.
Anyway, I hitched out from Queenstown and found that the car park was larger than I expected…that was the first impression.
The trail from the car park leads you back down to the road which you’ll need to cross. The cars go quick along this road so make sure to check both directions. Once on the other side of the road continue on for 100 metres until it’s time to make a decision with which way you’ll go. I personally prefer clockwise.
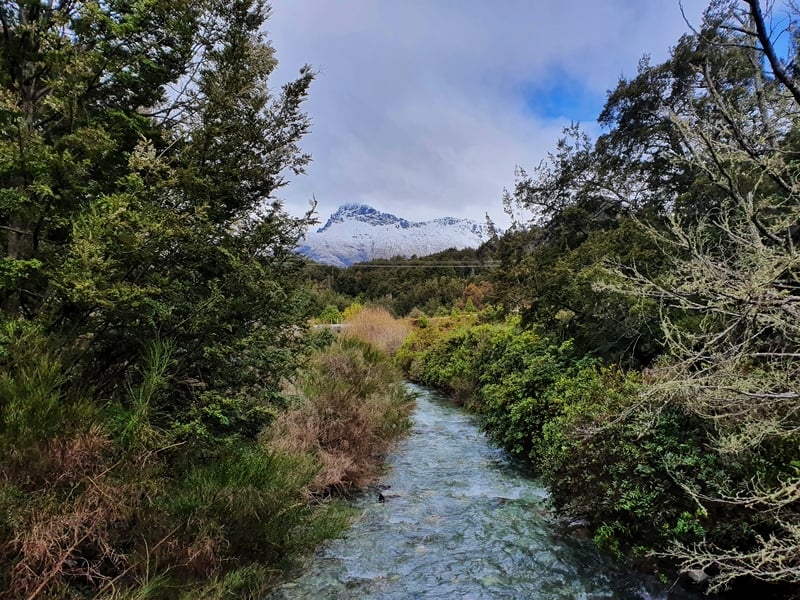
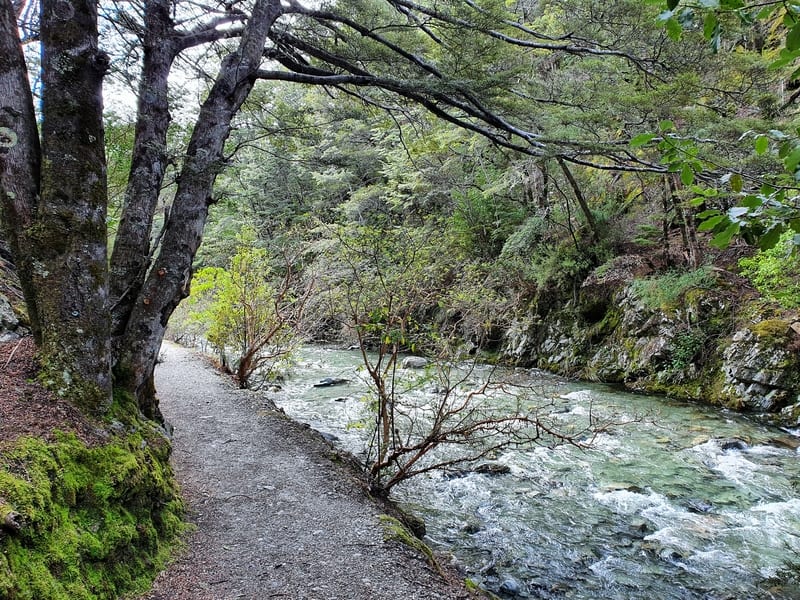
So I cross the bridge over Twelve Mile Creek and am already impressed by the scenery. Turning right after the bridge we make our way along the creek. The signs warning of mine shafts and steep drop-offs excite me.
The walk up the river is through a light canopy of trees, in the summer they’ll keep the sun from punishing you. And while you’re going up from the get-go, there are flat and even short descents in between.
And then all of a sudden I understand what they mean by steep drop-offs. I’m standing on the edge of the cliff looking at the river way below. It was sudden, but I was loving it.
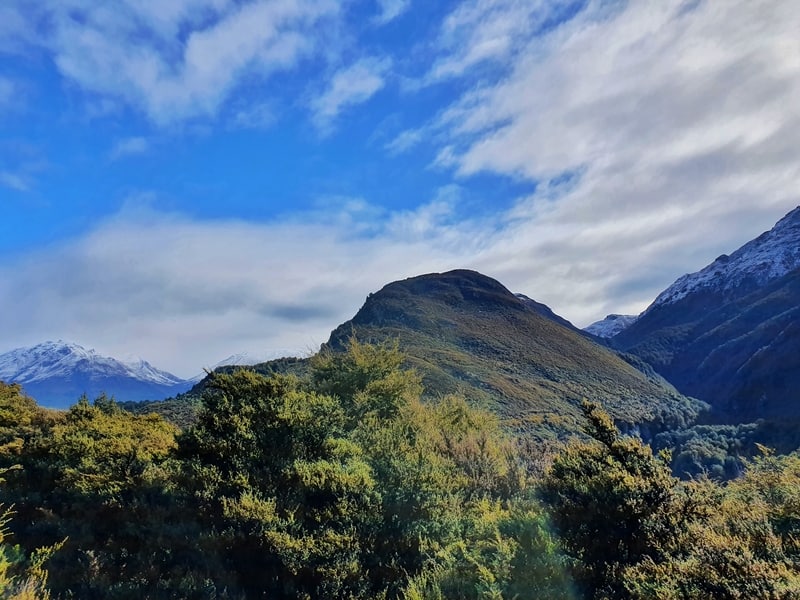
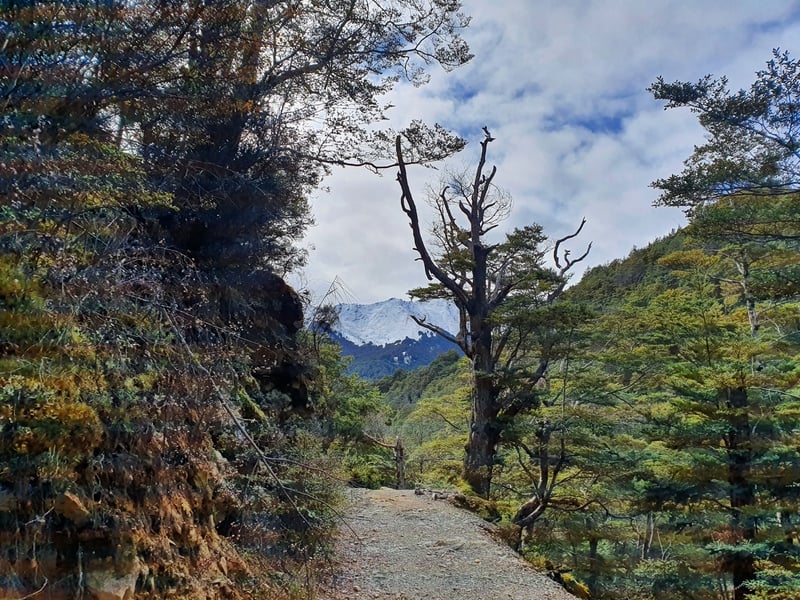
The mountains in the distance are coming into view from time to time now.
The track is easy to walk along, but it’s not perfectly smooth with some small rocks and the like jutting out from the track. The kind that if you don’t see the rock and end up kicking it, your toe may hurt.
Note June 2026: There’s a small bridge that’s been washed away, but you can cross the river easily provided there’s no heavy rain in the last 12-24 hours. You should be able to keep your feet dry.
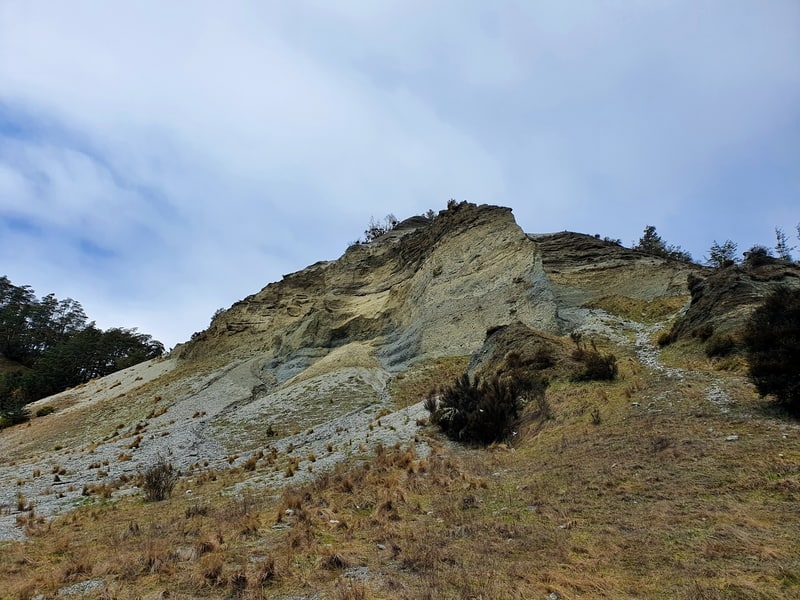
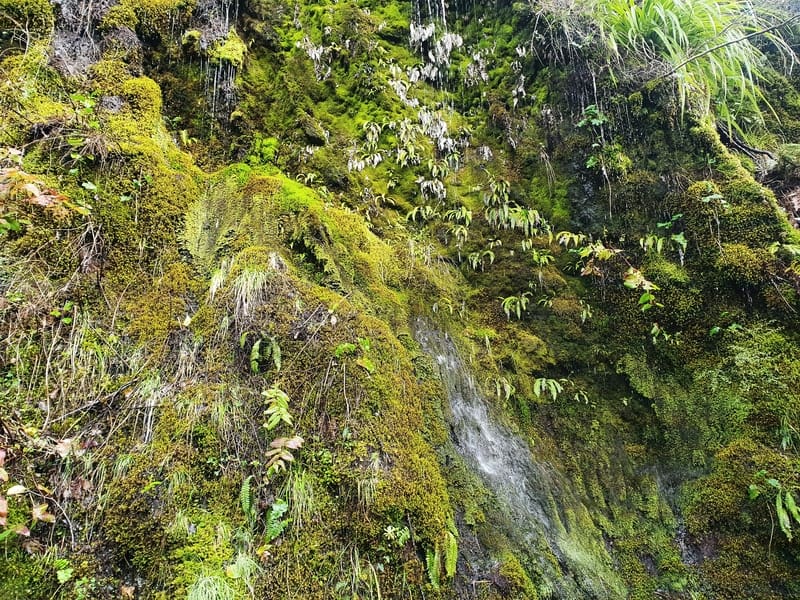
At about the 2.6km mark you’ll see the super cool sluiced canyon, a remnant from the gold mining area (see photo above). It looks super cool. You’ll then come to a junction that has a sign telling you more about the canyon and the Tailrace Tunnel.
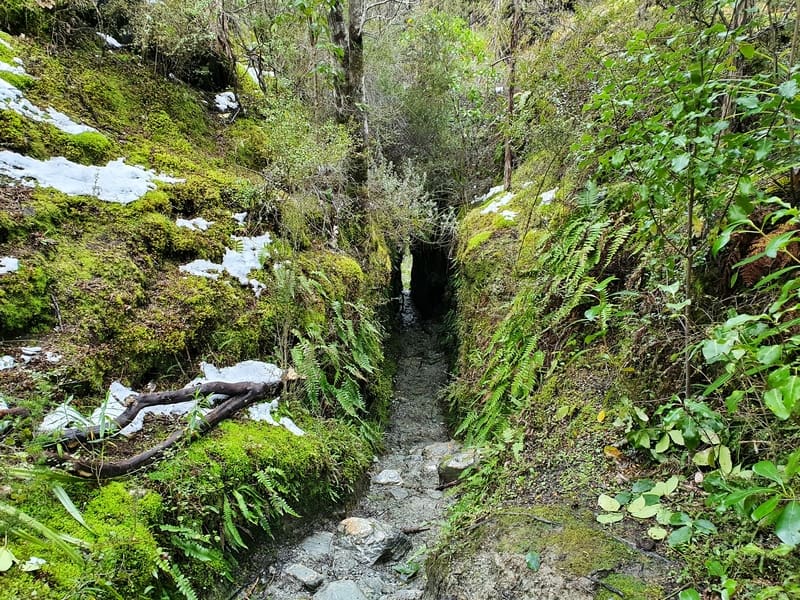
Turn right to the tunnel, it’s super cool as well! You can walk through it which leads to a path down to the river if you desire. The tunnel is another part of the gold mining era. I thought the crazy cut in the rock was a work of nature.
Heading back to the junction and continuing on, the creek (it’s more a river) plays a major role for the next few hundred metres with water surging through the valley.
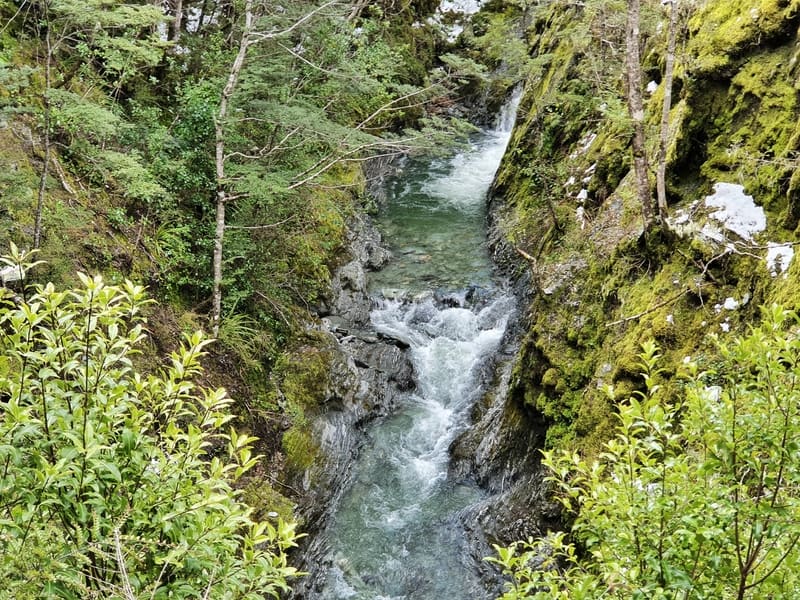
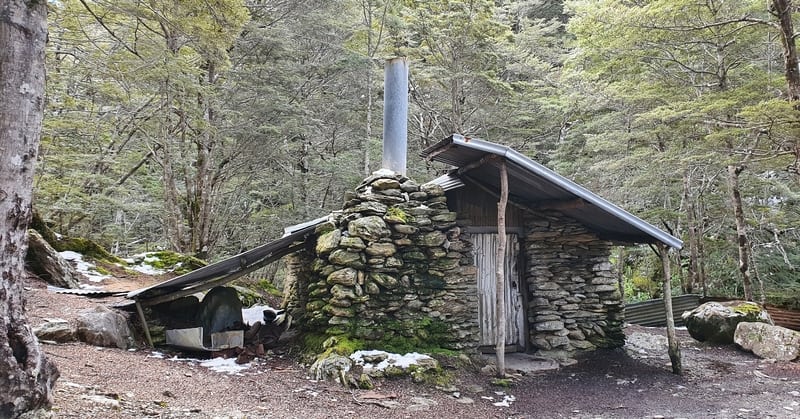
Then there’s a random toilet. I was thrown off, and didn’t realise there’s a historic hut nearby called Sam Summers Hut.
It’s left in the original form from back in 1930. You used to be able to stay in it overnight, but due to its condition, you no longer can.
Nearby, you can get close to the edge of cliffs to see water raging below you.
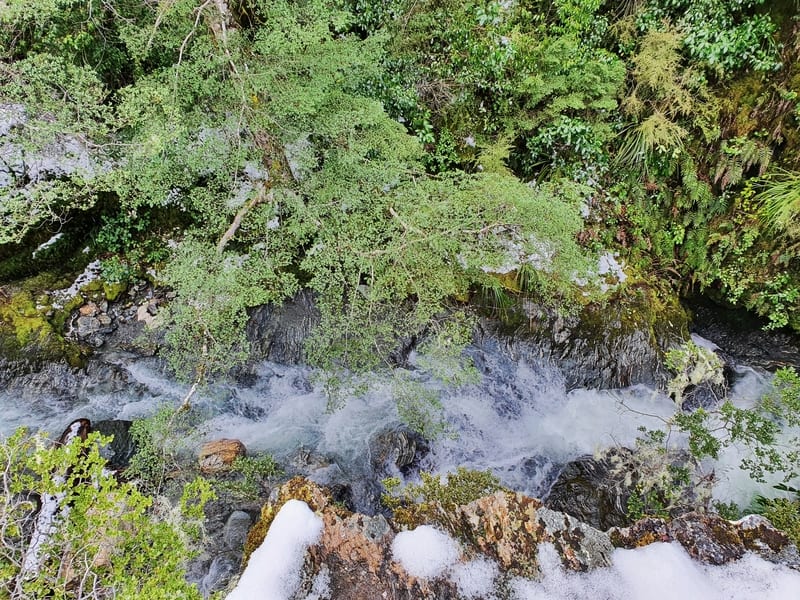
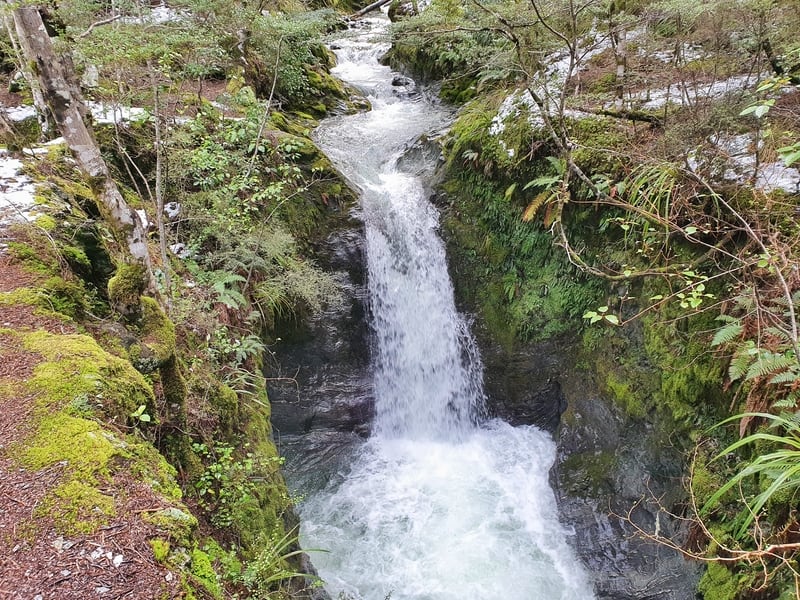
To continue on the track, walk around the side of the Sam Summers Hut where you’ll see the bridge across the Twelve Mile Creek Falls (unofficial name).
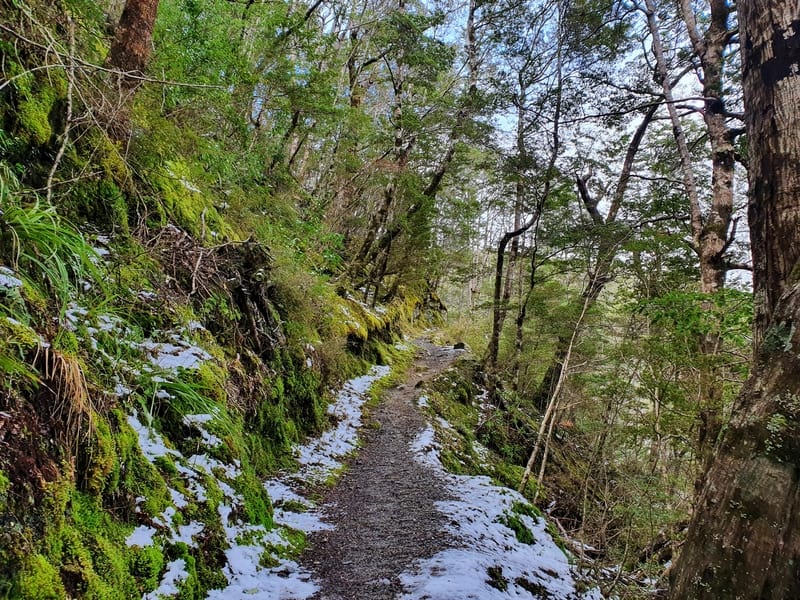
From here, the walk takes you through the snow-lined forest.
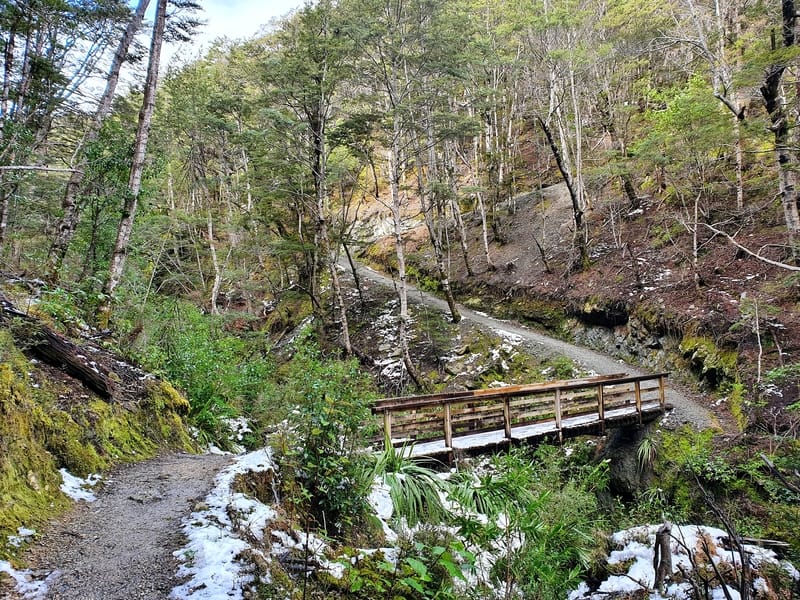
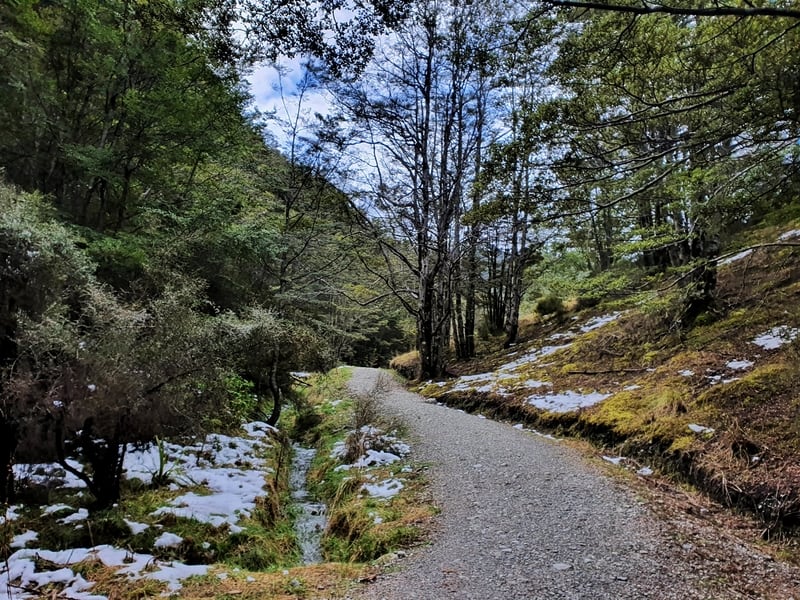
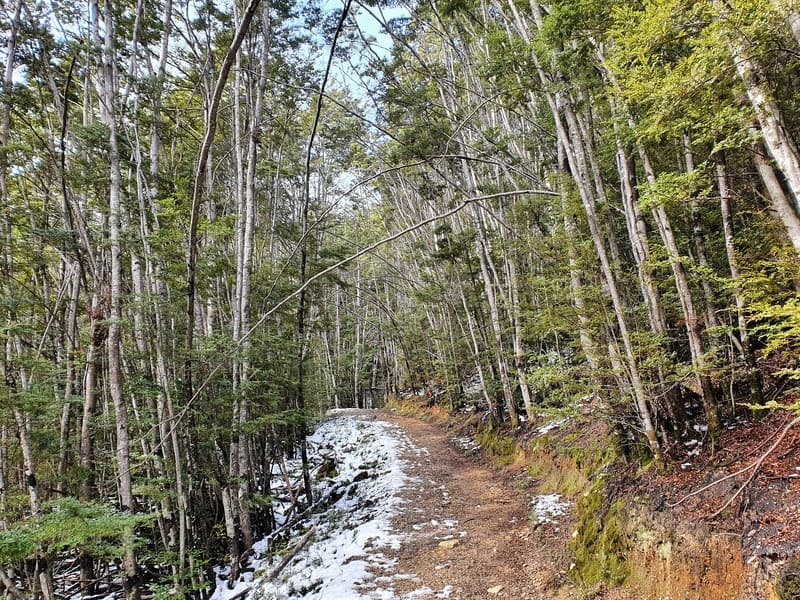
You’ve still got a kilometre of incline to go after the bridge, before the gradual descent that offers plenty of nice viewpoints along the way.
This descent is out from the trees at times, so in the middle of the summer, you’ll feel the heat (another reason to walk down this way – walking up would be hot work).
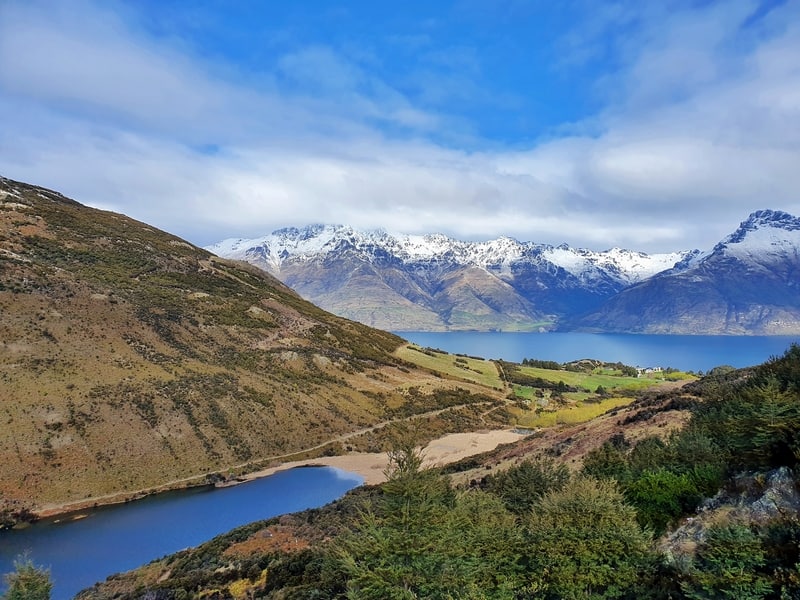
There’s an awesome viewpoint where you can see Lake Wakatipu and Lake Dispute. It’s at the turn off for the walkway to Lake Dispute. If you really wanted you could add on a few kilometres and walk down to Lake Dispute and back. I kept plugging along the Mount Crichton Loop Track, loving all the views.

 g
g
And fun fact, you aren’t walking a loop around Mount Crichton at all. That’s one of the mountains just to the west.
Eventually, you’ll find yourself back at the bridge where you can cross over to the car park, or get your hitch back into town.
I honestly loved this walk. I might be overselling it? I don’t think so, I like it more than Moke Lake I think…and everyone is surprised how lovely it is.
If you do both Mt Crichton and Moke Lake, please leave a comment below which one you liked most 🙂
p.s. Here’s a map of all the hikes and walks I’ve written about on Chur New Zealand. You can click the icon to see brief details, as well as a link to read more about the hike (like this post).
Hey, it’s Jub here. I’m the guy behind Chur New Zealand, helping you have the best time hiking, trekking, walking…whatever you want to call it…in NZ. I’m based in Queenstown and am always out and about exploring trails, old & new. If you have any questions, reach out.
This is a great little walk with a good bit of variety. One of the bridges near the start had been swept away when we walked it but it was easy to walk across the stream. Thanks for the write-up helping us find this place.
Hey Ben,
Thanks for reminding me to update that bridge has been wiped out, it’s been a hot minute. I’ve not heard of it being replaced anytime soon…but as you say, it’s easy to cross…if there’s been no rain at least.
Glad you enjoyed it.
Chur,
Jub