The Roaring Meg Pack Track is an interesting 18km hike crossing the Pisa Conservation Area. At 18km long, it’s going to take up a good half day at least by the time you factor in transport logistics.
This post will give you all the details about the hike known as Roaring Meg.
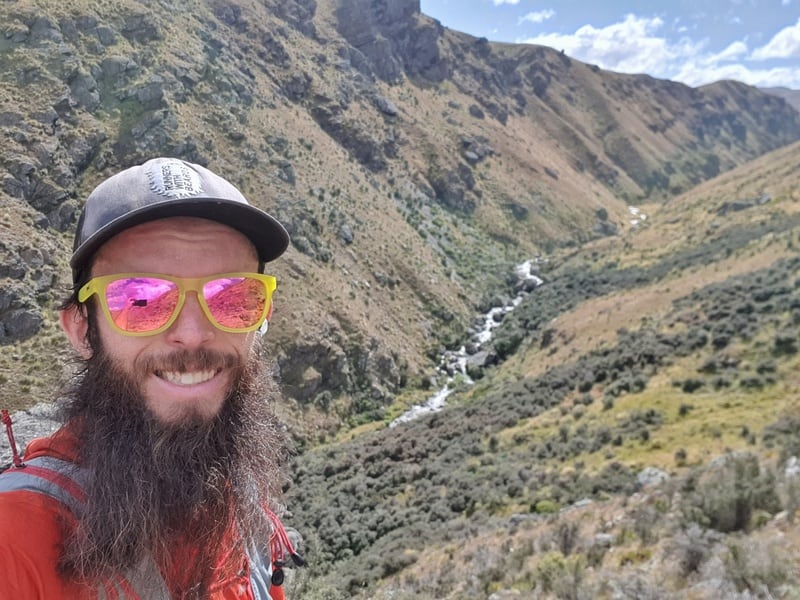
TABLE OF CONTENTS
1. Details
2. Map
3. How To Get There
4. The Roaring Meg Pack Track Experience
DETAILS ABOUT ROARING MEG PACK TRACK TAKE?
How hard is the Roaring Meg Pack Track?
It’s a medium to hard hike. It’s easier than the Cardrona to Cromwell Pack Track, another one of the hikes in the Pisa Conservation Area.
The track can be tricky to follow at times, but it’s not an extreme environment.
How far is the hike?
The Roaring Meg Pack Track is ~18km. If you decide to hike down to Meg Hut for a visit/to stay overnight, you can add another two kilometres.
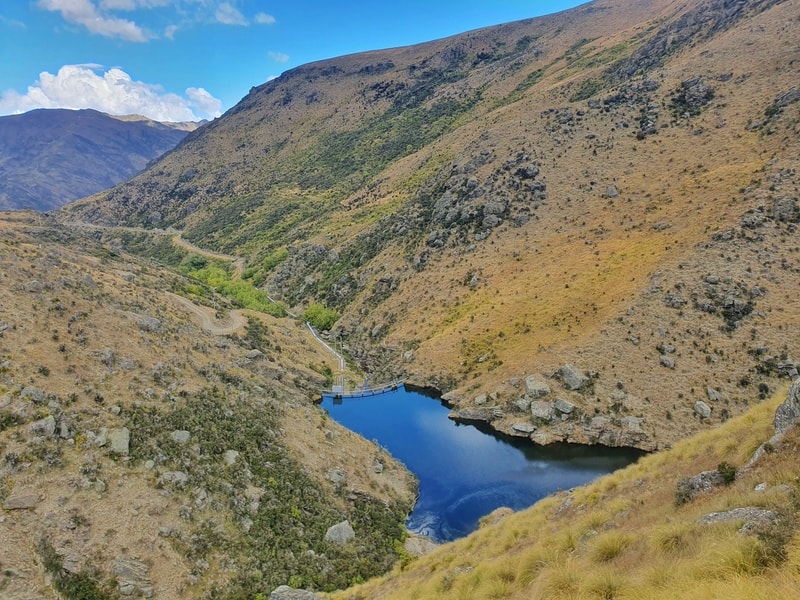
Alternatively, if you want to do an out-and-back to the Roaring Meg Dam, that’s about a 10km return hike from the lookout.
What is the elevation profile like?
The elevation profile below is from the Roaring Meg Lookout and hiking towards to Cardrona.
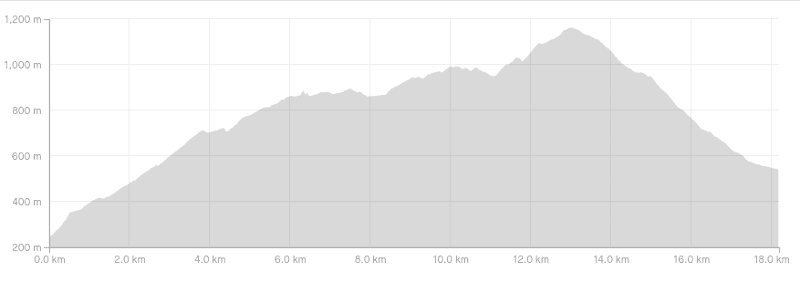
You’re going to be hiking overall net uphill in this direction with ~1150 metres of elevation gain, and 1000 metres of descent (based on my Strava date). And in the other direction, you can reverse those numbers.
How long does the Roaring Meg Pack Track take?
The DOC website says 7 hours. That of course can vary a lot, I’d put 7 hours on the slower end given that would mean less than 3kms an hour. For the speed hikers perhaps you could get it done in 4 hours, but 5 to 7 hours would be where most people finish with time for a picnic and photos factored in.
Do you have a GPX file for the track??
Why yes! The GPX file can be downloaded here.
Are dogs allowed on the Roaring Meg Pack Track?
No. Unless you’re taking the scenic route and entering the Pisa Conservation Area from the Rock Peak Track…dogs aren’t allowed on private land.
ROARING MEG PACK TRACK MAP
*clicking the image below will open the map in a new window.
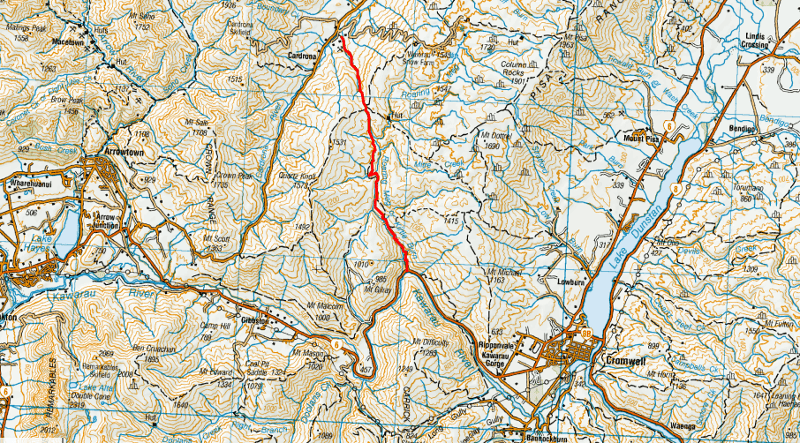
You can find the trail on maps.me, but only part of it on Google Maps. I do recommend buying this topo map as I found a couple of times I veered off track and missed turns.
HOW TO GET THERE
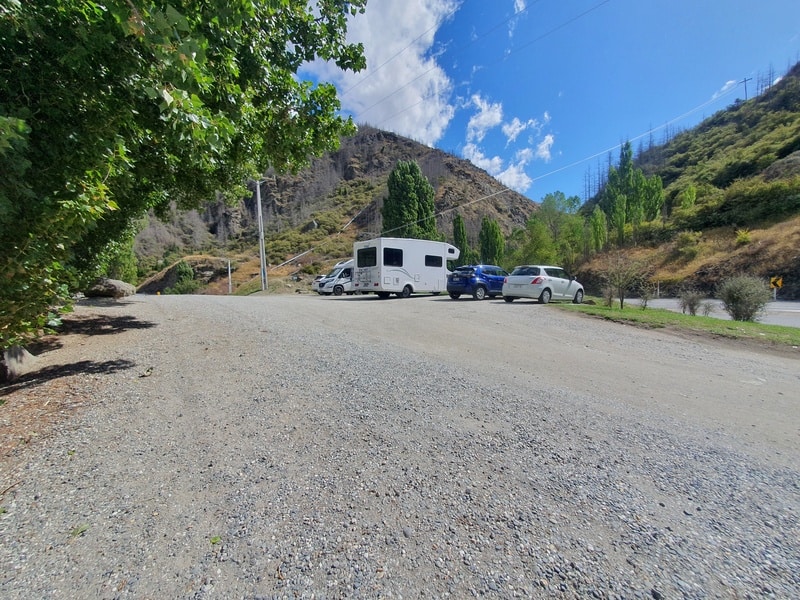
Being a point to point hike, thinking about logistics in advance is handy. The two carparks are:
If you’re doing an out and back to see the Roaring Meg Power Station etc., then you’ll obviously start at the lookout. Otherwise, the two car system is your best bet. If you’re taking one car, you can hitchhike between the two destinations.
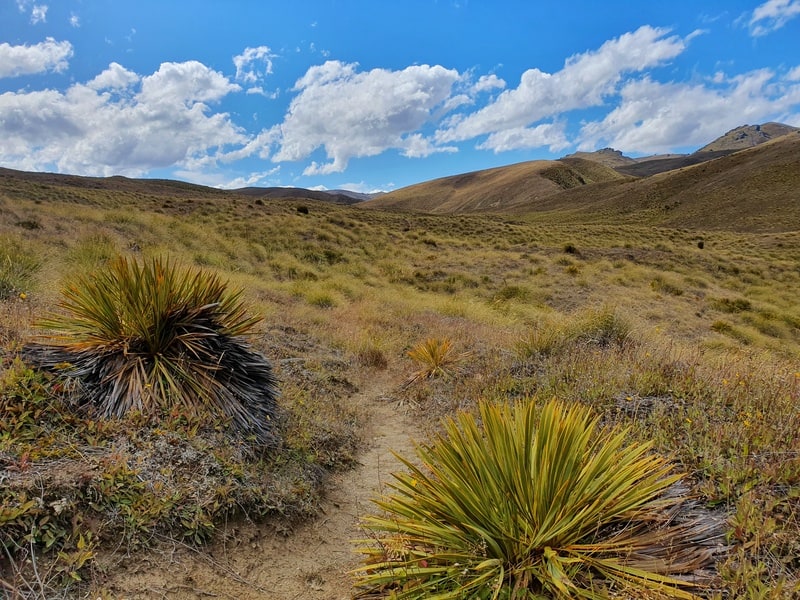
MY ROARING MEG PACK TRACK EXPERIENCE
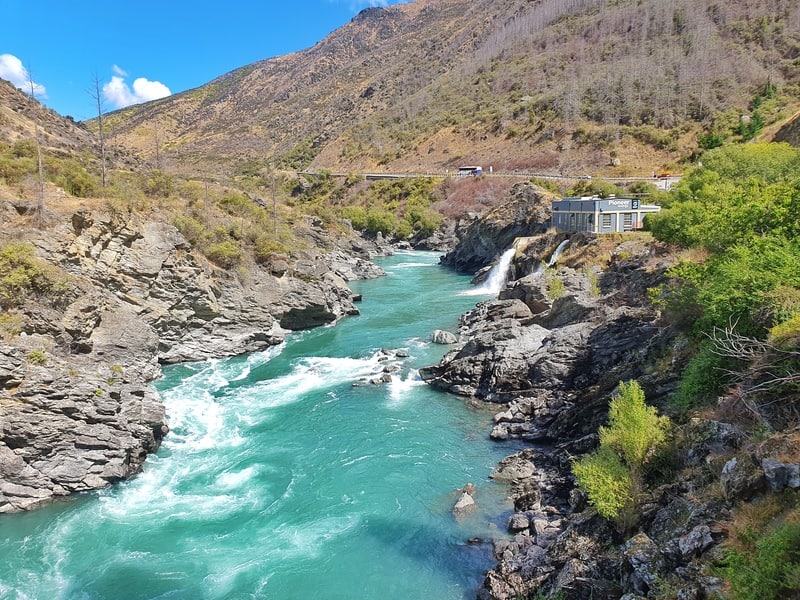
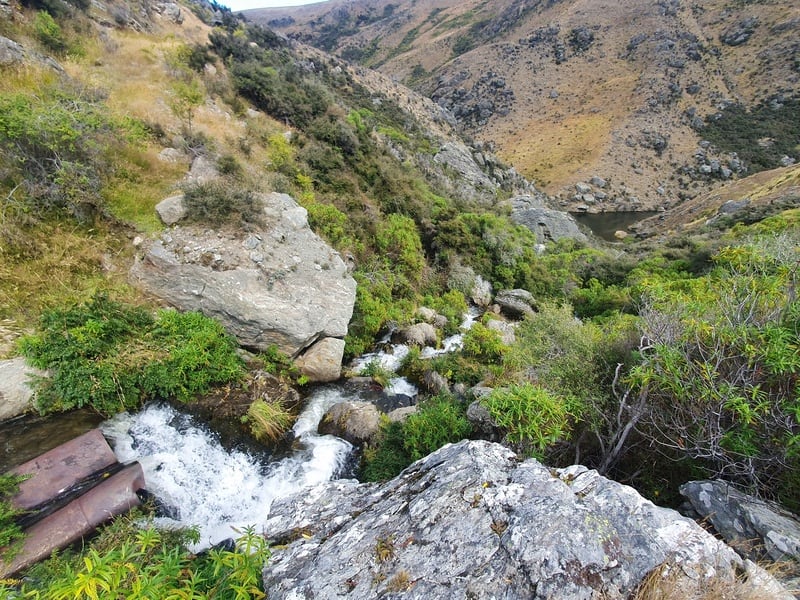
If you’ve never been to the Roaring Meg Lookout before, it’s worth taking a look at the raging water below.
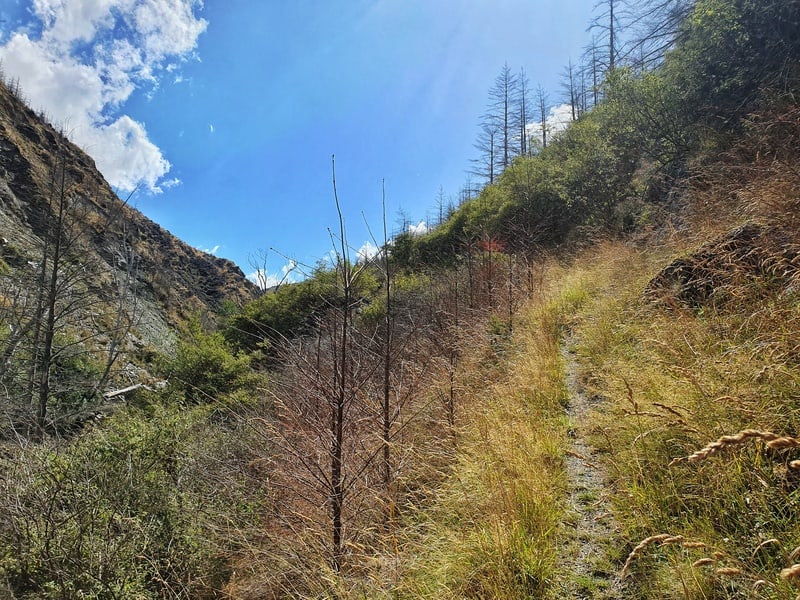
Back across the road, it’s time to start the hike. It’s straight up from the get go, and you’ll soon be on a tight single track that can be slippery in the wet.
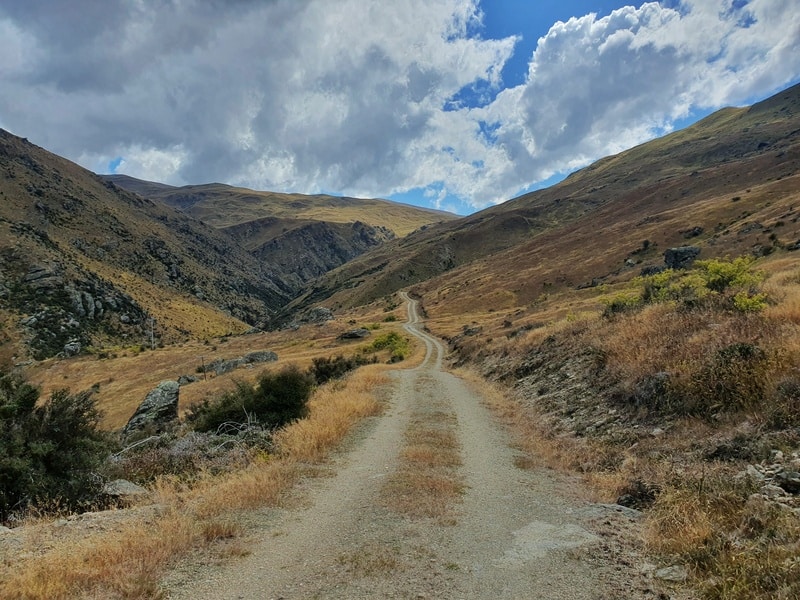
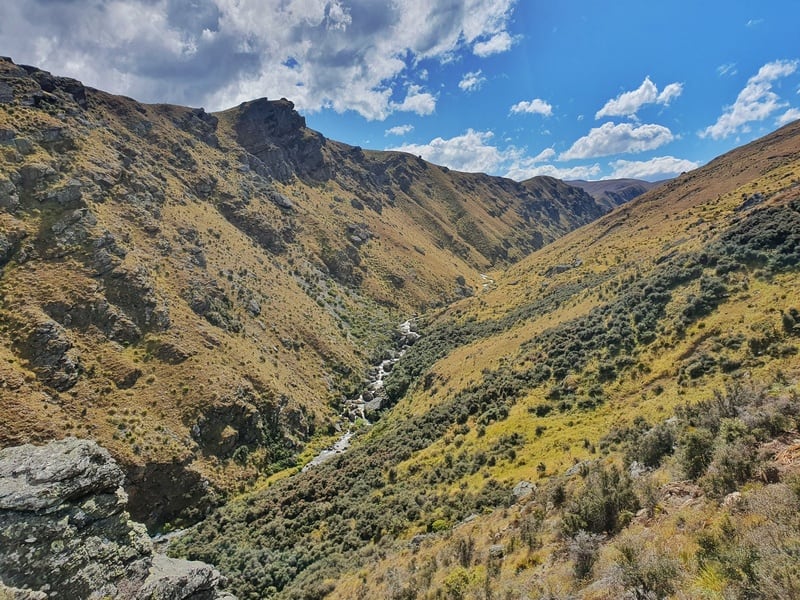
This goes on for about 500 metres before you reach the 4WD farm road. This you’ll follow for the next few kilometers as you wind up through the valley high above the Roaring Meg River below (you barely see the river).
At the 4kmish mark, you’ll see orange triangles leading you off the 4WD road. If you want, you can follow the road down to a view of the dam structure. As soon as you get off the road, you’re onto single track.
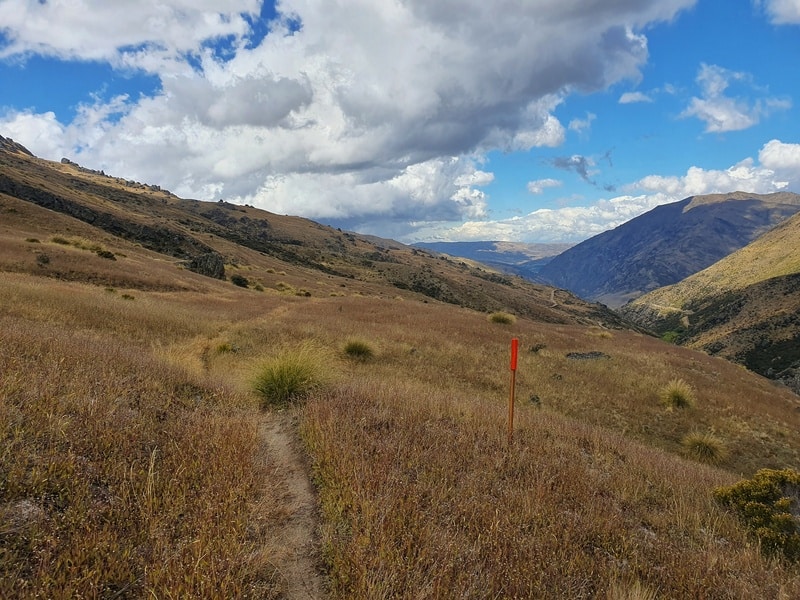
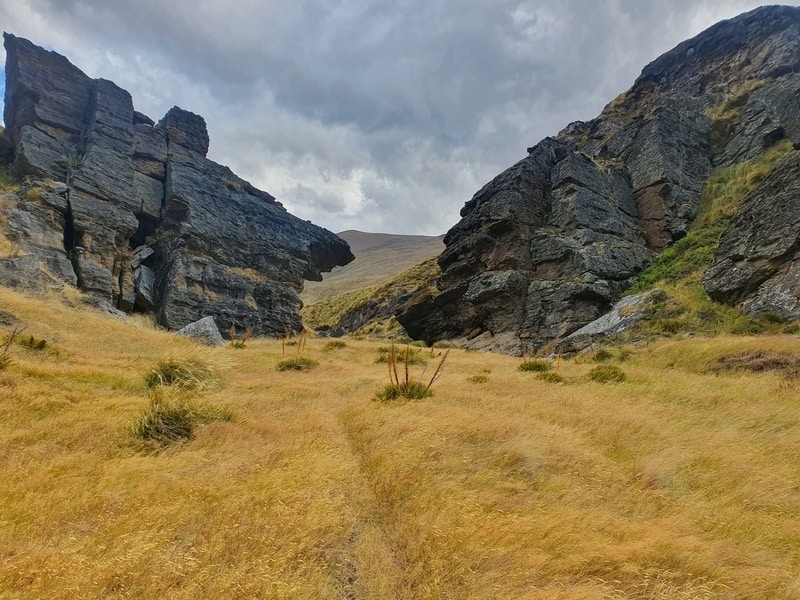
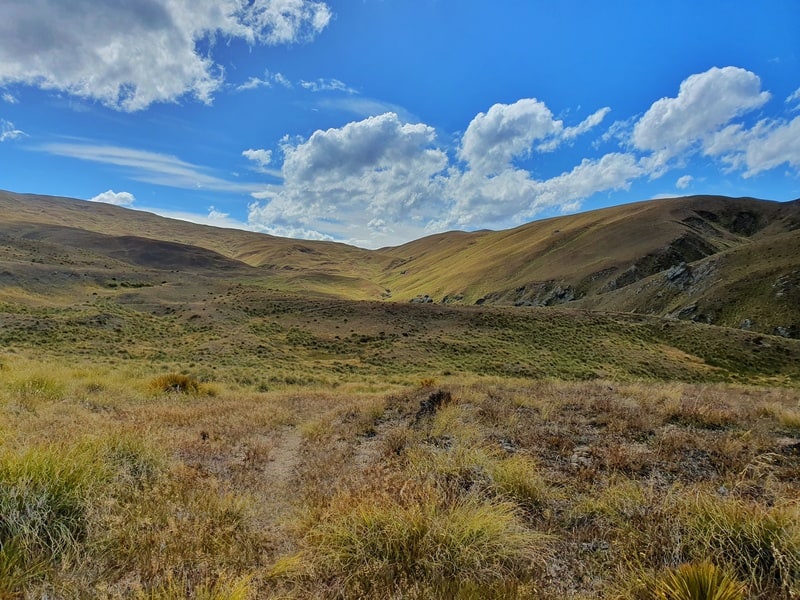
For the most part it’s easy to follow, but I did find myself struggling to find it from time to time, especially when the track directed you through the middle of Spaniards and Matagouri. Life’s easier if you can avoid them :p
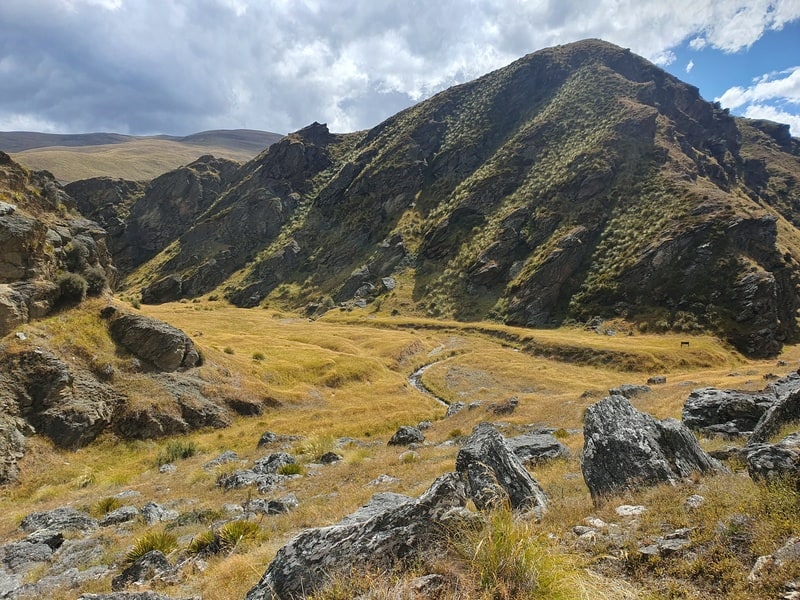
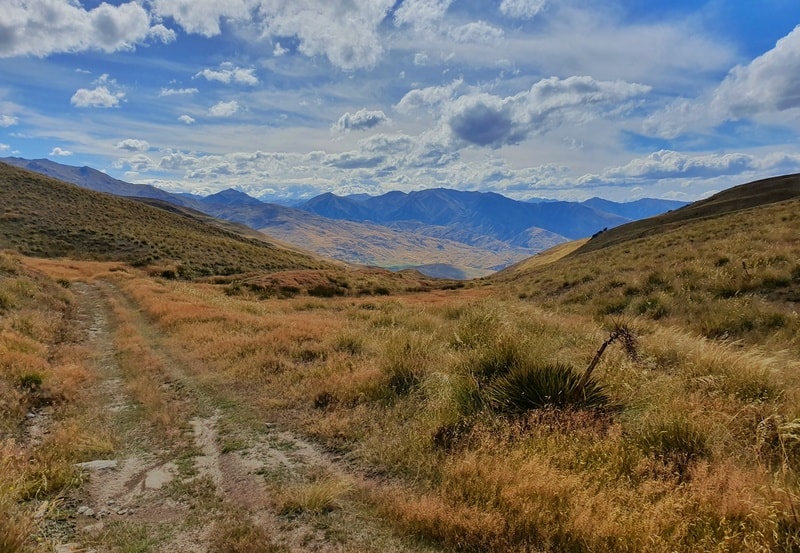
That said, you’ll get a view back down towards the dam, and for the next few kms you get some fun views covering the Pisa Conservation Area. You’ll also get some more views of the Roaring Meg running through the tussock-filled valley.
Following the track, you’ll make a left-hand turn after a short descent. This does involve crossing the Roaring Meg which was barely ankle-deep when I was there but could be sketchy if there’s been lots of rain/snow melt recently.
After walking for a bit, you’ll need to keep an eye out for orange poles on your right going up the hill. I somehow missed the trail veering right and was wondering where everything disappeared trail wise until I saw an orange back in the direction I came from. The next fair bit of trail is easy to follow, but again if the trail disappears, backtrack.
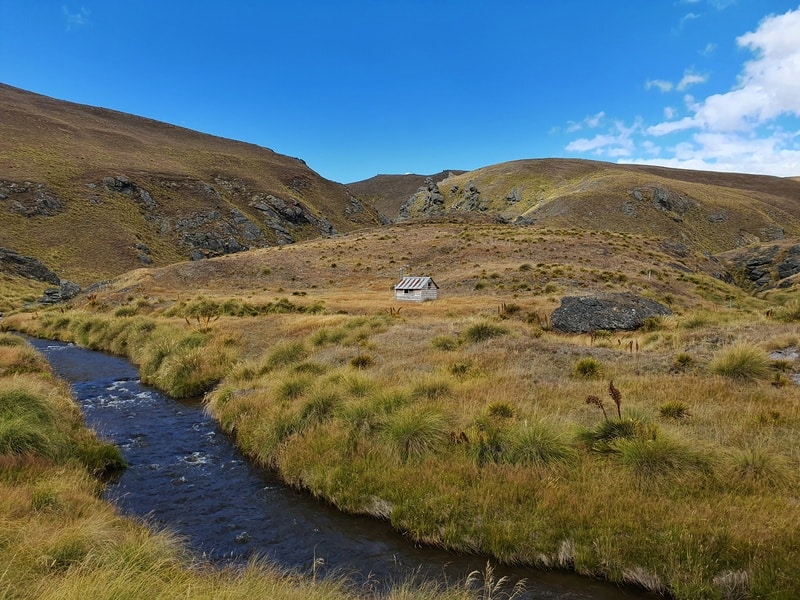
The next few kilomeres potter by with a slight overall climb, though you’ll battle some undulations on the way. Then you’ll come across a random hut. This isn’t marked on the topo nor anywhere else I checked. If you pop over to visit the hut, let me know what you find!
You’ve then got the climb for the next couple of kms on a rugged 4WD track. Once you reach the style, that’s pretty much all the uphill complete as you now have a descent all the way back down into the Cardrona Valley.
You might come across a couple of sheep and/or cows on this section, but they’re crusiey. The last few hundred metres crosses some farmland before you reach the carpark, but there are poles to follow.
And then you’ve made it! Time to stop in at the Cardrona Hotel for a pint 🙂
And there we go, the Roaring Meg Pack Track is complete. If you’ve got a thing for water stations, you’ll obviously love this track. If not, this 18km hike will see you probably hiking alone for almost the whole hike.
If you’ve got any questions, email jub@churnewzealand.com or leave a message below.
Hey, it’s Jub here. I’m the guy behind Chur New Zealand, helping you have the best time hiking, trekking, walking…whatever you want to call it…in NZ. I’m based in Queenstown and am always out and about exploring trails, old & new. If you have any questions, reach out.