Hiking to Sefton Bivvy, the oldest hut in Aoraki/Mount Cook National Park, is a dream trip for many. And most of the time after their trip to Sefton Bivvy is complete, those same people will say it was everything and more they dreamed of.
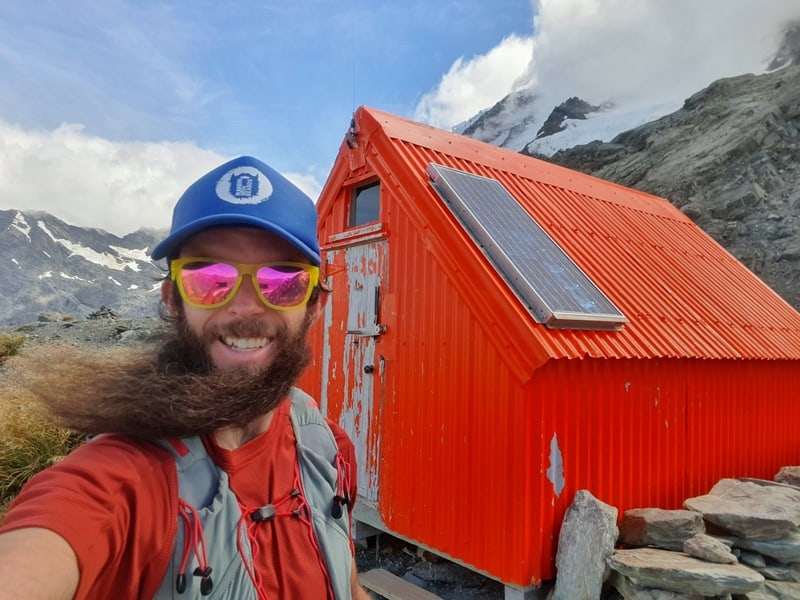
It’s fair to say Sefton Bivvy is a bucket list hut. The return trip might only be 13km or so, but there’s so much happening in between.
Let’s get into it!
TABLE OF CONTENTS
1. Sefton Bivvy Details
2. Sefton Bivvy Map
3. How To Get To Sefton Bivoauc Track?
4. The Sefton Biv Experience
SEFTON BIVVY HIKE DETAILS & FAQ’S
How hard is the hike up to Sefton Bivvy?
Hard. While you’ll spend about half the hike (distance wise) on the easy Hooker Valley Track, the other half of the track is tough going.
There’s some route finding involved, rugged terrain, and it’s steep.
What is the distance to Sefton Biv?
This will vary from person to person depending on the exact route you take…and if you’re like me you may miss/veer off track…but it’s usually in the 13 to 14km range for most people. Add on a bit of distance for exploring around the hut too.
What’s the elevation gain to Sefton Bivvy?
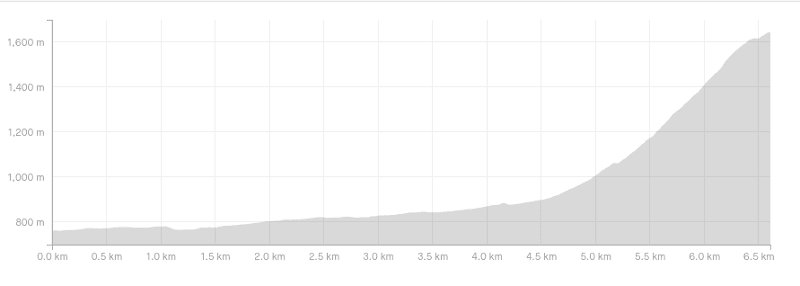
There’s somewhere between 900 and 950 metres of elevation gain on the way to Sefton Biv (depending on whose watch you read). Most of which is in the last few kilometres as you can see in the elevation profile:
How long does it take to get to Sefton Biv?
How long is a piece of string? With a track this steep and where the route can be tricky to find, there’s lots of variance in the time it takes to reach the bivvy. Also the steep terrain carrying a pack might mean frequent breaks are required…the views will keep you demanding breaks 😀
If you get there in under 2.5 hours you’ve done very well…some people might take upwards of four hours…not that that’s a bad thing when you’ve got views for days.
Sefton Bivvy GPX File?
You can download that here.
Can you get to Sefton Bivvy year-round?
In theory yes. But in winter you must have all the mountaineering gear and avalanche knowledge. During the summer months you’re usually good to go. But do check the latest weather forecast and check in with the DOC visitor centre in Mt Cook Village for the latest information. And take a PLB, while there’s decent phone reception most of the way, this isn’t a place to muck around.
Where is the Sefton Bivvy turn-off?
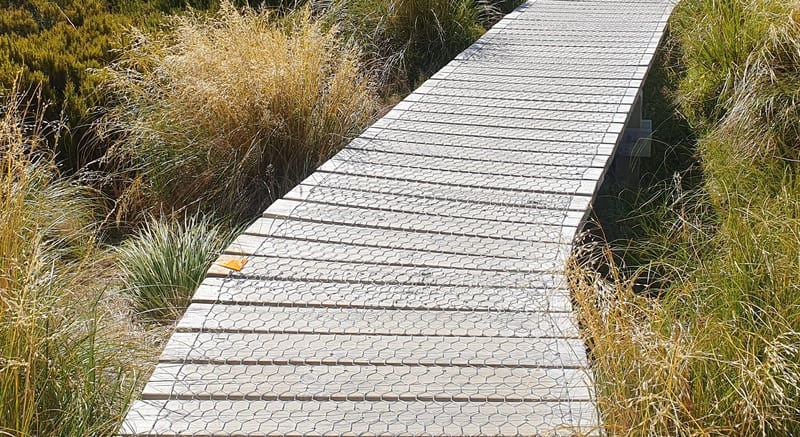
I’ll mention it again below, but the things to remember are:
- It’s about 3.5km along the Hooker Valley Track.
- You’ll see an orange turnoff on the boardwalk where you leave the track (see above).
- Just before the Stocking Stream and just after the toilet and large picnic bench on the Hooker Valley Track?
- Keep an eye on the GPX file that you’ve uploaded on your topo map.
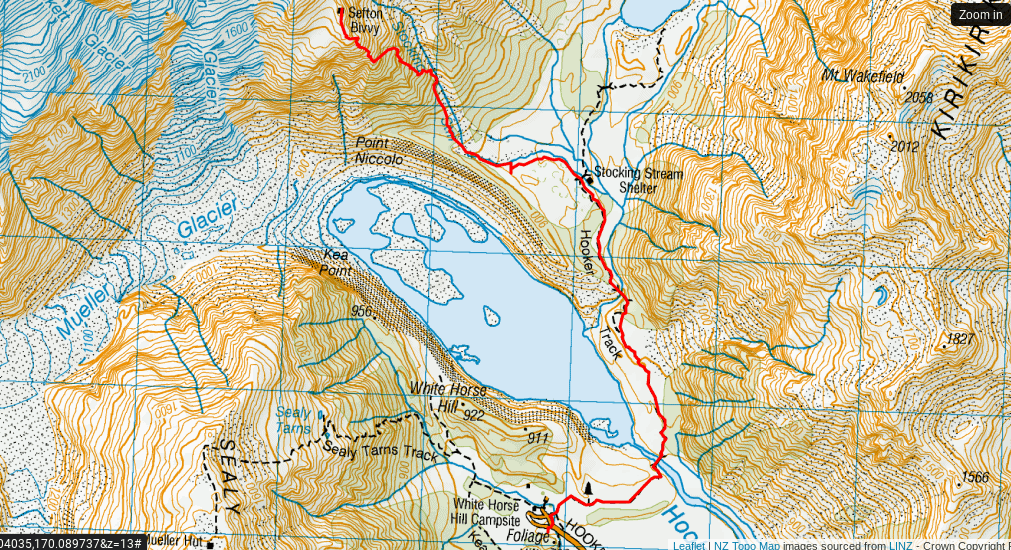
SEFTON BIVVY TRACK MAP
*Click on the map below will open the route on topomap.co.nz.
Sefton Bivvy is a route, rather than a track so it’s imperative that you have a good NZ topo map app and/or physical maps. There is a track more or less the whole way, but I lost the track a few times and was checking the topo map a fair bit.
You won’t find this spot on Maps.me or Google Maps.
HOW TO GET TO SEFTON BIVOAUC TRACK?
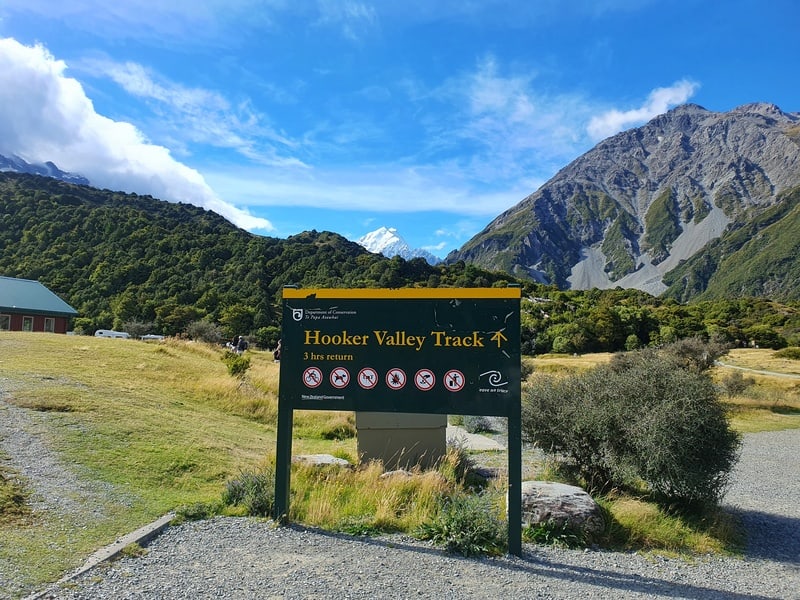
You’ll likely start the hike at the White Horse Hill Campsite/Carpark, or maybe Mount Cook Village if you’re staying in there for a few days.
From the campsite, it’s time to start the Hooker Valley Track, the gateway to Sefton Bivvy. After 3km or so in, keep an eye on the GPX file to make sure you take the turnoff at the right spot to start the route to Sefton Biv (I mention this above).
MY SEFTON BIV EXPERIENCE
The Sefton Bivvy hike starts off following the Hooker Valley Track, departing from the Whitehorse Carpark. You’ll follow the track for ~3.5km before the turn off spot. If you haven’t walked the full track to Hooker Lake before, you should make sure to include this part of the walk either at the start or end up your Sefton Biv adventure…it only adds another 3km to your journey.
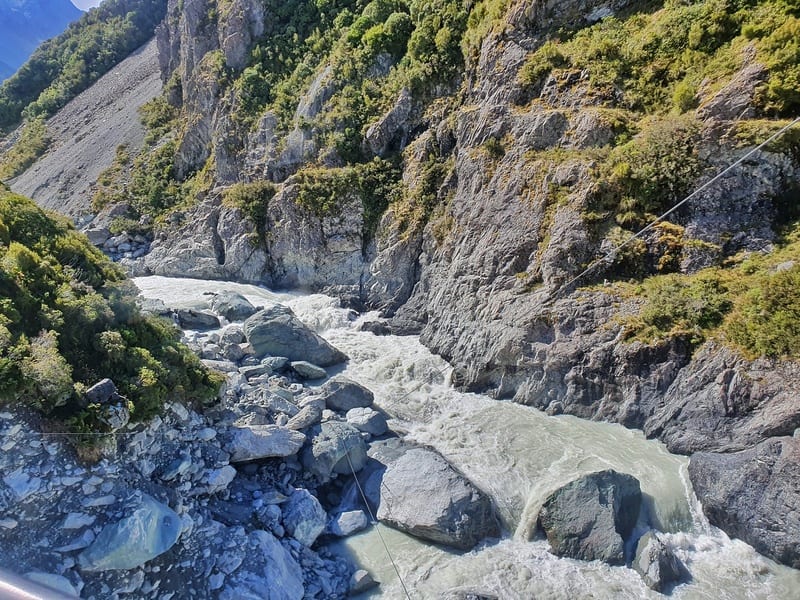
Note: If you’ve got a clear view, you’ll be able to see the orange bivvy from the Hooker Track turnoff. I found that helpful to know where I’m going.
Once you go left off the track, you’ll find a single track that’s reasonably easy to follow with some orange DOC poles. The trail is overgrown at times which makes the poles hard to spot at times. Especially when you pop out on the creek bed for sections.
Eventually the poled route will take a sharper left which actually leads you to Hooker Hut. You need to hang a right and get off the poled route.
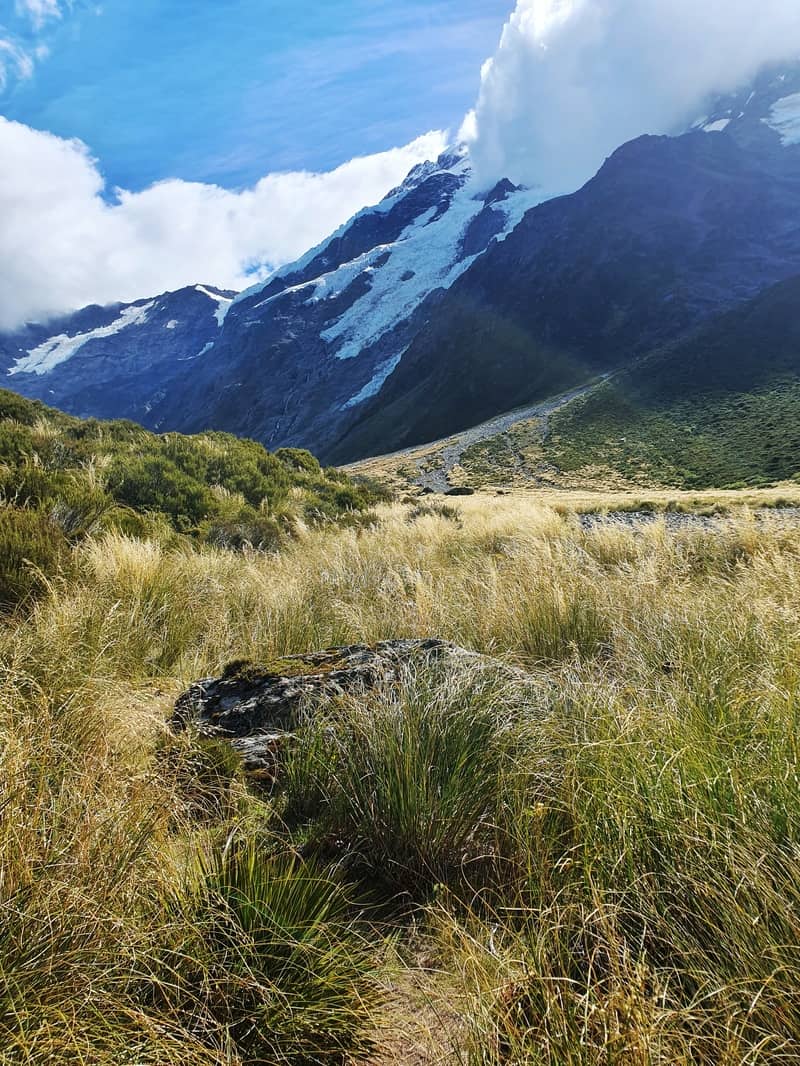
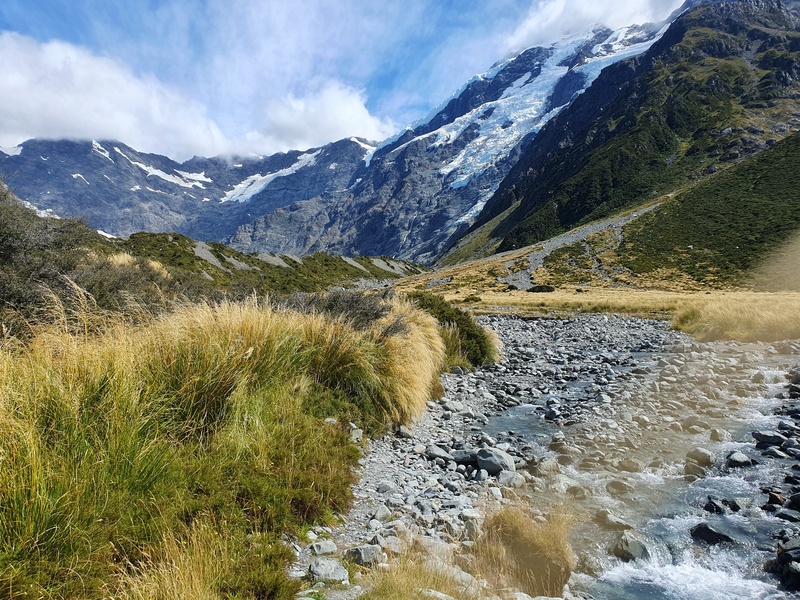
From here, a couple of people have mentioned that there’s a track you can follow the whole way…but I either can’t follow a track or they’re exaggerating. The main thing I kept in mind was to stay on the left side of the river.
There are cairns as you make your way through the river bed, and sometimes a vague semblance of a track. That’s why having the GPX file is a must…so you know you’re not way off track.
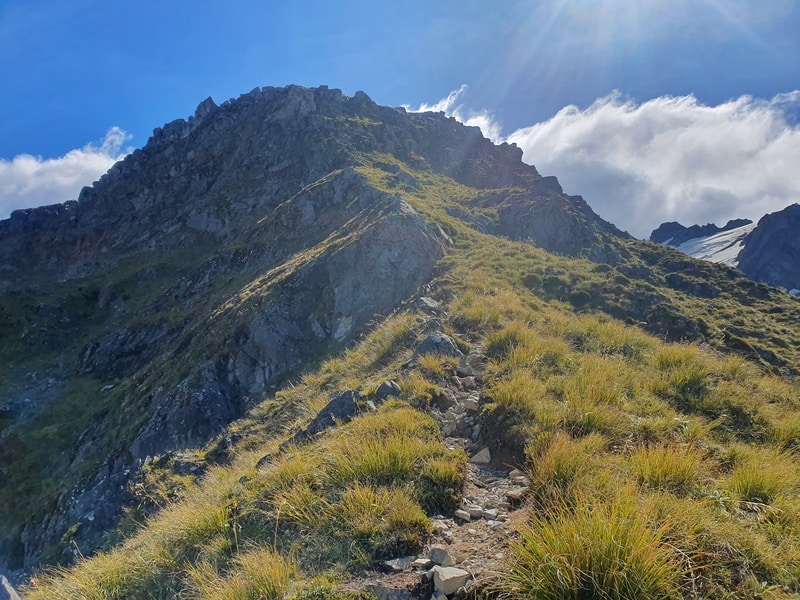
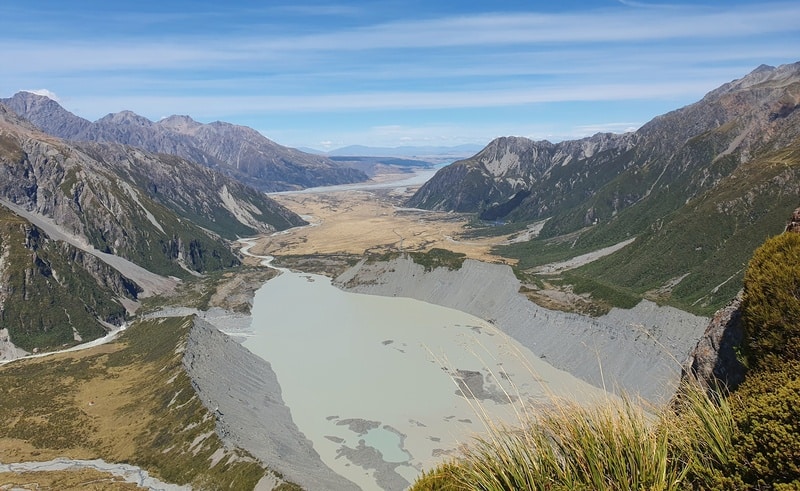
The track starts to get steadily steeper and steeper. Once you get off the creek bed, a more substantial track becomes easier to follow. From here it’s just a matter of keeping up the forward progress, making sure you’ve got steady footing and keep going up.
There are parts where the track looks like it disappears, but I always found it easy enough to locate again after a few seconds. But again, keep an eye on the GPX file to make sure you’re not too far off track.
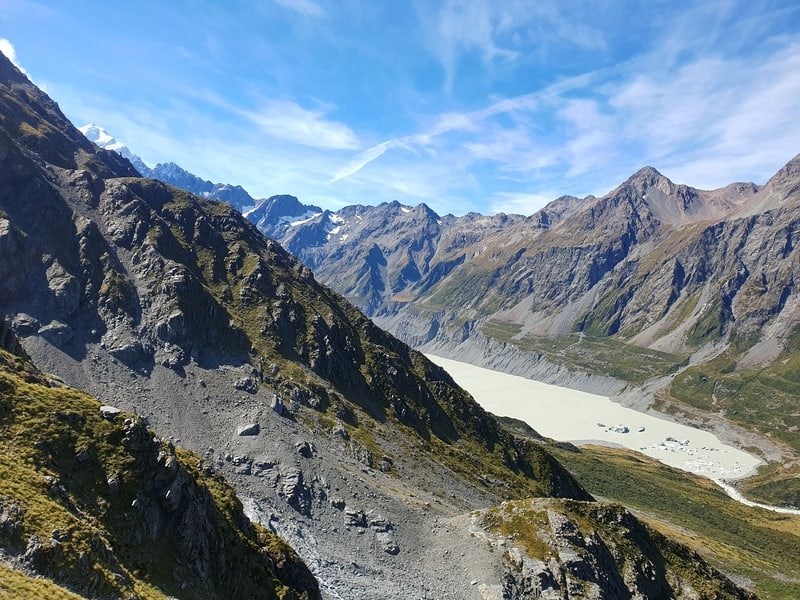
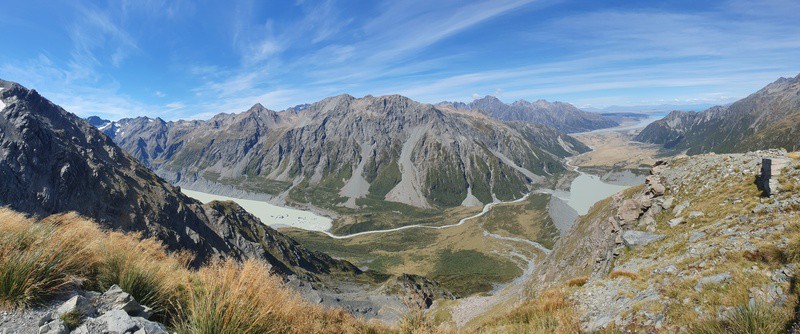
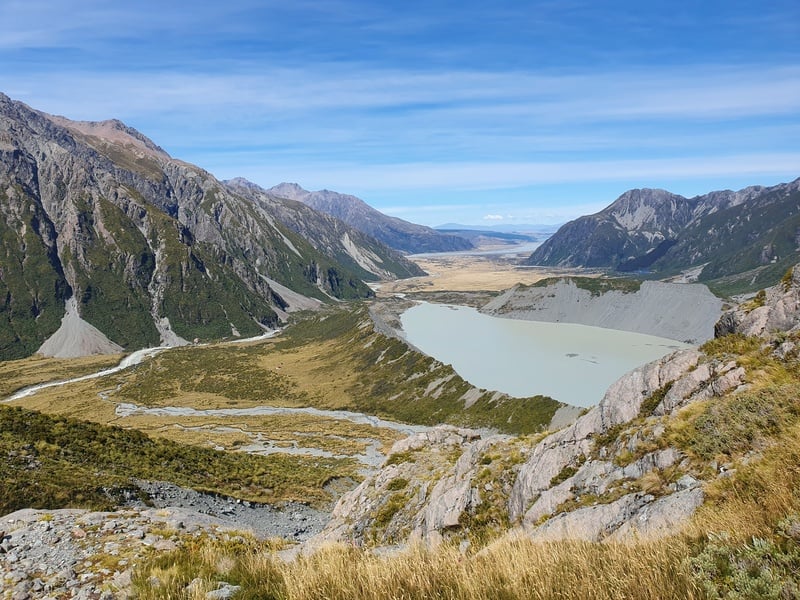
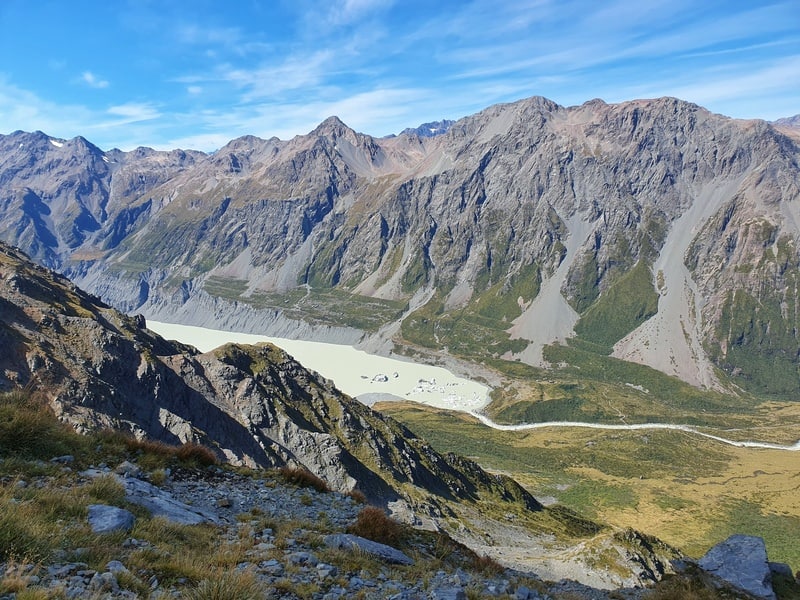
The views get better and better, hopefully, you’ve got great weather. I got lucky to turn around just as Mount Cook was disappearing behind the hills. Random side note, if you want to sleep with a view of Aoraki/Mount Cook, you’d be better off going to Mueller Hut.
There’s definitely some sections where those who are not great with exposure will need to take it easy but personally I didn’t find it sketchy at all.
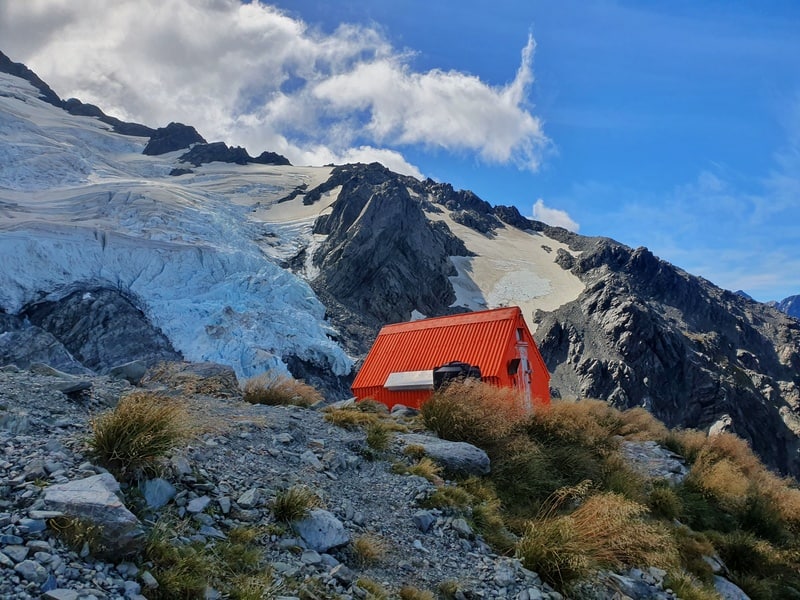
It’s not until the track starts to flatten out that you’re getting close to the hut. There’s a few boulders to scramble over a couple of hundred metres before you get there, and it’ll soon come into view thereafter.
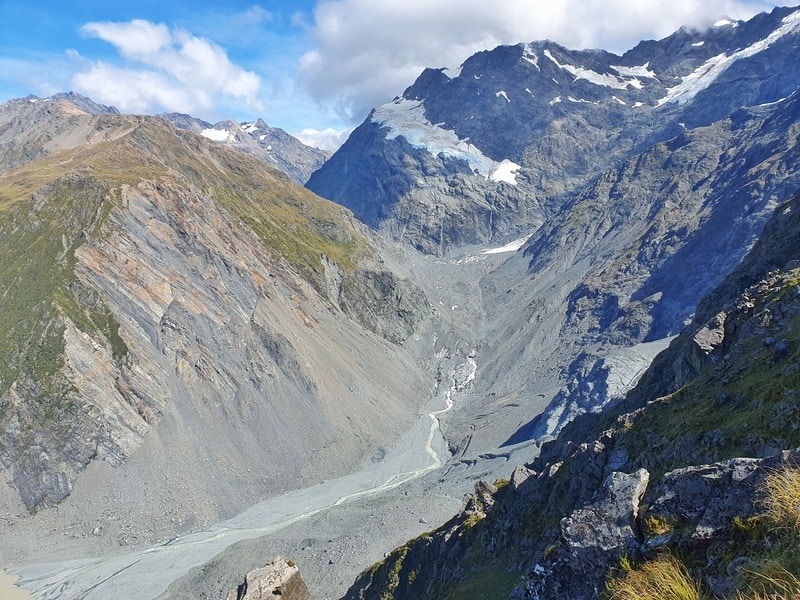
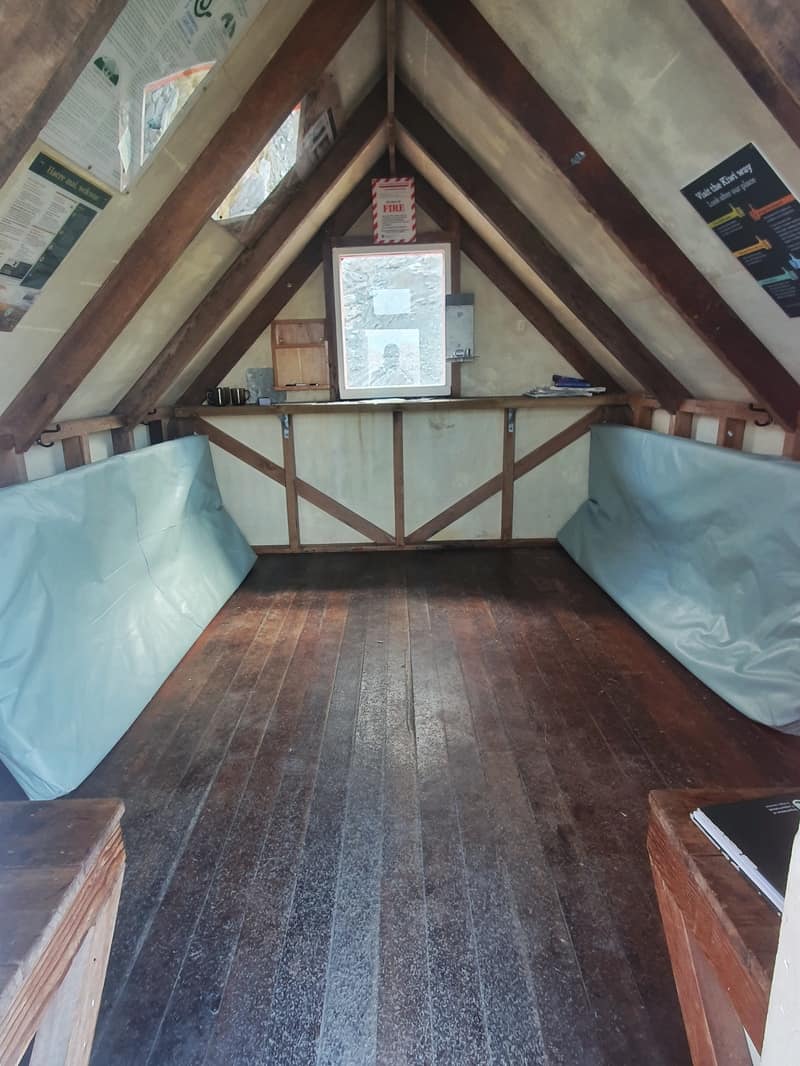
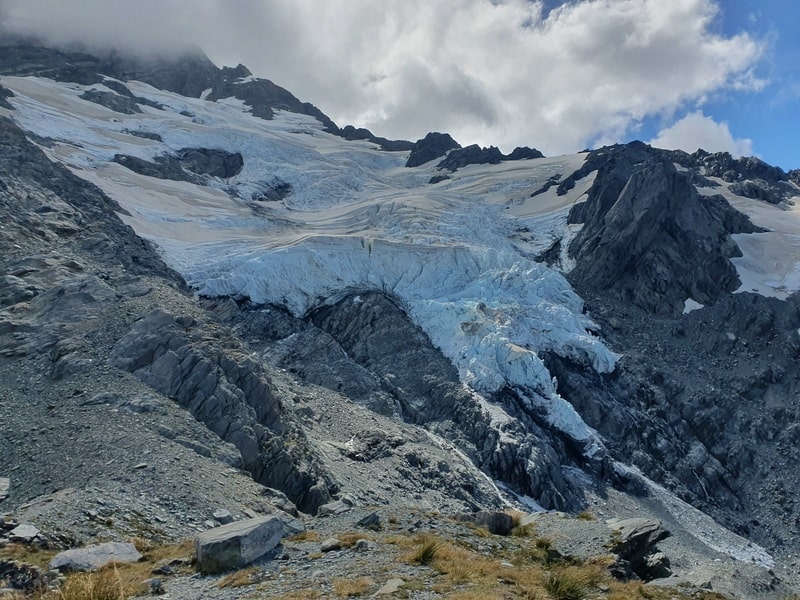
Yay, made it! If you’re the first group to the biv for the day, congrats! You get to sleep inside. If not, you’ll want to start staking out a spot in one of the camping spots. There’s some people who have built mini rockfalls to protect their tents from the wind. But if there’s some wind, don’t expect the greatest of sleeps.
Note: The keas can be super cheeky up here, which includes them destroying your tent. If you’re planning to leave the immediate area, I recommend not putting your tent up until as late as possible…even if that’s after sunset when hopefully they’ve gone to sleep.
Once you’ve settled in, head up behind the hut and explore 🙂 You might even find some epic mountaineers coming down from missions further up the Footstool/Mount Sefton.
You can tune into the radio at the hut which is fun.
The descent back down is the way you came. I found the track easier to follow on the descent which isn’t always the case when tramping. Remember to keep an eye on the weather as this wouldn’t be a fun trail to descend in bad weather.
Once you’re back on the riverbed you’ll likely take a slightly different route because as mentioned before, it sort of veers off somewhat randombly. But it’s all good, you’ll have a great time.
The journey to Sefton Bivvy is the best. The bivvy is getting more popular now, so you’ll be doing well to have the place to yourself if you want to stay overnight. But don’t let that stop you!
And yes, you can do go to Sefton Bivvy in one day.
If you’ve got any questions about hiking/staying at Sefton Biv, email jub@churnewzealand.com.
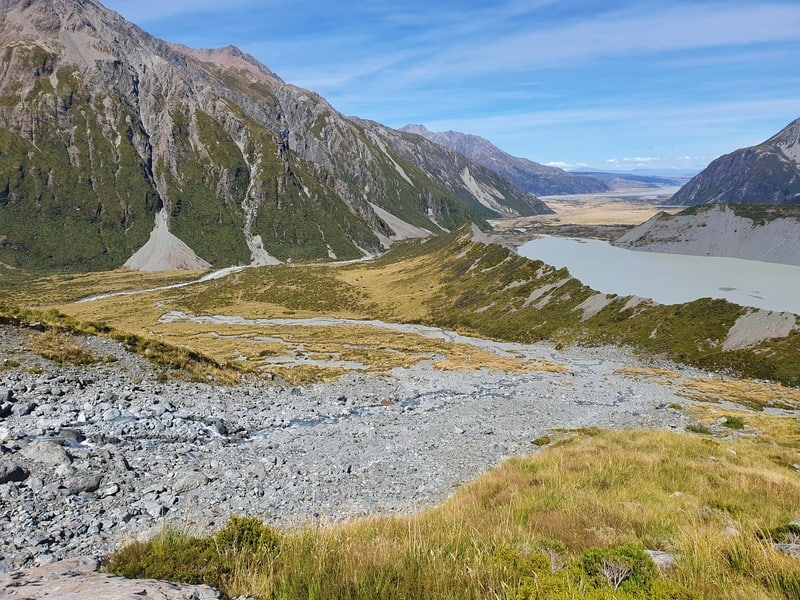
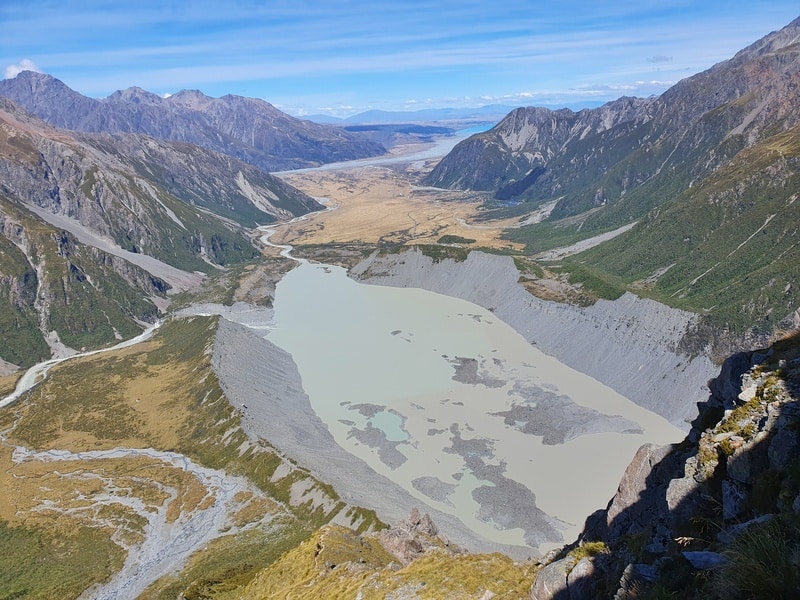
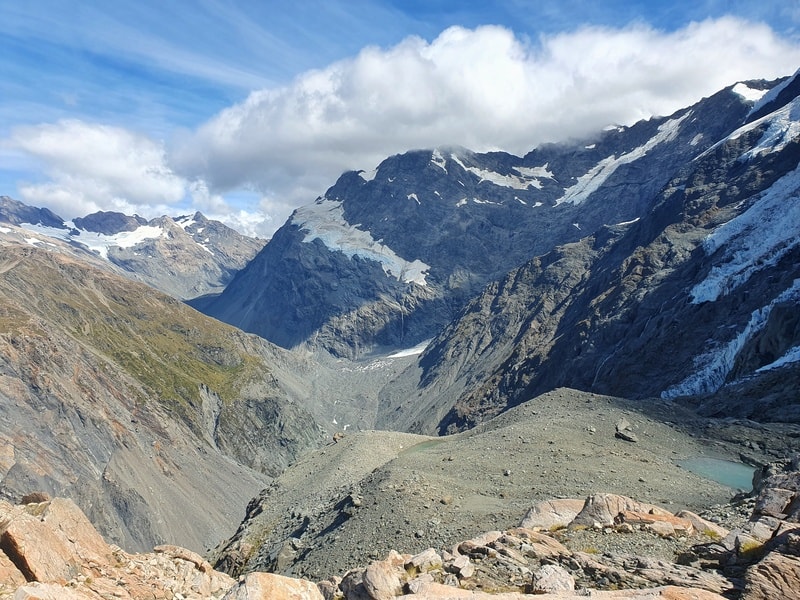
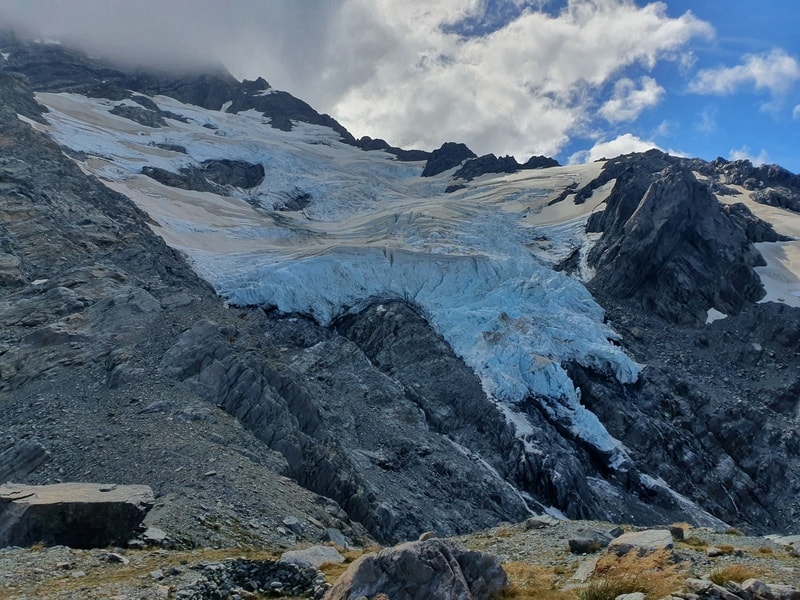
Here’s a few more photos from Sefton Bivvy hike to sway you that bit more.
Hey, it’s Jub here. I’m the guy behind Chur New Zealand, helping you have the best time hiking, trekking, walking…whatever you want to call it…in NZ. I’m based in Queenstown and am always out and about exploring trails, old & new. If you have any questions, reach out.

thanks for sharing your experience
That’s amazing article
Champion Samsu!
Hi Jub,
Cheers for the good content. Just read your post about Sefton Biv. I’ve been using the NZTopo50S app for offline maps for a while, however, I didn’t realise you can import routes – sounds useful! I’ve downloaded your GPX file, however, when I try to import it, it just has an option to import files in KML format. Have you got any suggestions? Also, is there any website to find other routes to import?
Cheers,
Neil
Hey Neil,
If you’re a WildThingsVIP member, you can download there GPX routes.
When I download the GPX file on my phone (here’s the link again: https://1drv.ms/u/s!AlXQS-_KQyVysi24FqIMtBONIqkI?e=5nxFQx ), it automatically asks if I want to open the route on the NZTopo50 app?
Are you trying to install it on your phone or computer?
Cheers
Jub
Thanks so much!! Your route description was spot on, super helpful, and just the right amount of detail I needed to head up confidently. Epic day there and back. Loved it!
Yay, glad you had a great time Barbara! Would have been hot.
Chur
Jub