The Rock of Ages Biv hike (24km return) in Mount Aspiring National Parks East Matukituki Valley is an off-the-beaten-path hike.
Why? Most people head into the West Matukituki Valley to the likes of Liverpool Hut and French Ridge Hut instead, driving straight past the Rock of Ages Biv trailhead.
That said, if you’re looking for something different, the Rock of Ages Biv could be a great adventure. It’s not easy though…as you’ll find out, which isn’t the norm when
TABLE OF CONTENTS
1. Rock of Ages Biv Details & FAQ
2. Rock of Ages Biv Map
3. How To Get To The Trailhead
4. My Rock of Ages Hike Review
1. ROCK OF AGES BIV DETAILS & FAQ
How hard is the hike to the Rock of Ages Bivoauc?
Medium to hard. There isn’t a lot of elevation, but the terrain for most of the hike consists of single track with plenty of rocks and roots to navigate.
How far is it to the Rock of Ages biv?
The DOC website states 12km, which is about right. There’ll be slight variations depending on the route you take after you leave the Kitchener Track but nothing major.
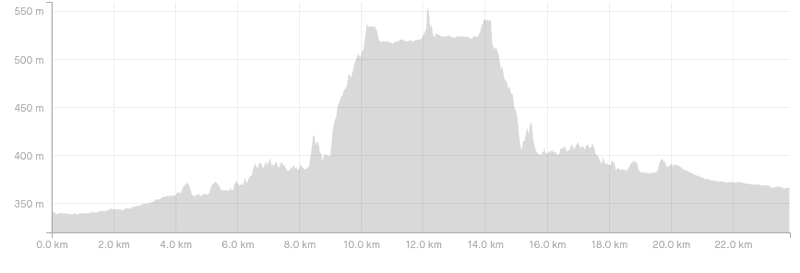
What is the elevation gain of the Rock of Ages hike?
Based on my Strava recording, the total elevation for the hike is 640 metres return. About 400 metres of that is on the way to the Biv. Here’s the elevation profile:
How long does it take to hike to the Rock of Ages Biv?
This is a tough as the technical terrain and the potential to lose the track will increase the variance in hiking times. And finding the biv isn’t a given straightaway (if you’re like me).
The DOC website says it’s an 8-hour return hike. They break that down to be 5 hours return from Cameron Flat to Junction Flat and 3 hours from Junction Flat to Rock of Ages Biv.
I’m happily recommending this time…it’s just not a fast track. Plan for 8 hours and if you get it done faster, awesome. But if it takes you more than 3 hours to get to Junction Flat on the way out, you might want to plan to get back in a time longer than 8 hours.
Are dogs allowed on the track?
No. Zero dogs are allowed in Mount Aspiring National Park.
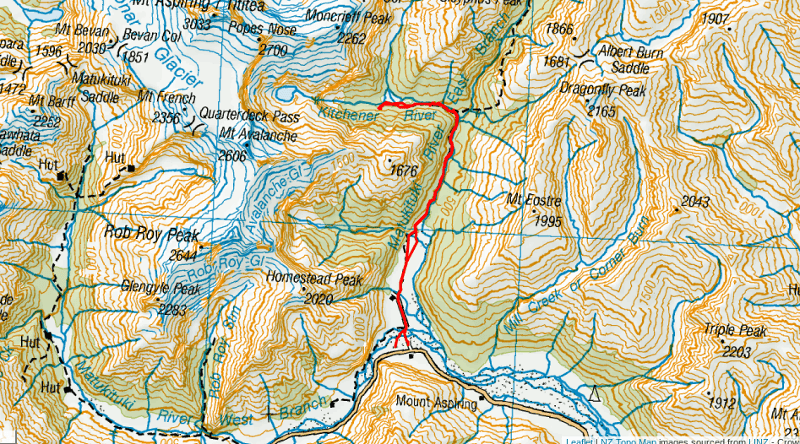
2.ROCK OF AGES HIKE MAP
*Clicking on the map below will open it up in a new window on TopoMap.co.nz
This is the GPX from my Strava data overlaid on the map. If you’d like to download the GPX File, click here.
3. HOW TO GET TO THE TRAILHEAD
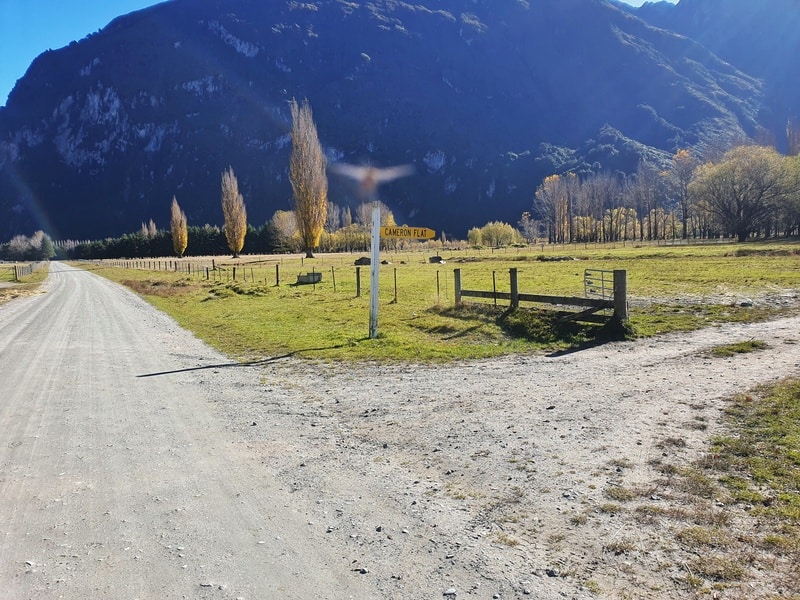
The two trailheads to start this hike are below (45km from Wanaka):
- East Matukituki Valley Track Carpark
- Cameron Flat Carpark (turnoff is above photo)
If the river is high, you should start at the East Matukituki Valley Track carpark where you can cross over the bridge. This does add another 2km to the hike each way (28km total).
For most, it’s easiest to park at Cameron Flat and cross the river from here if you’re okay with getting your feet wet, and it’s safe to do so (or take your shoes on).
The easiest way to get there is by car but you can hitchhike out here easy enough throughout the day as well in my experience.
There are some shuttles you can hire from Wanaka if you’ve got a group going.
4. MY ROCK OF AGES BIV EXPERIENCE
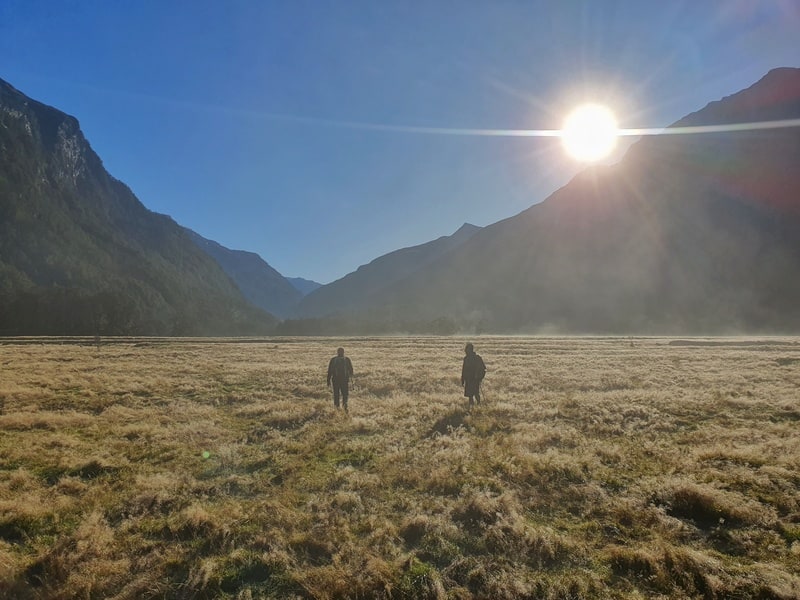
Having driven past the trailhead many times, I finally got a chance to hike the East Matukituki Valley Tracks in a quest to reach the Rock of Ages biv.
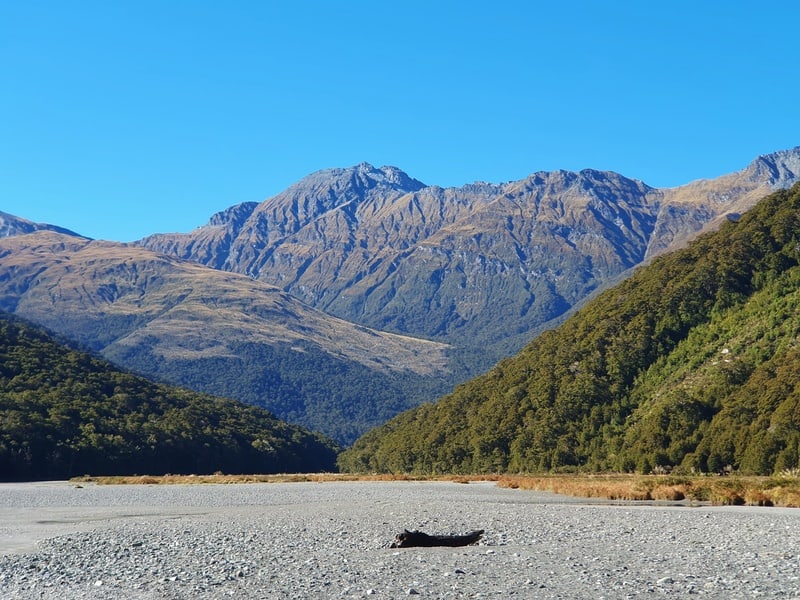
I got dropped off just past the main carpark, but quickly crossed the river and trudged over towards the 4WD track that leads through Cameron Flat.
After the river, you’ll pass the line of trees which leads onto Cameron Flat Road. This is a good condition road and the fastest you’ll move all day.
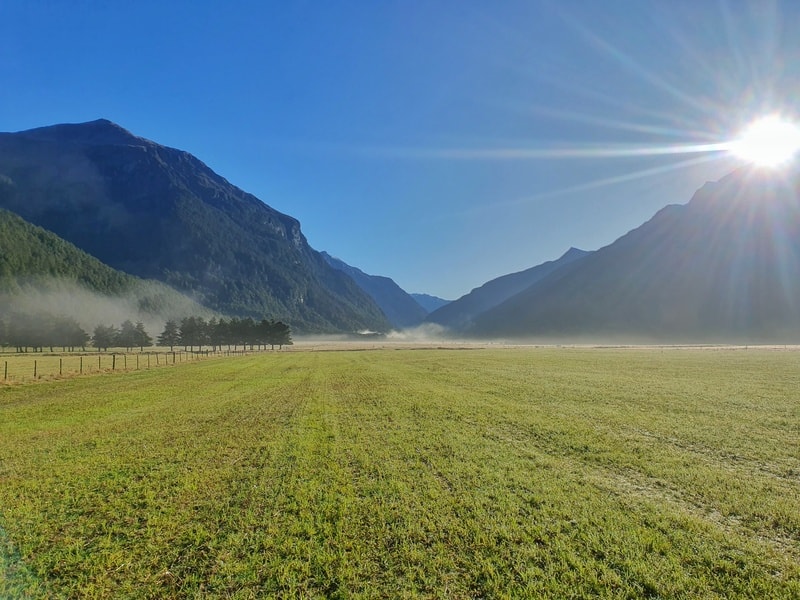
At the end of the road, you’ll spot an orange marker pointing right. Follow that you’ll soon be passing through some fields, likely with sheep and cows that’ll stare at you. There are enough orange markers to follow if it’s clear, but I lost the track in the fog and blindly followed two people I could make out in the distance. They weren’t doing the hike I was and it wasn’t until crossing the Glacier Burn that I got back on track.
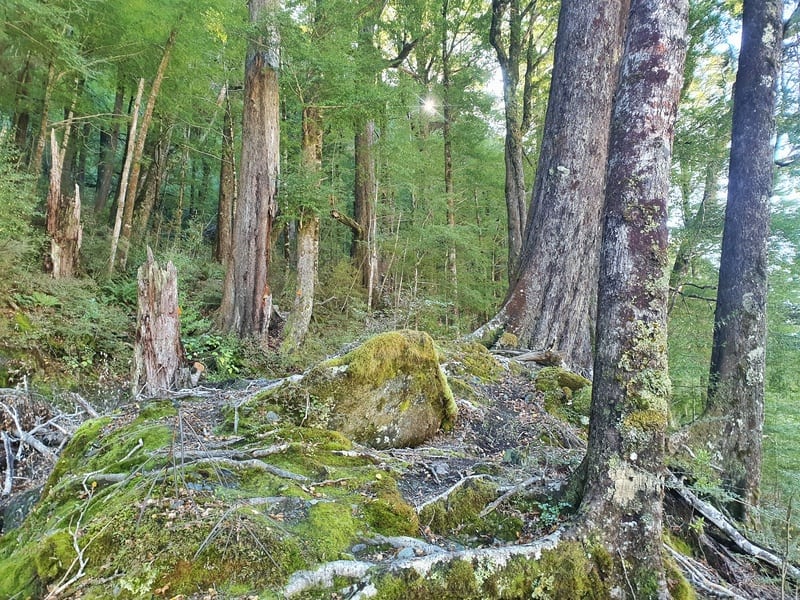
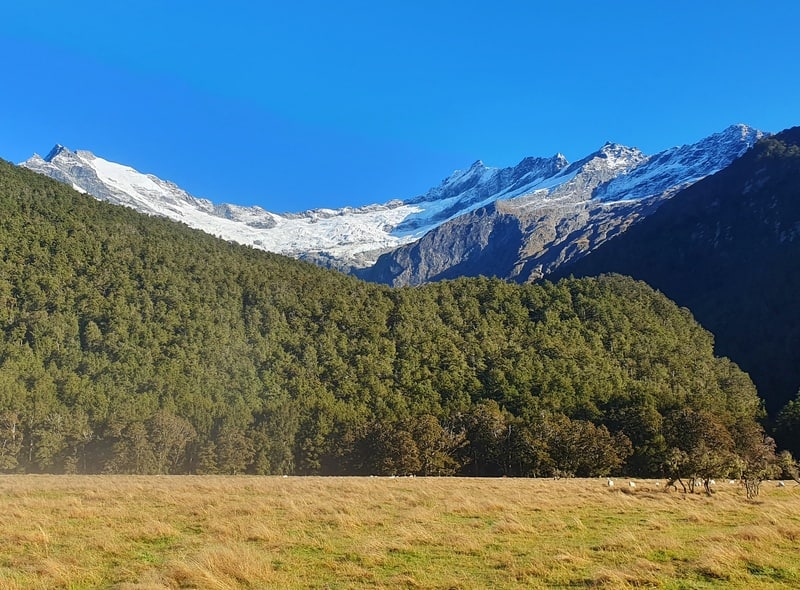
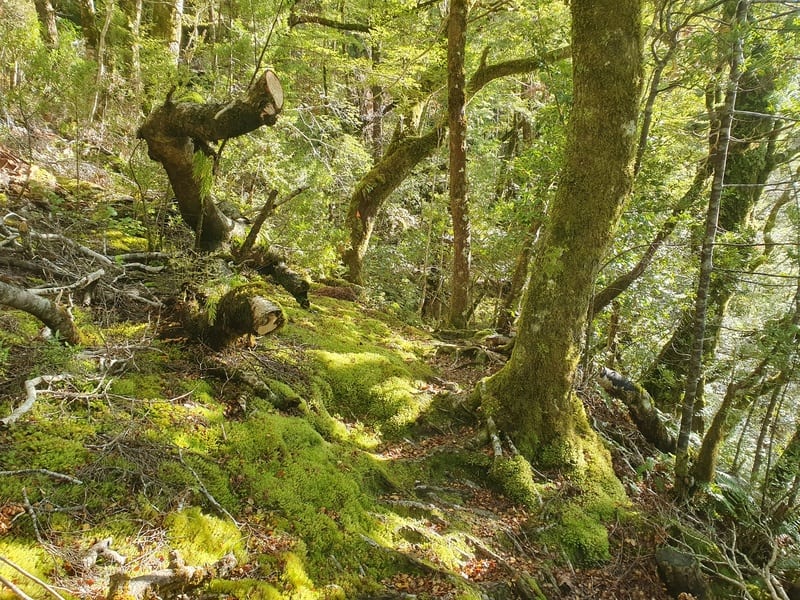
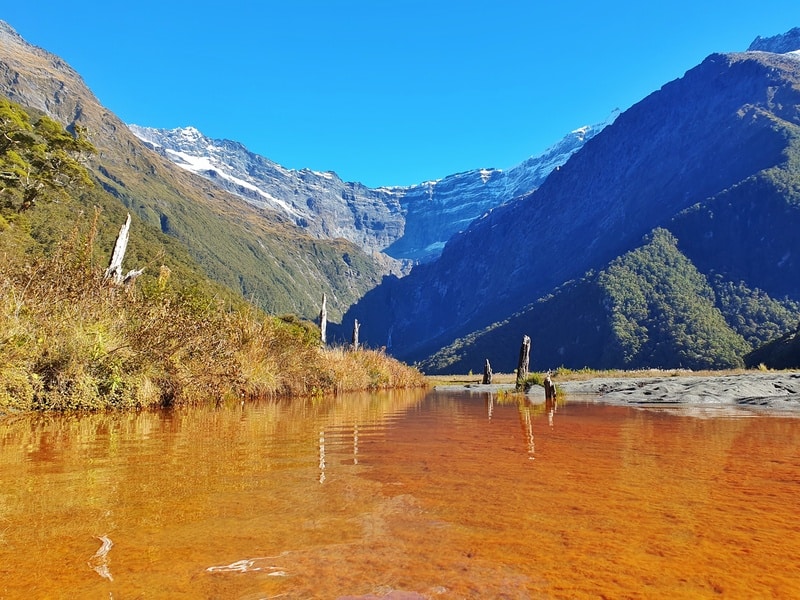
After crossing the Glacier Burn (the views of Avalanche Glacier are epic), the track will be a little bit more technical, but it’s only going to get more technical from here. Once you get 6km in, you’ll be in the forest following a track. There’s orange markers often enough that if you lose the track you shouldn’t have too many issues finding the way back to the track.
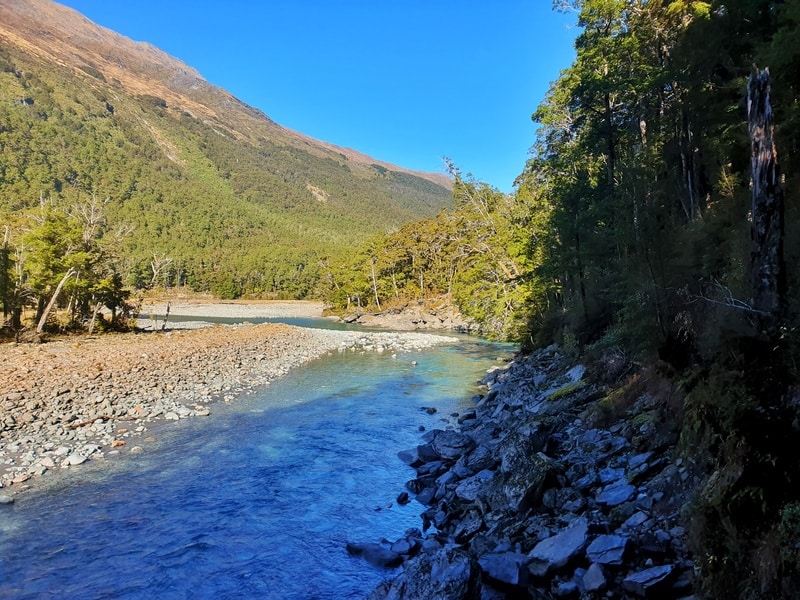
You’ll have the East Branch flowing on one side and while it’s tempting to go down into the river and make your way to Junction Flat that way, I recommend sticking to the track.
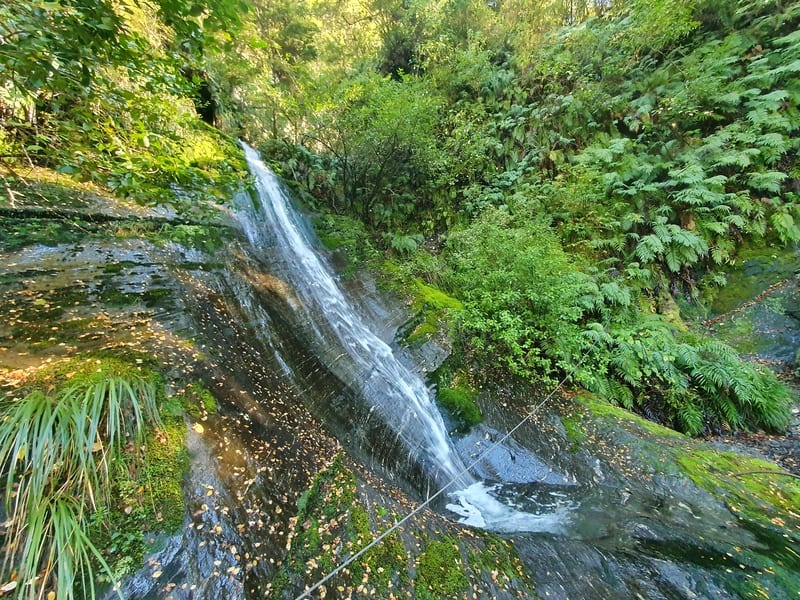
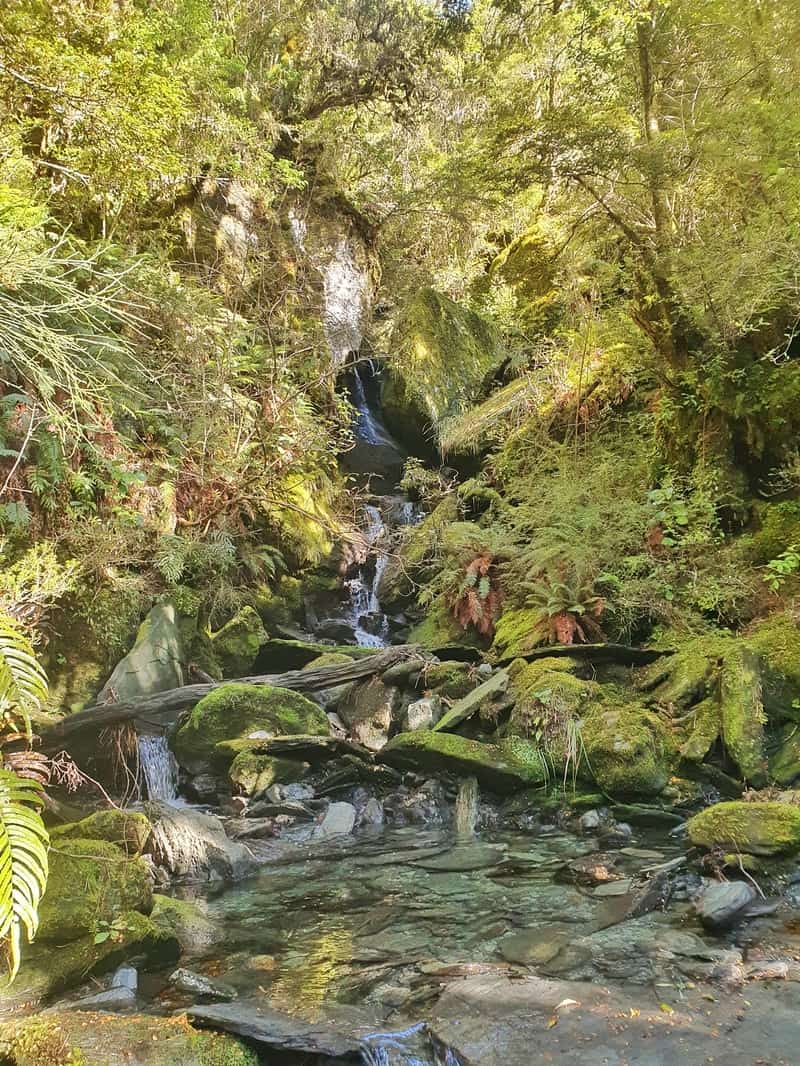
There are a couple of more technical sections through creeks and across the waterfall. And there’s a steep drop-off you’ll pass by which is not long before Junction Flat.
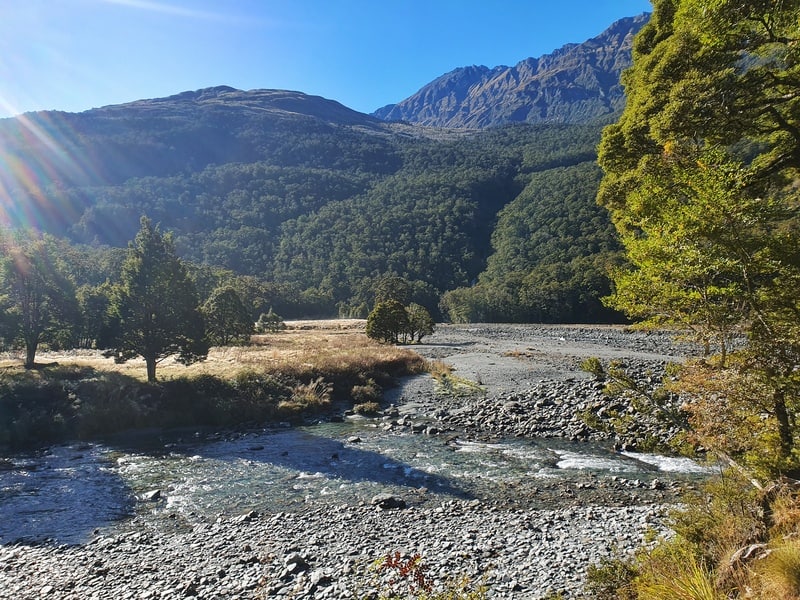
At Junction Flat you get a bit of a view of the trails leading to Ruth Flat and Rabbit Pass. There’s also Dragonfly Peak on your right.
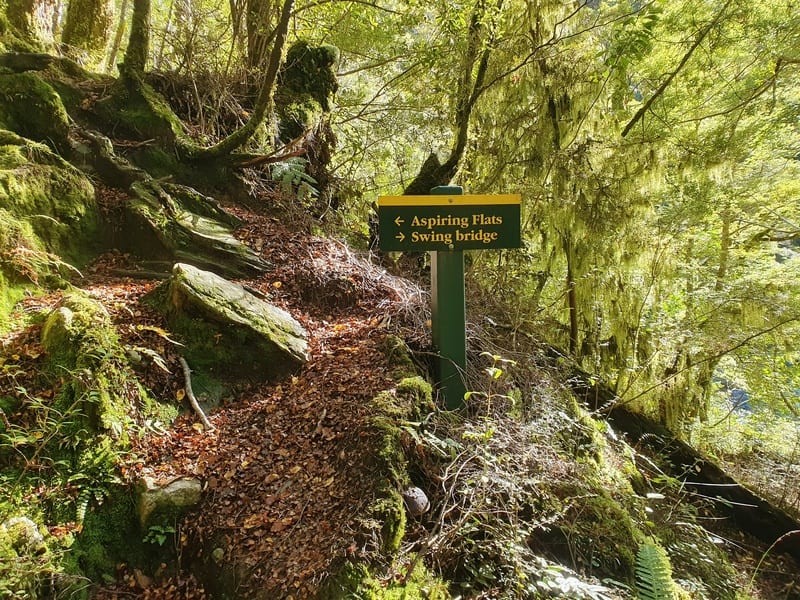
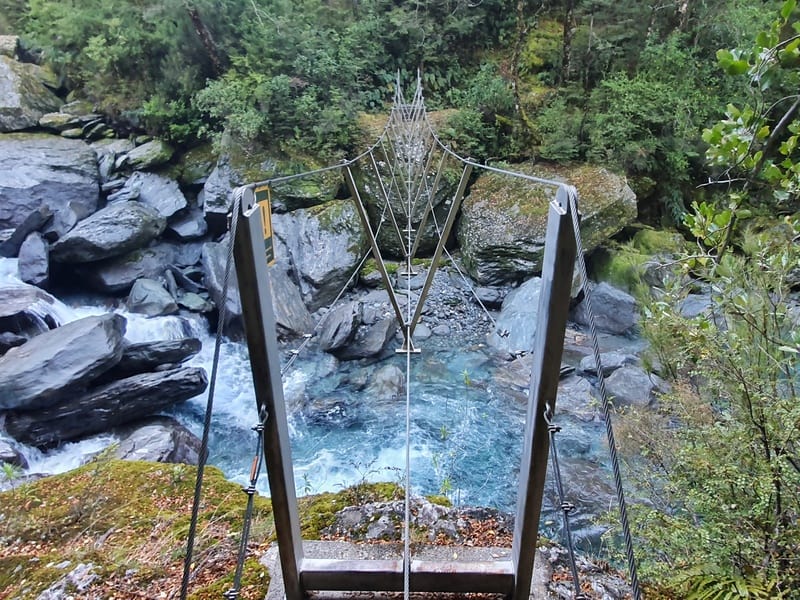
Turn left onto the Kitchener Track that leads to Aspiring Flat. A few minutes along the Kitchener, you can do a quick detour to the 3-wire bridge if you like. Otherwise, it’s back onto the track.

The Kitchener Track is the steepest part of the track. It’s not crazy steep, though the track is tough to follow still as you hear the river rapids roaring below you. Take it easy, and you’ll still move ok. Then leaving Kitchener Flat you’re released onto Aspiring Flat with some awesome views of Kitchener Glacier, and Turnbull Thomson Falls.
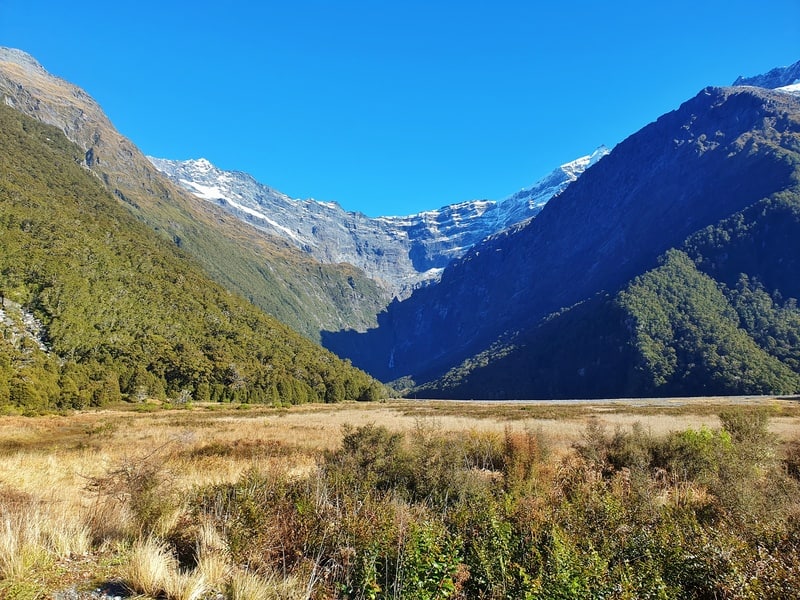
There are some tracks I could follow through the flats, and it’s only about 1km after you get onto the flats until you’ll reach the Rock of Ages Biv.
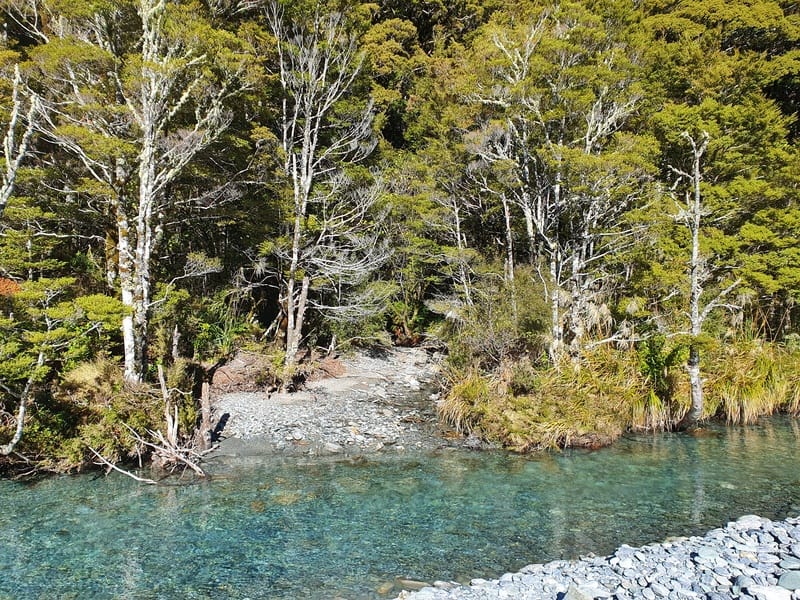
I was getting confused and scooted over the Kitchener River a couple of times (careful, it’s deep in spots, the clear still waters makes it hard to see) before heading into the forest. In hindsight it’s easiest to just follow the easy option through the wide part of the flats.
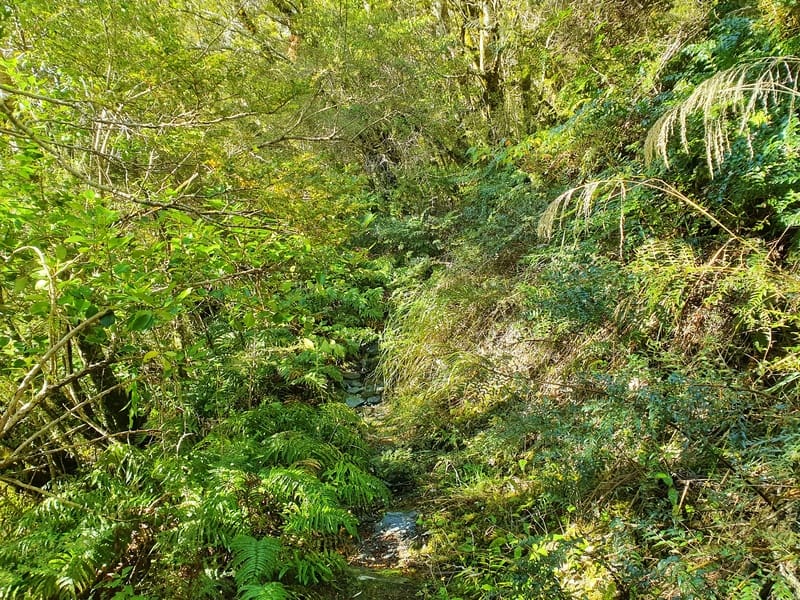
I then was on struggle street finding the biv. I found the stream that was supposedly next to the biv, and felt like I was where the biv was supposed to be based on the topo map app. But couldn’t find it for the life of me.
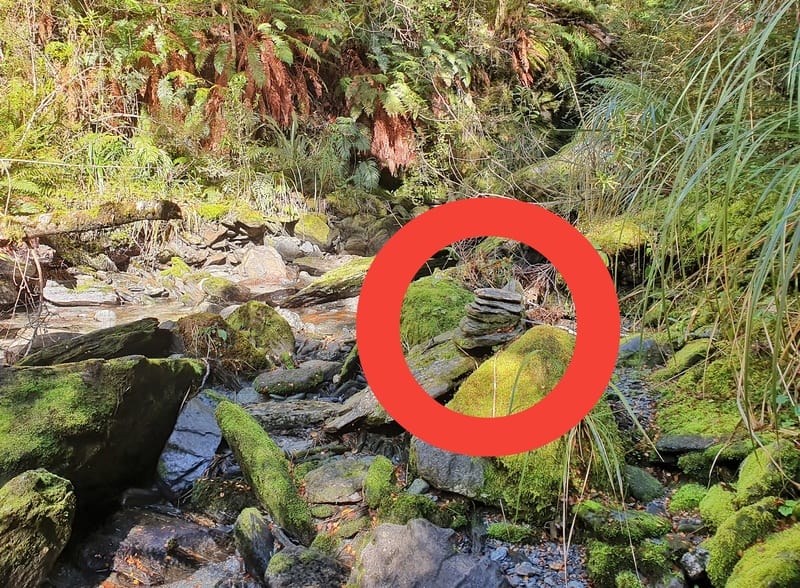
I was scrambling up and down rocks in and around the stream which was super slippery. In hindsight, I was way too far high…so I gave up and followed the stream back out onto Aspiring Flats. It was as I made my way down the stream that I spotted a cairn. Looking around I saw what I thought was the biv…and was stoked.
It turns out this isn’t the biv after all (96% sure) but I hadn’t seen photos of it in advance so assumed it was. I think I was close but had tunnel vision once I thought I’d found it.
I followed the stream out so I have a reference for next time. What I would do is read a few blogs about this hike, as it does seem like couldn’t find the biv despite the DOC website making it seem like it’ll be easy (I never saw any signage after leaving the Kitchener Track).
The return hike is easy enough following the track back the way you came. Just make sure you don’t daydream too much… I kept losing the track on the way back too. But the return was definitely faster than getting there.
The hike to Rock of Ages Biv is excellent for a few reasons. It’s a different kind of hike compared to the majority in the area, it’s not easy to find the biv, and it’s less popular than the other valley in Mount Aspiring National Park.
If you’ve got any questions about this hike, or even better, any feedback about hiking to Rock of Ages then get in touch in the comments below.
Hey, it’s Jub here. I’m the guy behind Chur New Zealand, helping you have the best time hiking, trekking, walking…whatever you want to call it…in NZ. I’m based in Queenstown and am always out and about exploring trails, old & new. If you have any questions, reach out.