If you’re looking for a challenging peak to reach, which offers some exposure, epic views, and a place not many reach…you might want to hike to Mount Larkins, 2300 metres above sea level.
You should do it as an overnighter (two Hut options), but if need be it can be a long day trip.
If Mount Larkins is on your bucket list, read on to learn about reaching the summit.
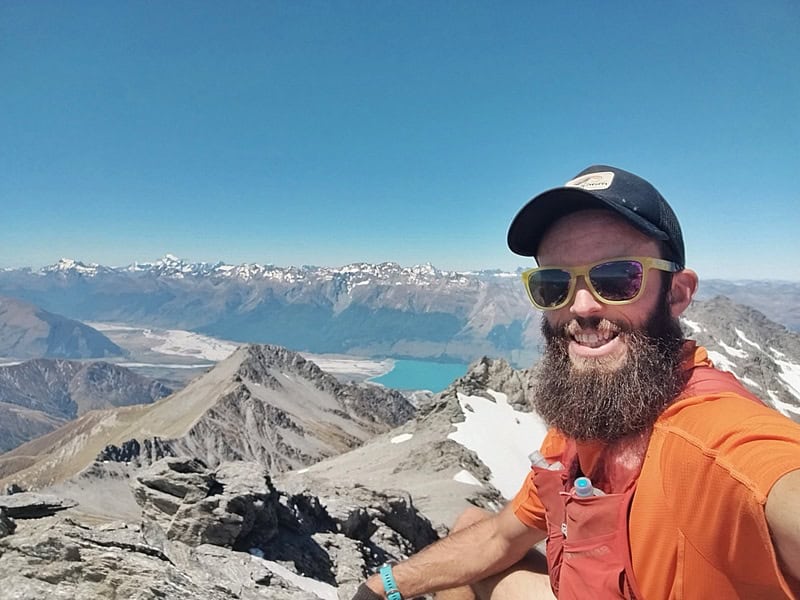
TABLE OF CONTENTS
1. Details About Mount Larkins
2. Mount Larkins Map
3. How To Get There
4. My Mount Larkins Experience
1. DETAILS ABOUT MOUNT LARKINS
- QUICK DETAILS:
- 27km return
- 2200 metres of elevation gain
- Advanced track
- Download GPX File here
How hard is the Mount Larkins hike?
It’s hard! Anything with over 2000 metres of elevation gain in 27km is going to be steep, and with this not being a marked track after Heather Jock Hut the track the going can be slow (even though there’s old mining track you follow). This is definitely for advanced hikers only.
Can you hike this in winter?
While you can, and people do backcountry skiing this way in winter…I have no expertise on this. Having done the trail in mid-Jan, there were only a couple of patches of snow left which we didn’t have to go through. I wouldn’t attempt this before December as someone who doesn’t have great skills in the snow.
What distance is the round trip to Mount Larkins?
From the carpark to the summit return (based on the route below) came in at 27.23km. That’s similar to what other people record…so be prepared for that distance.
What is the elevation gain of Mount Larkins?
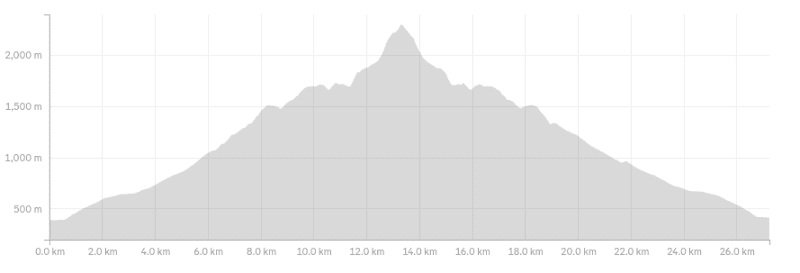
Based on what my data says, the total elevation gain is ~2,185 metres. You start just below 400 metres below sea level, and with the peak at 2,300 metres above sea level the majority (90+%) of the elevation gain is on the way to the peak. This is based on the route you can read further below.
Here’s the elevation profile:
How long does it take to hike Mount Larkins?
Given the elevation gain, tricky terrain, and distance…it’s hard to give an estimate. I would recommend doing this over two days, as heading to the summit and back is going to be a big big day for most people.
I would say give yourself at least 10 hours of hiking time…but that’s a real guesstimate.
There are two huts you can stay in:
Heather Jock Hut. A basic 3-bunk Hut that’s free to stay in.
Kelly’s Hut. A private hut that you can stay in for $45 a night.
I’d probably choose to stay in Heather Jock Hut, and leave most of the stuff there and take a day bag to the summit. Kelly’s Hut is the ideal location as it’s just 400 metres below the summit. But yea, you’ll have to take all your overnight gear the extra few kilometres there (it’s at nearly 1900 metres).
2. MOUNT LARKINS MAP
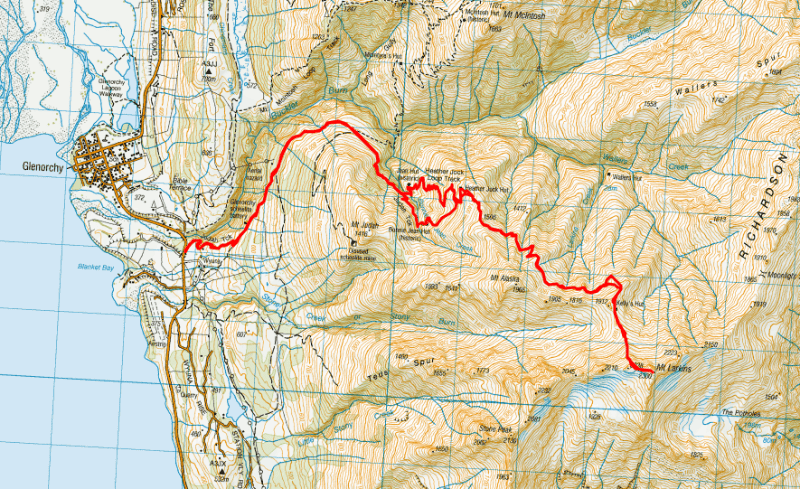
The map below is the GPX file overlaid on topomap.co.nz. You can download the GPX file above, and download it for onto the NZ Topo50 app, which I think is the best topo map app for your phone.
3. HOW TO GET THERE
The trailhead is 2km south of Glenorchy, here (big carpark).
Driving there is easiest (less than an hour from Queenstown), especially as it’s such a big day out it’s hard to plan a hiking shuttle in advance. If you’re staying in Glenorchy, you could always walk from there and add a few kilometres to the trip.
Hitchhiking from Queenstown to Glenorchy is pretty easy, as is the return…as long as it’s not too late in the day.
4. MY MOUNT LARKINS EXPERIENCE
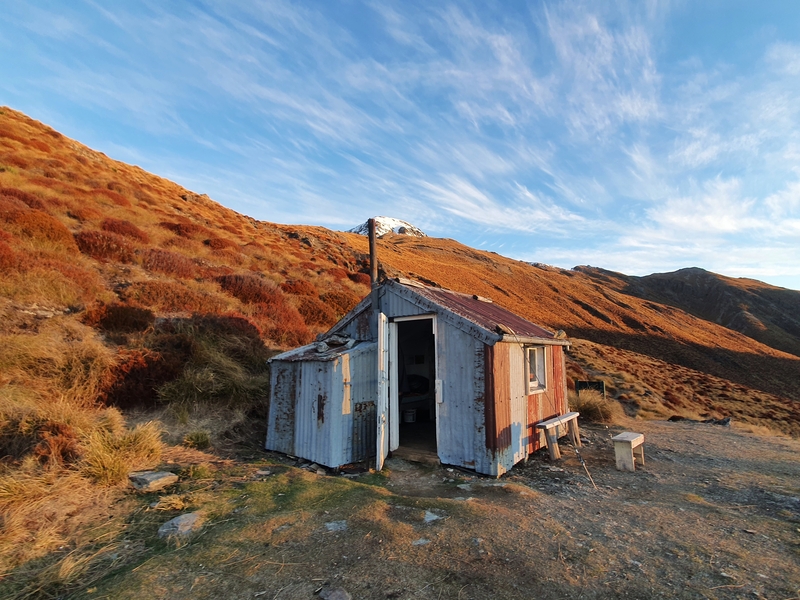
Heather Jock Hut
Having gotten to Kelly’s Hut last year before turning around, I was pretty keen to get to the summit this time. I knew I wasn’t committed, as the last 400 metres above Kelly’s Hut looked intimidating, bit I was going to give it a good crack.
I’m not going to detail the journey to Heather Jock Hut, you can read that about the Mount Judah Track here.
From Heather Jock Hut, fill up with Hut water as it’s your last chance to do so (unless you melt snow). Remember, as it’s an old mining area, don’t drink the river water.
Leaving the hut, head up the hill right behind (or head east for a bit until you find a track). You’ll probably find yourself off trail for a bit here but just head straight up and you’ll eventually find a trail with the goal to get to point 1506 on the topo map.
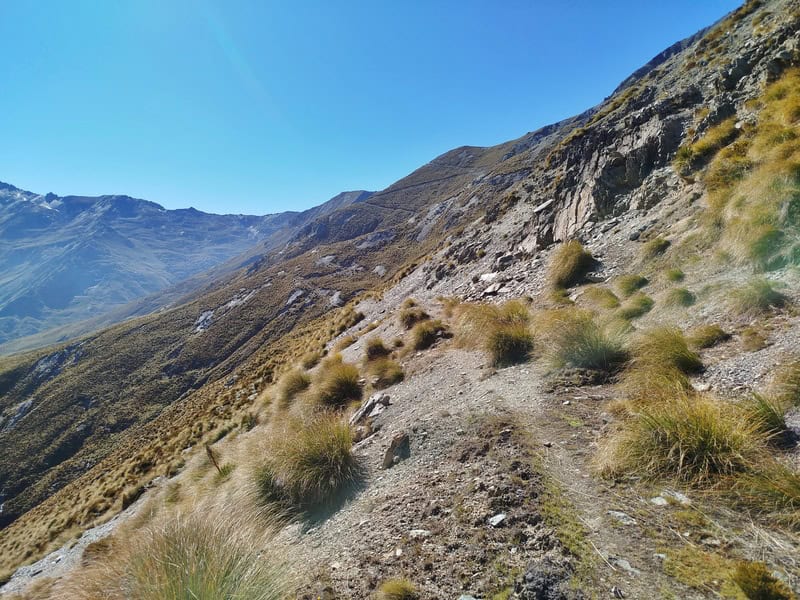
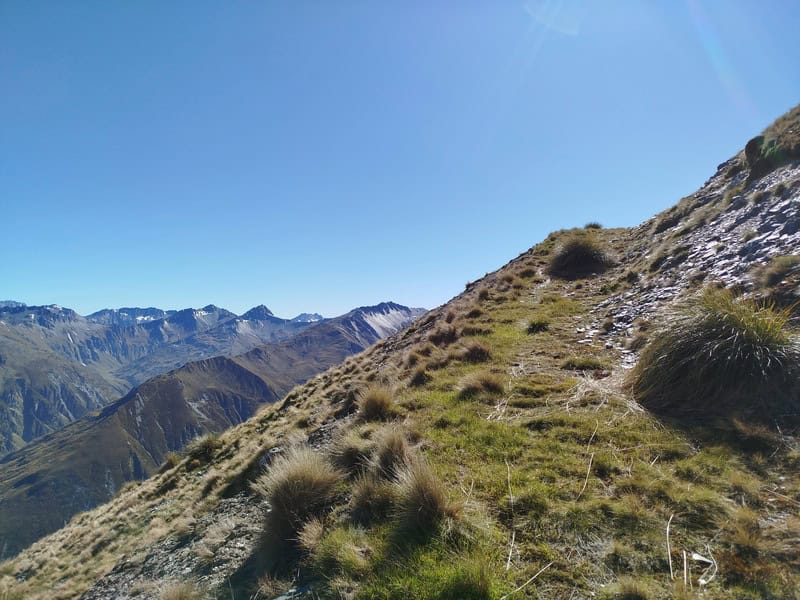
You’ll then see a distinct trail following the side of the mountain…make sure you turn left rather than right (unless you want to go to Mount Alaska).
This is a nice section of trail for 500 metres or so, that’s net downhill. There’s a couple of spots where you’ll need to be careful of your footing, but it’s easy enough to follow the route. You’ll then eventually start heading up with a few switchbacks in. It’s crazy they used to take mining machinery up here as you’ll notice what is an old 4WD trail I believe?
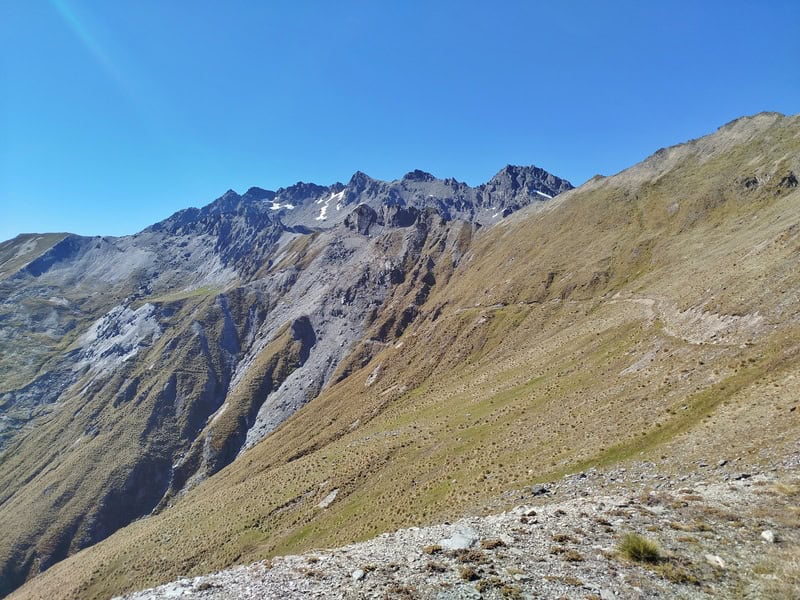
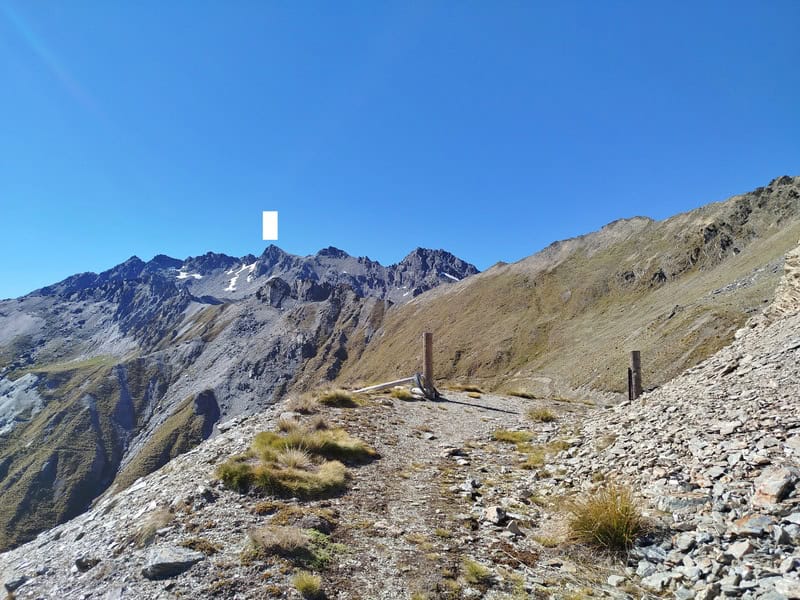
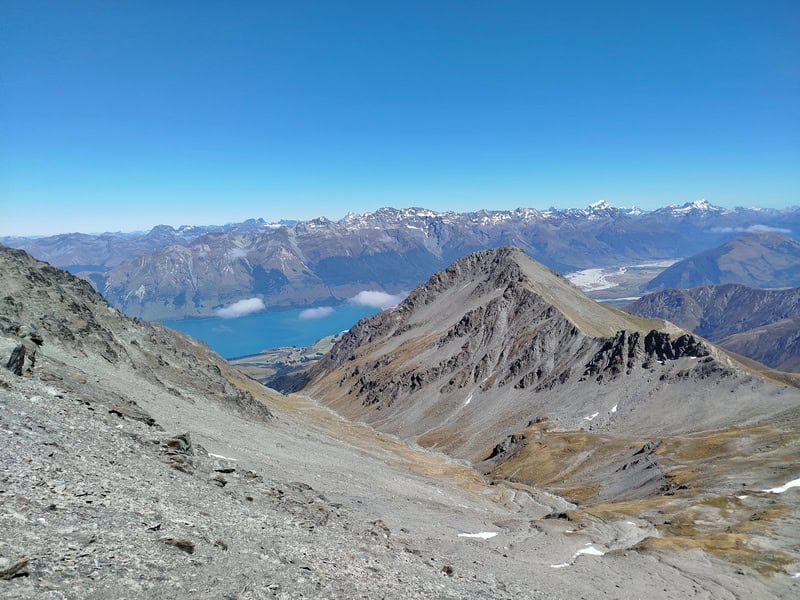
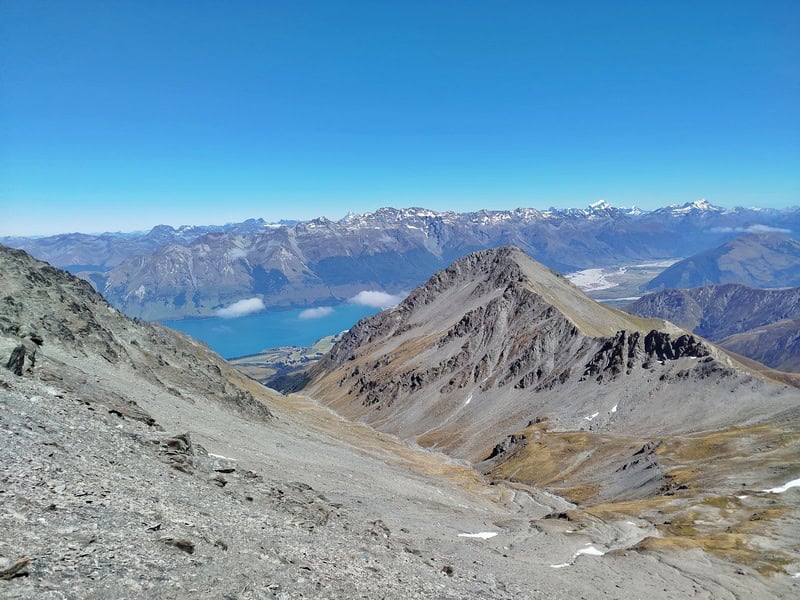
The track continues up, until you spot these couple of wooden posts which is going to be the first time you’ll see Mount Larkins. I’ve marked the summit in the photo above…the ramp on the right hand side is what you’ll head up to get to the summit.
From here, you’ve got some more flat ground to cover…watch out for the boggy bits! There’s a couple of sections on the trail which make me slightly nervous looking at the terrain (it’s on the more scree like sections), but ultimately my footing was fine.
You’ll see on the topo map above there’s a section where the gpx lines separate at the 1700 metre contour. I would recommend sidling through the tussock to the northern line on the file, and heading up the ridge.
You could go straight up the scree section, but a friend tried that and bailed in the end and followed us around. This is the final pinch before Kelly’s Hut which comes into view soon after you get to the top of the ridge.
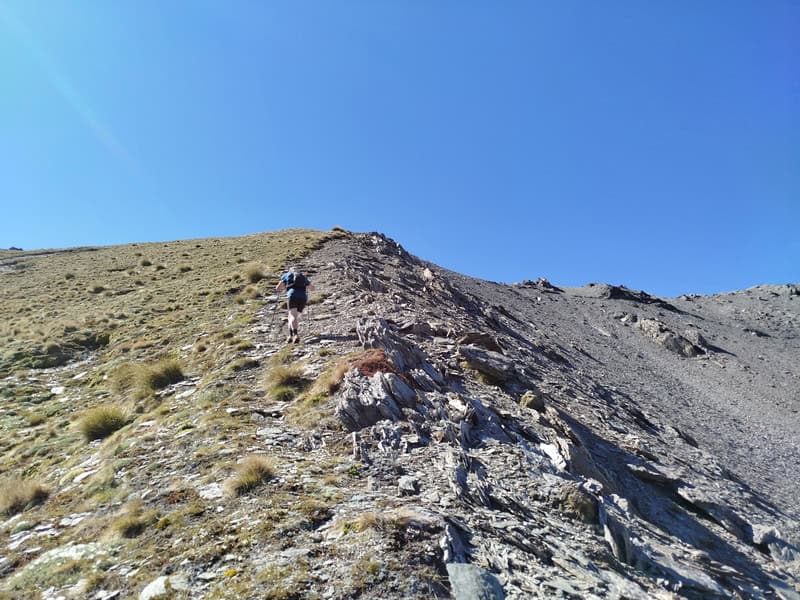
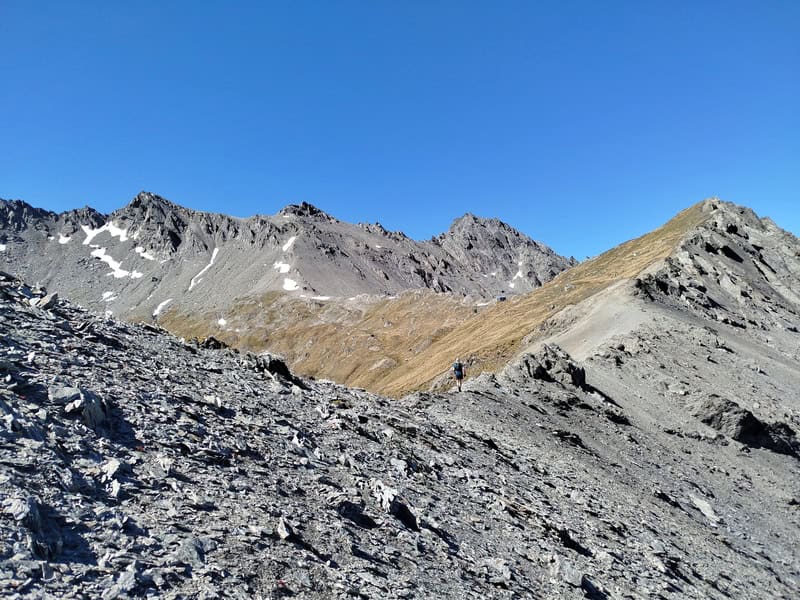
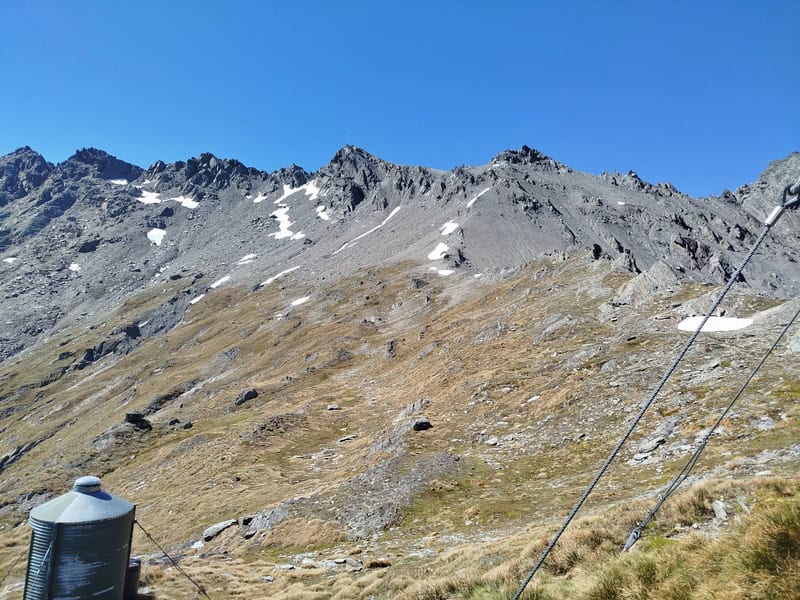
It’s so random there’s no water source at the Hut, but it’s a good picnic bench they’ve got there as you look towards the summit and the final push.
For me, when I look at the route which follows the ridge straight behind the hut…it looks hard as there’s no obvious route. But when we got to the scree section, there was enough footprints where I could follow where to go easy enough. It’s certainly not for the faint hearted…especially when three kea swooped in too watch us.
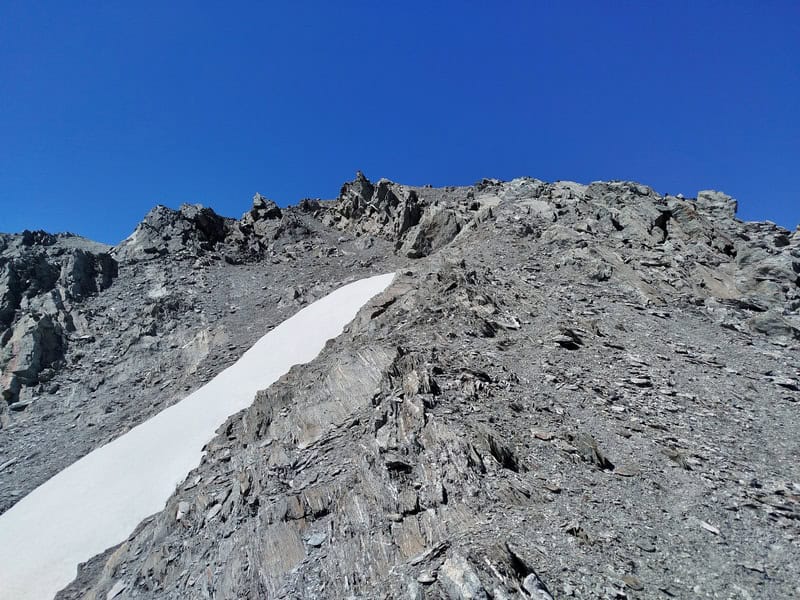
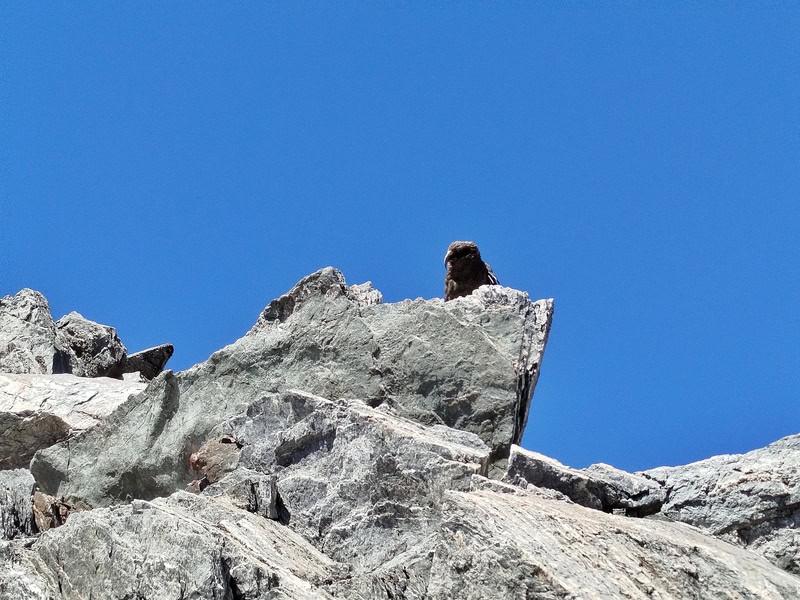
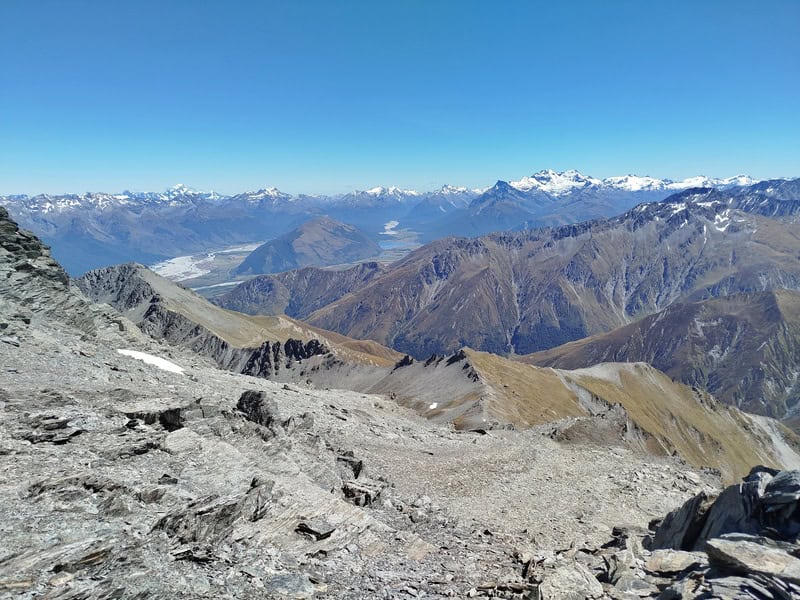
There was a section just above 1900 metres where we took a wrong line, and that’s where I thought about turning around as I was thinking if it continues on like this for a while it’ll take me forever to get back down. But we had just followed the trail the wrong way when we got to a few rocks.
Once back on track it was fine, and then it flattened out. Once you get to the flatter section, you can almost follow you nose to the summit. The final few metres to the summit are even relatively chill.
How good does the summit go!
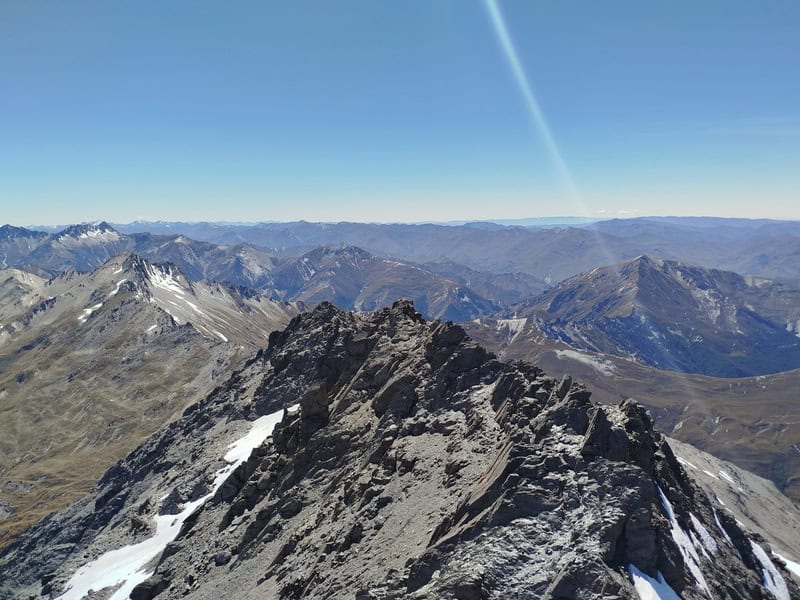
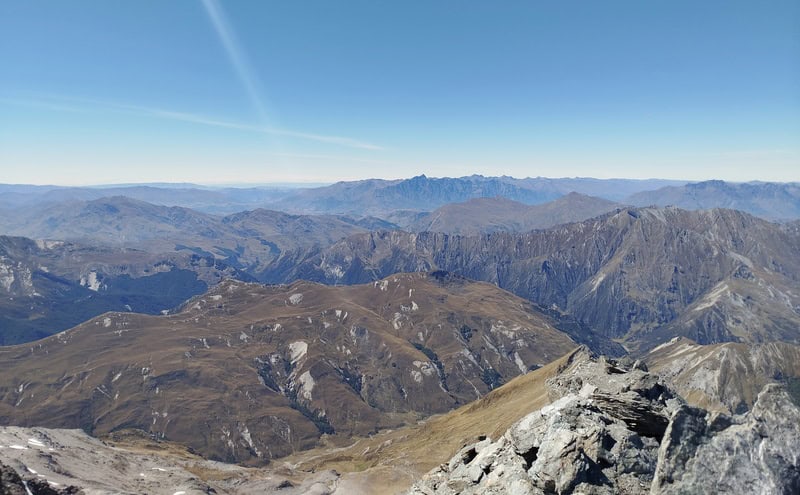
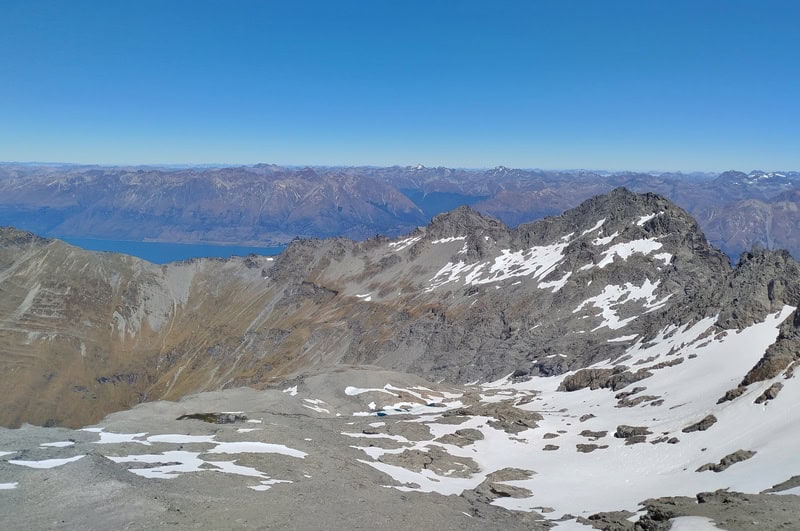
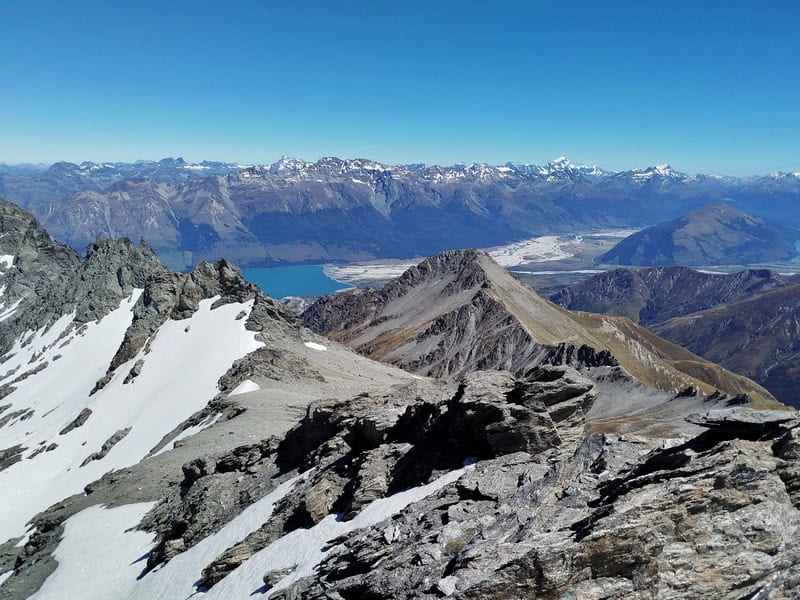
Views for days. The most confusing part for me was seeing how close Ben Lomond and Bowen Peak looked.
The descent is easy enough, it’s all about coming back down the way you came…making sure you get onto the Ridgeline above Kelly’s Hut. The descent was easier than I expected as there’s enough traction from the scree (more than I thought).
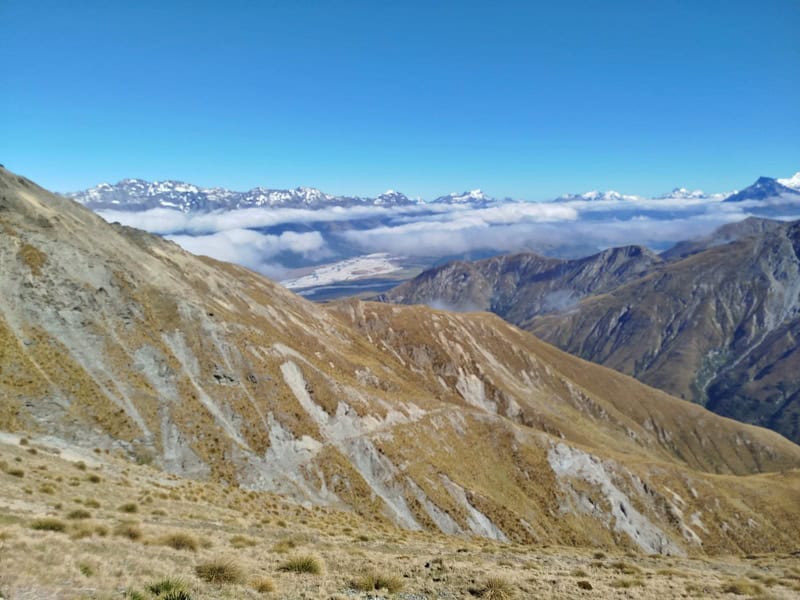
Again, don’t day dream as there’s a couple of little steps you’ll need to take easy. Once we were nearly back at Kelly’s Hut I certainly felt myself relax a bit. And from there we made good time going back to Heather Jock Hut (we plunged down the scree below Kelly’s Hut rather than sticking to the ridge I recommended on the ascent).
The worst part was the final few hundred metres from point 1506 to Heather Jock as that’s the only time I really felt off trail!
Mount Larkins isn’t an easy summit, and there’s a good chance you’ll find yourself turning around before you get to the summit.
If you’ve got any questions or comments about summit Mount Larkins, let me know in the comments below or email jub@churnewzealand.com.
p.s. Here’s a map of all the hikes documented on Chur New Zealand. You can click the icon to see brief details, as well as a link to read more about the hike (like this post).
Hey, it’s Jub here. I’m the guy behind Chur New Zealand, helping you have the best time hiking, trekking, walking…whatever you want to call it…in NZ. I’m based in Queenstown and am always out and about exploring trails, old & new. If you have any questions, reach out.

