The Awaroa/Godley Head Track is one of the top recommendations from Christchurch locals. It’s one of those walks where you never hear a bad thing about it.
The loop track is less than 10km starting from Taylors Mistake Beach. You walk around the headland with awesome views. And you’ll see some WWII remnants.
This post will give you an idea of what to expect on the Godley Head walk, how to get there, photos, and more.
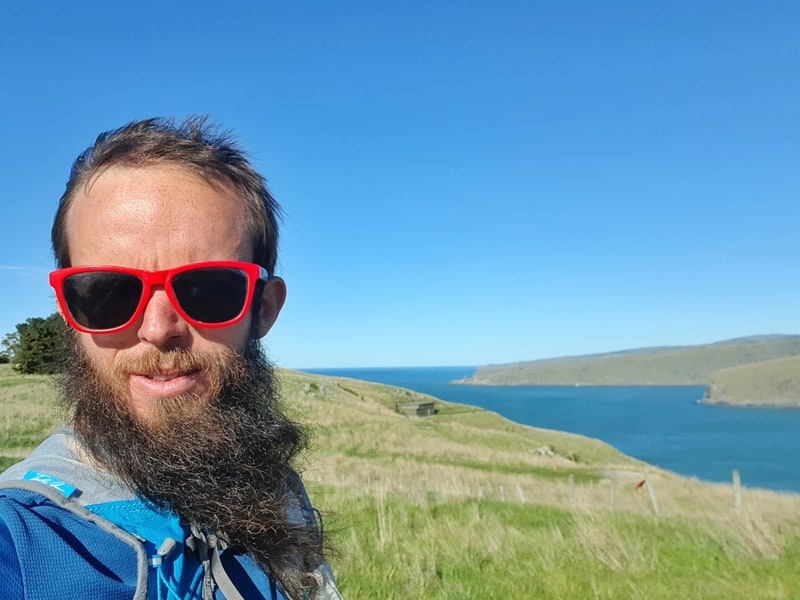
An awkward selfie on the Godley Head walk
TABLE OF CONTENTS
1. Godley Head Walk Details
2. Godley Head Track Map
3. How To Get There
4. My Godley Head Experience
1. GOLDEY HEAD WALK DETAILS
How hard is the Godley Head walk?
Easy to Medium. The Godley Head walking tracks are well formed and easy to follow for the most part. If it’s a windy day, you’ll definitely notice!
How long is the Godley Head Track?
The Christchurch City Council website says it’s 8km, but my came in at 9.33km. We’ll go with an 8-10km walk 🙂
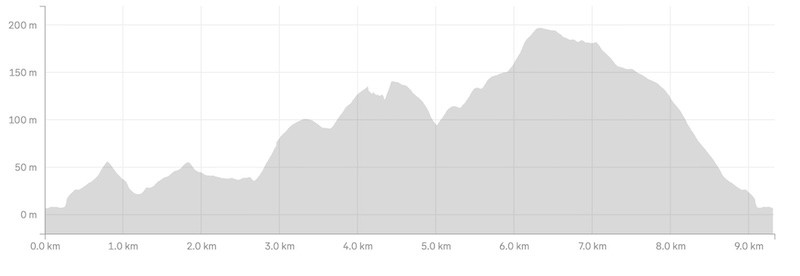
What’s the elevation gain of the Godley Head hike?
My watch came in at 312 metres of elevation which I feel is reasonably accurate. Here’s the elevation profile:
How long does it take to do the Godley Head Loop Track?
It took me right on 2 hours to complete the walk, which included a little bit of time at the WWII remnants but no food breaks, or any detours.
The DOC website says the walk takes 3 hours so I’m confident it’ll take 90% of people 2-3 hours to complete the walk. Assuming you don’t take lots of breaks.
2. GODLEY HEAD LOOP TRACK MAP
Here’s the GPX file.
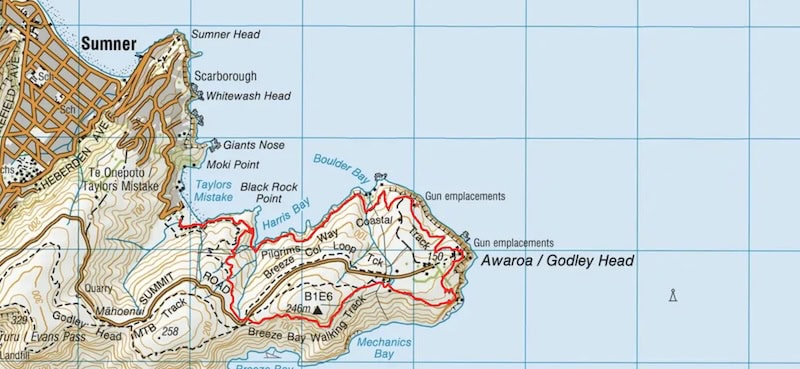
You can’t see the Godley Head walking tracks on Google Maps at all. When you look at the walking route on Maps.me, it looks super confusing.
They include what I believe are mountain biking tracks and some other stray trails. Once you’re on the walk itself, it’s super easy to understand what the main trail is based on signs and the general flow of the track.
3. HOW TO GET THERE
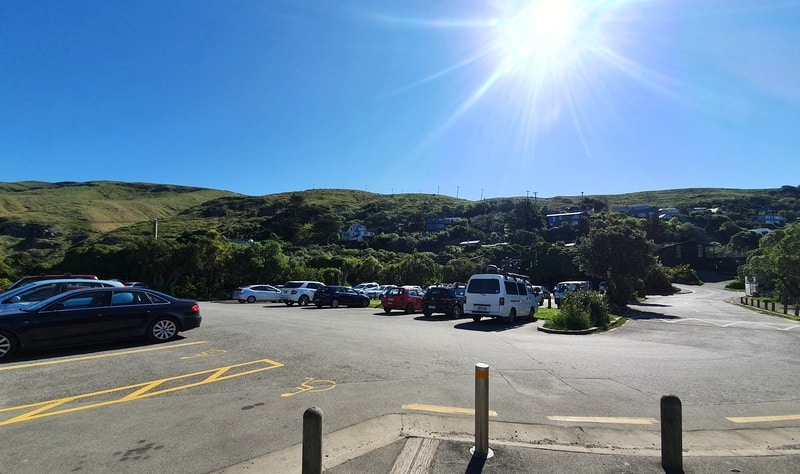

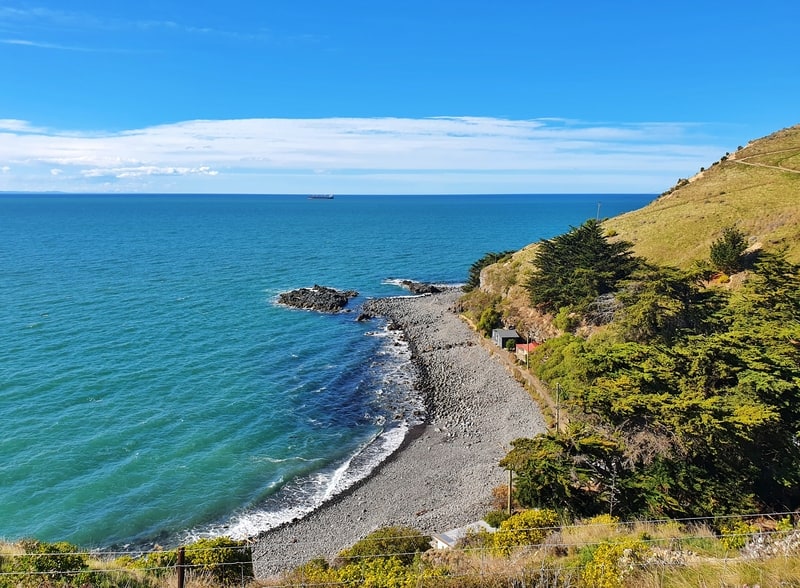
Taylors Mistake (that’s the beach above) is 17km from Cathedral Square, the heart of the city. Your best option is to drive out there and park in the beach carpark.
But you can catch public transport. You’ll just need to add a few more kilometres to your walk as the nearest bus ends in Sumner (get off here) and then walk across to Taylors Mistake (about 3km).
The public transport is reasonably priced, with it costing $3 one way with a metro card, or $4 with cash. You can learn more about fares and the timetable here.
4. MY GODLEY HEAD TRACK EXPERIENCE
I was stoked to finally be able to do this walk. I caught the bus to Sumner and walked over the hills for about 3km to the trailhead.
It was a nice day, with a decent breeze blowing as I set off from Taylor’s Mistake Surf Live Saving Club car park.
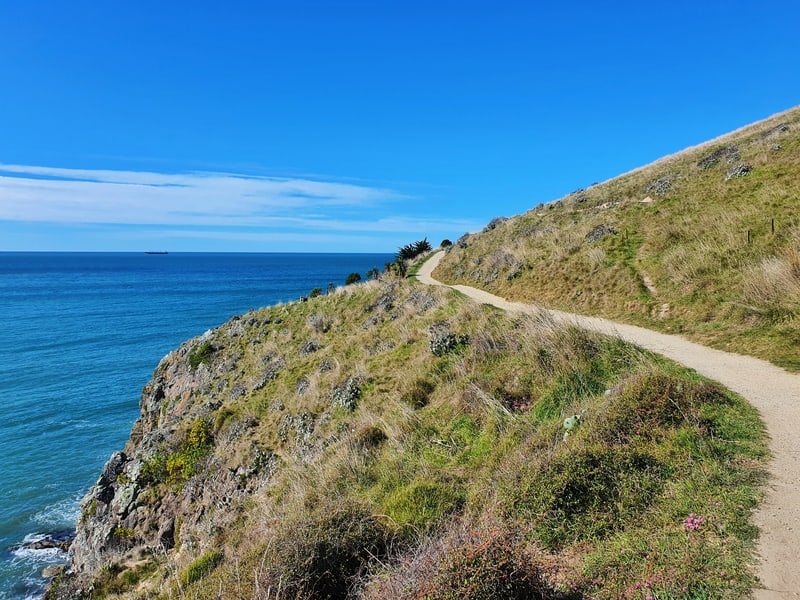
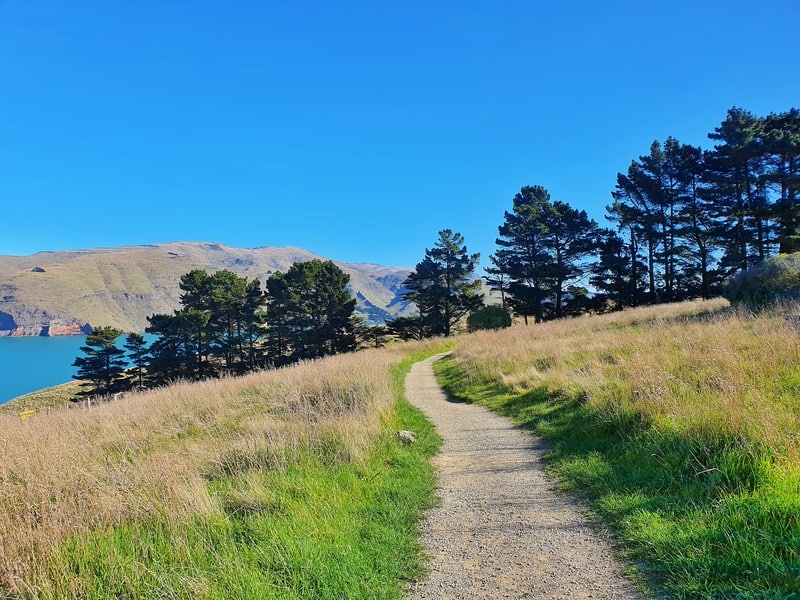
After about 200 metres following the flat path, you begin the first ascent which will take you up along the headland you’ll be on for the rest of the walk.
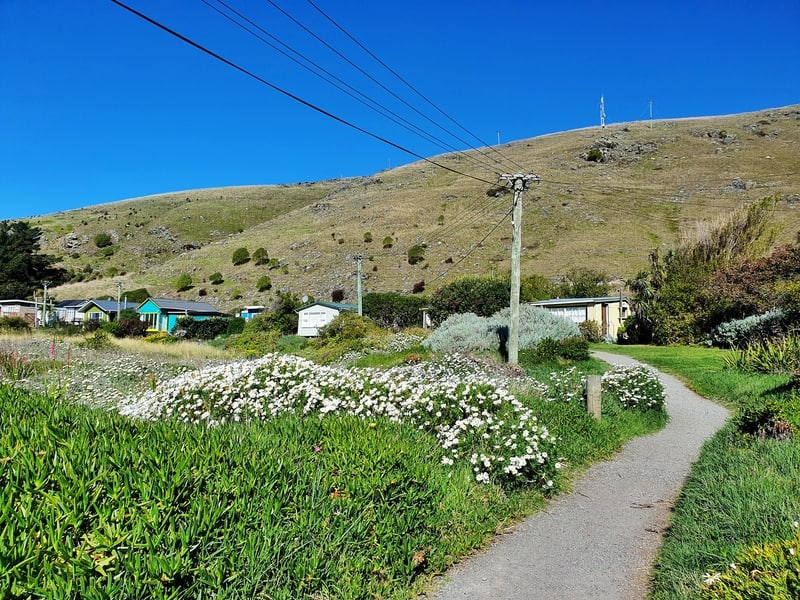
The track is easy to follow, though you’ll see a few little tracks jutting out at various points. I didn’t take any of these side trips due to time, but they lead me to believe you could spend most of the day exploring the headland.
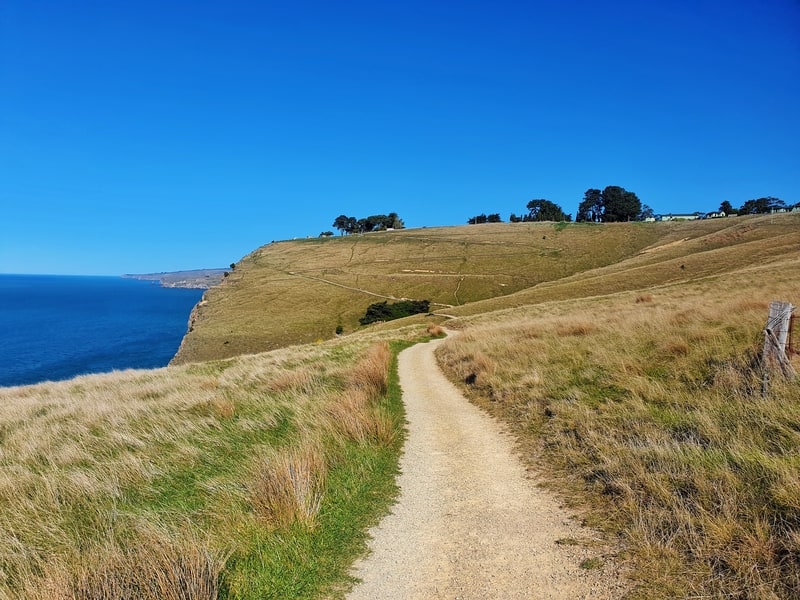
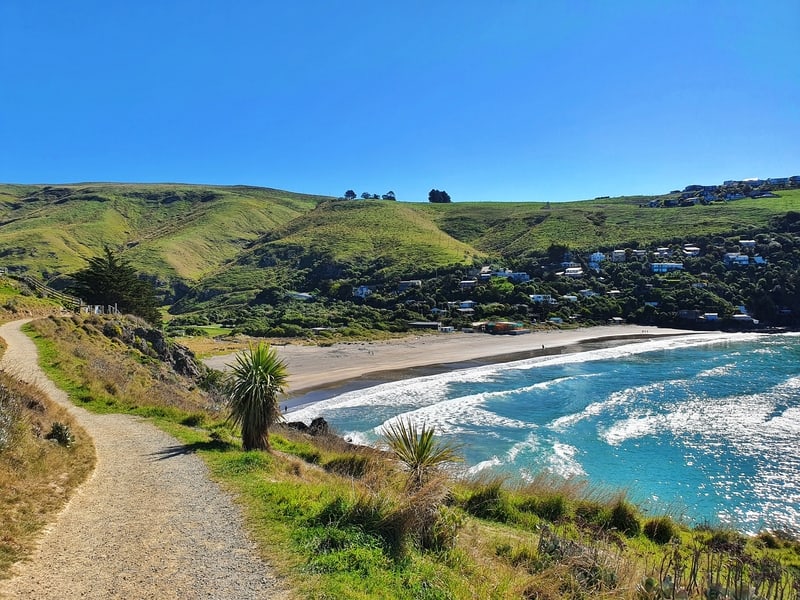
Once you get about 700 metres in, you’ll have already had a taste of the views, including looking back towards Taylor’s Mistake. But this is where you need to decide if you’re going to go left or right to complete the loop.
I highly suggest going left, as this has the better views and is a more gradual incline. And if you were to decide you didn’t want to complete the full loop, this would give you the best bang for your buck.
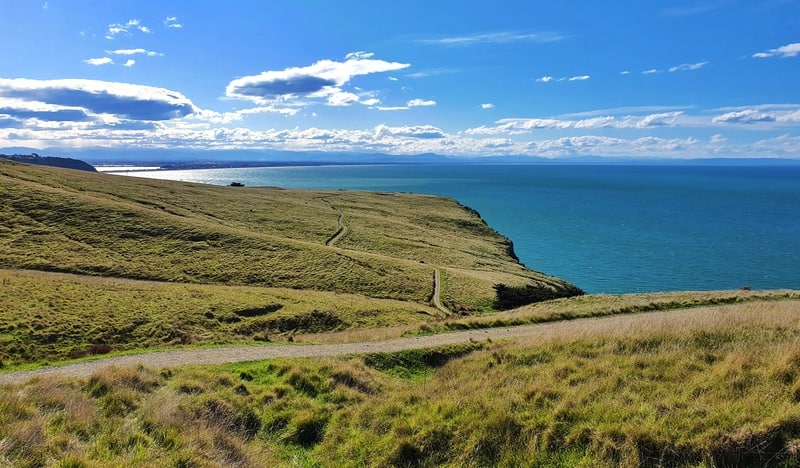
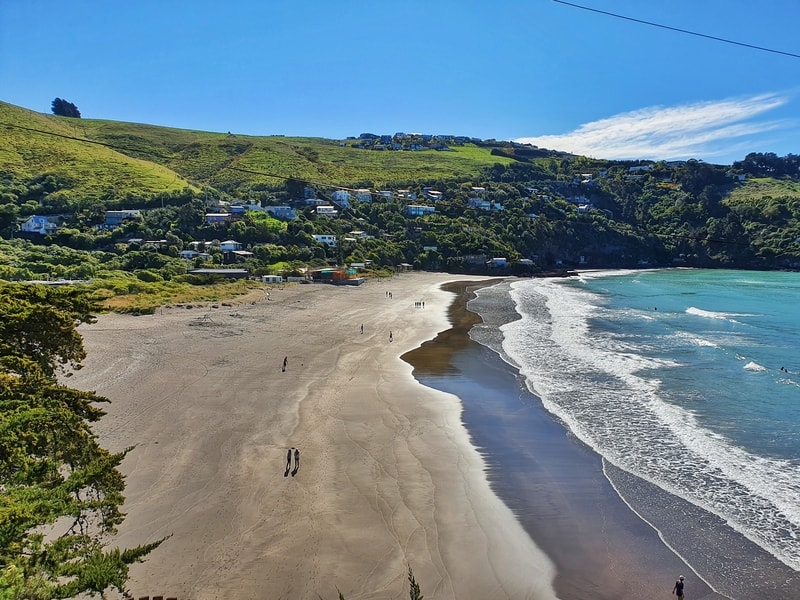
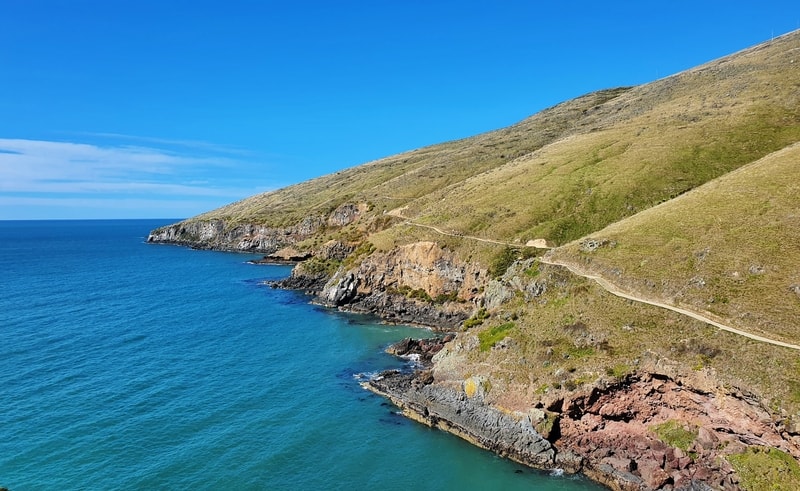
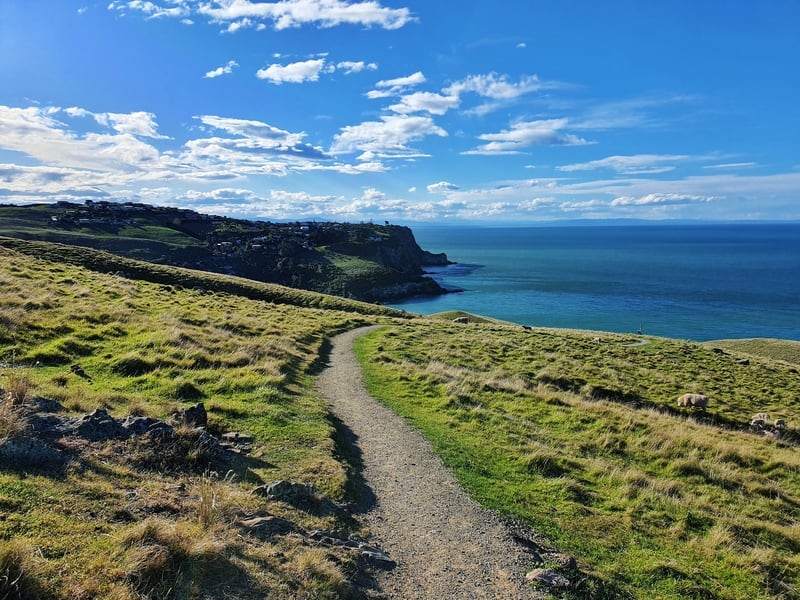
Veering left, you’ll follow the coastline for the next two kilometres. The views same same but different abd the different angles/features kept stopping me in my tracks for just one more photo.
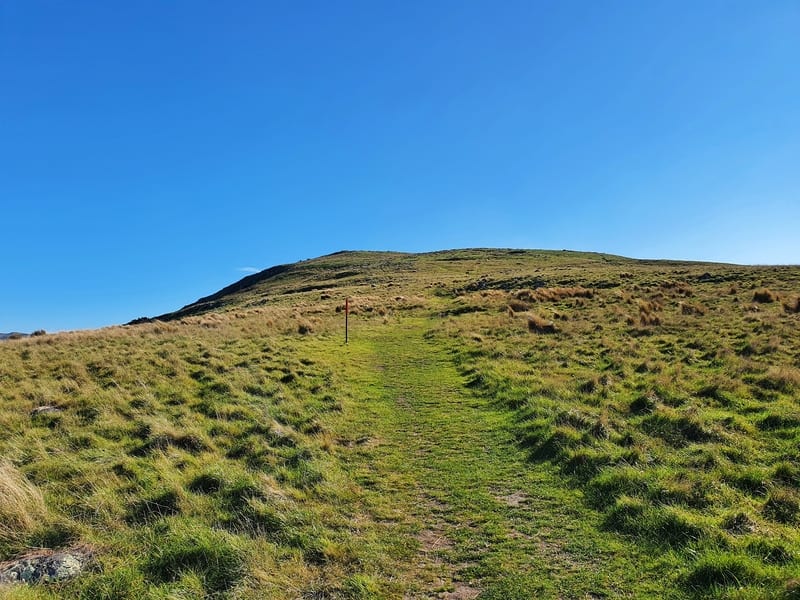
It’s not always uphill either, with some flat sections, and minor descents to break it up as you saw on the elevation profile earlier.
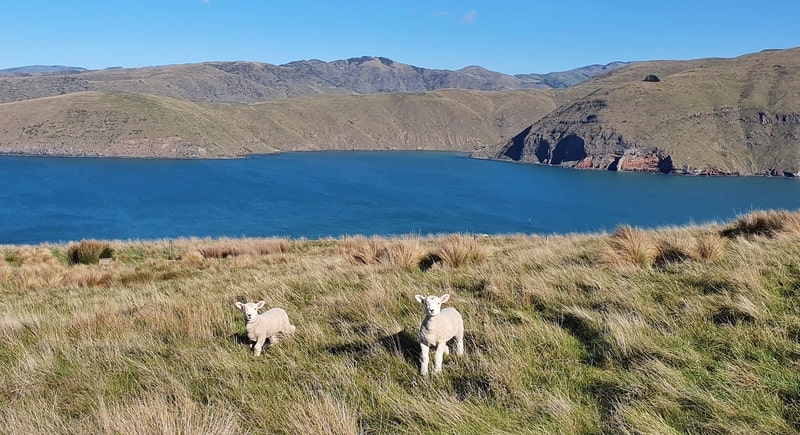
You might see some sheep hanging around too.
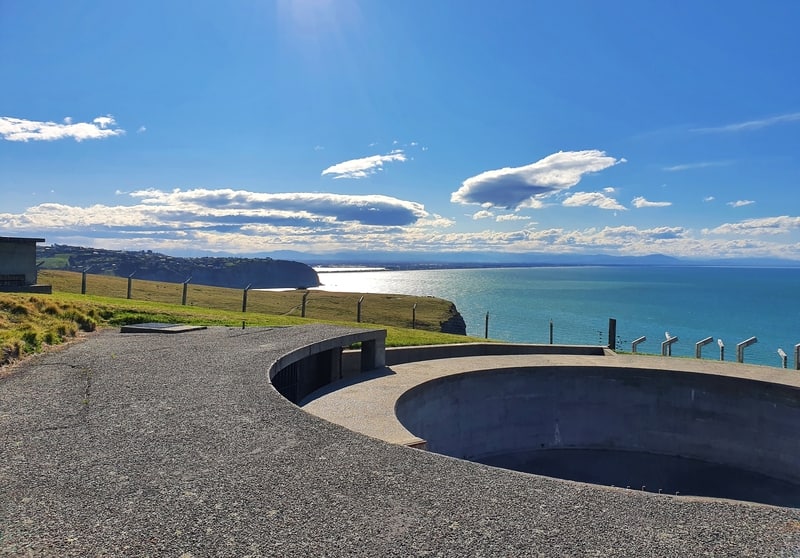
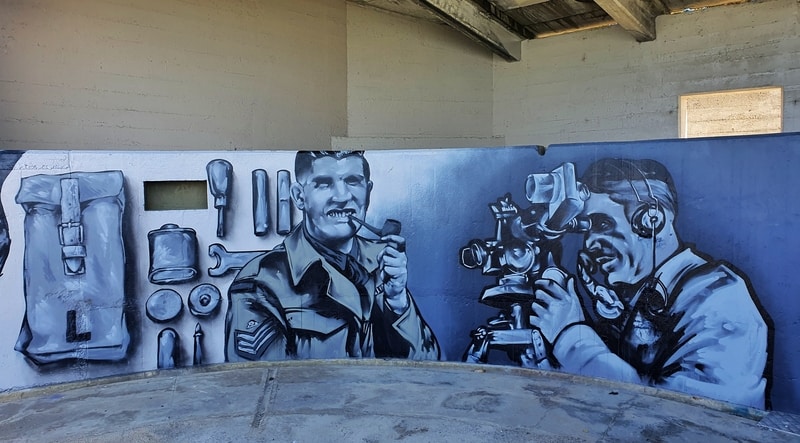
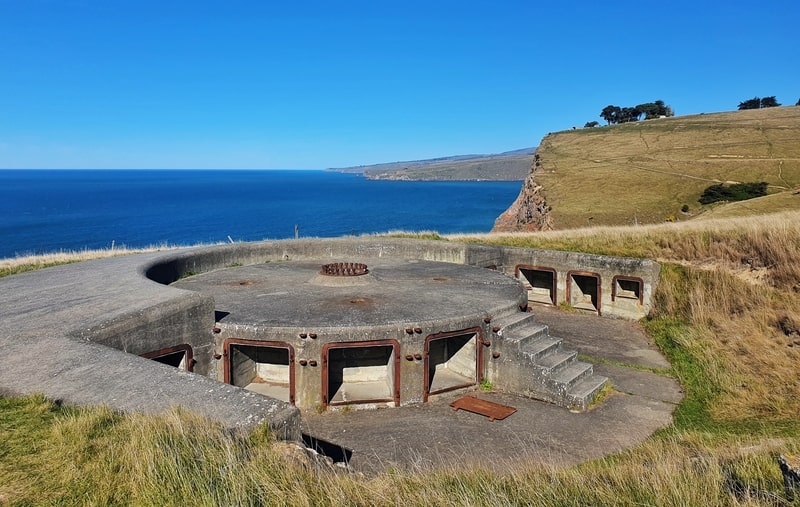
As you get towards the eastern end of the headland you get to the area where you’ll see remnants of WWII coastal defence battery. There are gun emplacements, tunnels, and old buildings to see.
When you get up close to them, it can be a bit confusing on which route to take through the remnants. You’ll see the green footprints, that’s what I followed and they’ll take you through the remnants where you’ll also see graffiti celebrating the Women’s Auxiliary Army Corp. There are information boards to learn more as well.
As you continue on around the headland you’ll see a few more historic points of interest, with the views changing now as Lyttleton Harbour comes into play.
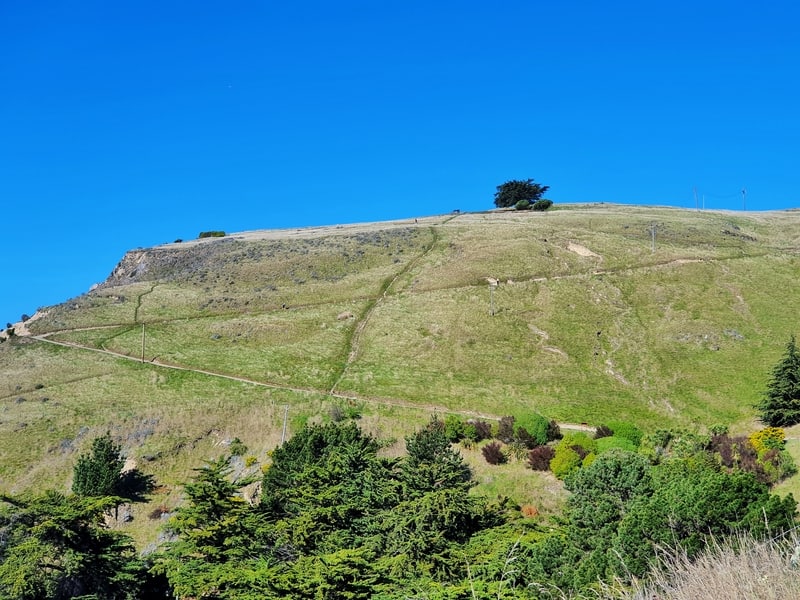
You’ll come close to the Godley Head Carpark which is confusing (Taylors Mistake is the best starting point). You’ll see the Godley Head walking track continue heading west up the hill towards the city.
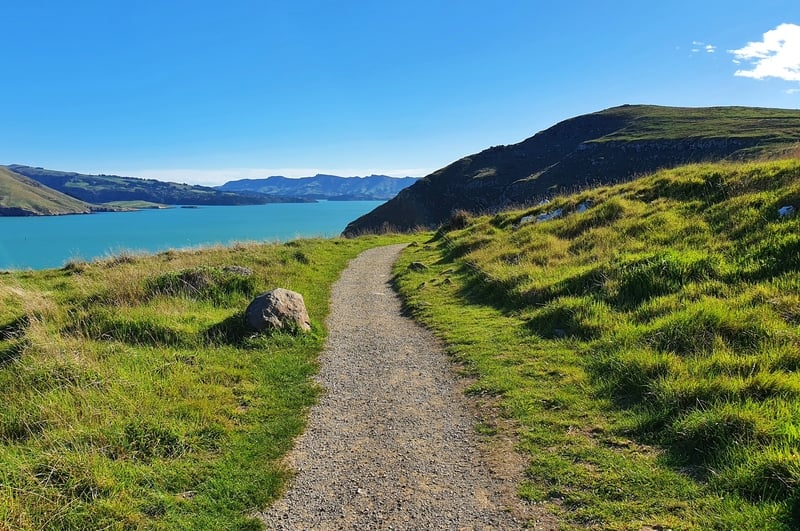
This section does begin to climb quite quickly as we close in on the highest point we reach on the headland. The colours of the Harbour though, wow. My mind was starting to race about ideas of walking the full length of the Crater Rim…I don’t think I still appreciate quite how big it is.
At the highest point, there are a couple of final WWII defense remnants to see as the descent back to Taylor’s Mistake begins. The descent starts off cruisey before getting steeper for the last kilometre. The path is well constructed so it’s not a massive deal, but keep it in mind.
I was stoked to finally walk Godley Head. It’s truly awesome, as is the whole Port Hills/Crater Rim, making for an awesome playground for tourists and locals.
If you’ve got any questions about the Godley Head Track, drop a comment below or email jub@churnewzealand.com
p.s. Here’s a map of the walks/hikes in NZ that I’ve published a blog post about. You can click the icon to see brief details, as well as a link to read more about the hike (like this post).

Hey, it’s Jub here. I’m the guy behind Chur New Zealand, helping you have the best time hiking, trekking, walking…whatever you want to call it…in NZ. I’m based in Queenstown and am always out and about exploring trails, old & new. If you have any questions, reach out.