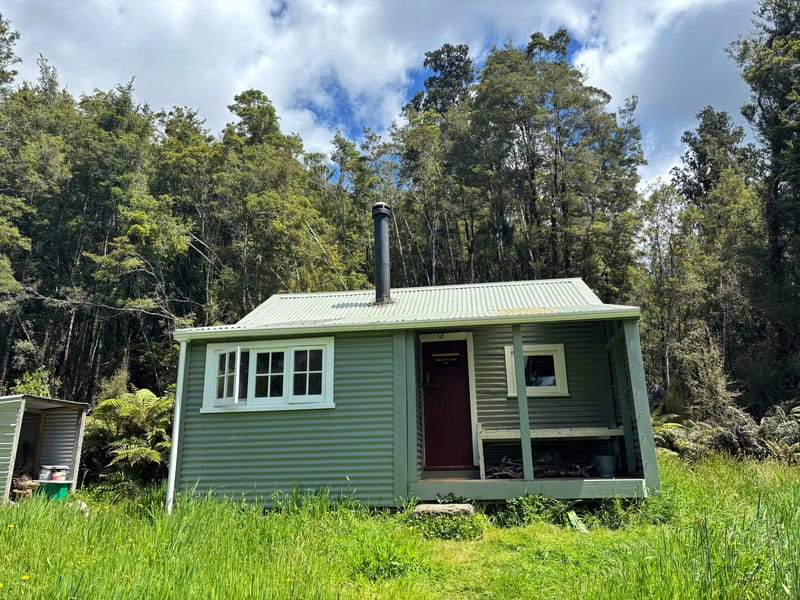
If Mataketake Hut was painted bright red like the ‘Instagrammable’ huts, it’d be super popular. That said, it’s getting more popular, and for good reason.
The route to Mataketake Hut has a variety of terrain and views (pending weather)…that the Mataketake Hut loop (or out and back) ranks as one of my favourite overnight hikes yet.

And not just because of the beer at the hut, that was 100% worth carrying.
This post will give you all the details you need to know about this hut.
TABLE OF CONTENTS
1. Details About Mataketake Hut
2. Mataketake Hut Map
3. How To Get There
4. My Mataketake Hut Experience
1. DETAILS ABOUT MATAKETAKE HUT

- QUICK DETAILS:
- 32 to 34km return
- Total of 1400 – 1500 metres elevation gain
- Difficulty: Hard
- GPX File Download
How hard is the Mataketake Hut route?
It’s tough enough that the DOC routes are suggesting travel times of ~2km per hour. That’s primarily thanks to the steep ascent/descent of both the Maori Saddle Route and the Mica Mine Route.
DOC suggest going up via Maori Saddle Route as it’s the steeper ascent, but we chose to go via Mica Mine Tops on the first day as it was a blue sky day. We wanted to make sure we got the good views on the ridge.
This isn’t a great hike if you’re new to hiking, but it’s definitely doable if you’ve had a few big hiking days under your belt.
What distance is the Mataketake Hut hike?
From the Northern carpark to Mataketake Hut via Mica Mine Top Route is just a smidgen under 17km.
From the Northern Carpark to Mataketake Hut via Maori Saddle Route is about 16km.
In total, about 33km return.
What is the elevation gain of Mataketake Hut?
The total elevation gain based on my data was 1,432 metres. About 1300 metres of that was on the way to Mataketake Hut via the Mica Mine Tops. There’s not much descent on the way down. Here’s the elevation profile:

The elevation profile from the north carpark to Mataketake Hut via Mica Mine Tops and returning via Maori Saddle Route.
How long does it take to hike Mataketake Hut?
This is going to vary a lot, with the DOC suggestions on the conservative side…but people have been knopwn to take the full 9 hours to get there. The travel along the Haast to Paringa Cattle Track is steady, but the incline is going to be variable…and the tops will depend a lot on how many photo stops you have.
In short, start as early as you can…the hut is great, and if it’s not, there’s a library to keep you entertained.
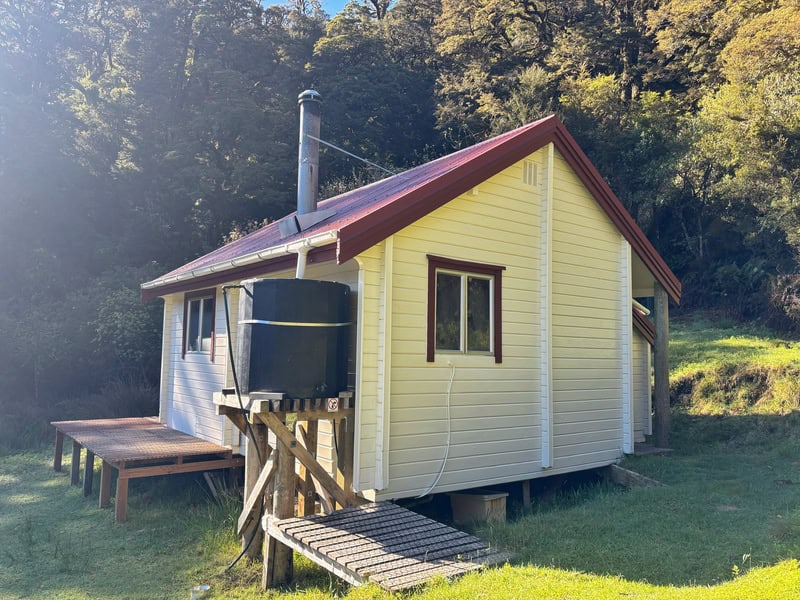
What is the hut like?
It’s awesome! The Mataketake Hut opened in early 2021. A great lad, Andy Dennis, left some money after he passed away for a hut to be built. How good. The hut is owned and operated by the Backcountry Trust.
To stay at the 8 bunk hut, you must book online here, with the rate $25 per person as of November 2025.
2. MATAKETAKE HUT MAP
The map below is the route based on my GPX file exported onto topomap.co.nz.

While the route is easy enough to follow in good weather, I’d suggest getting a good topo map app just in case the weather packs in.
I can imagine route finding on the tops gets tricky in low visibility…even with the route marked thoroughly with poles. Fortunately, the map is fully marked on topo maps.
3. HOW TO GET THERE

The main carpark for access to Mataketake Hut is here at the northern carpark of the Historic Haast to Paringa Cattle Track.
The carpark can fit ~10 cars comfortably…you should be able to find a carpark most of the time. The carpark is not well marked, so keep an eye on the map when you’re getting close.
Drive time(ish):
- From Haast…35 mins
- From Fox Glacier…1h 25m
- From Wanaka…2h 40m
The best way to get there is to drive, unless you want to pay a small fortune to hire a private shuttle from Haast. Hitchhiking is reasonably easy on the West Coast and is a viable option.
4. MY MATAKETAKE HUT EXPERIENCE

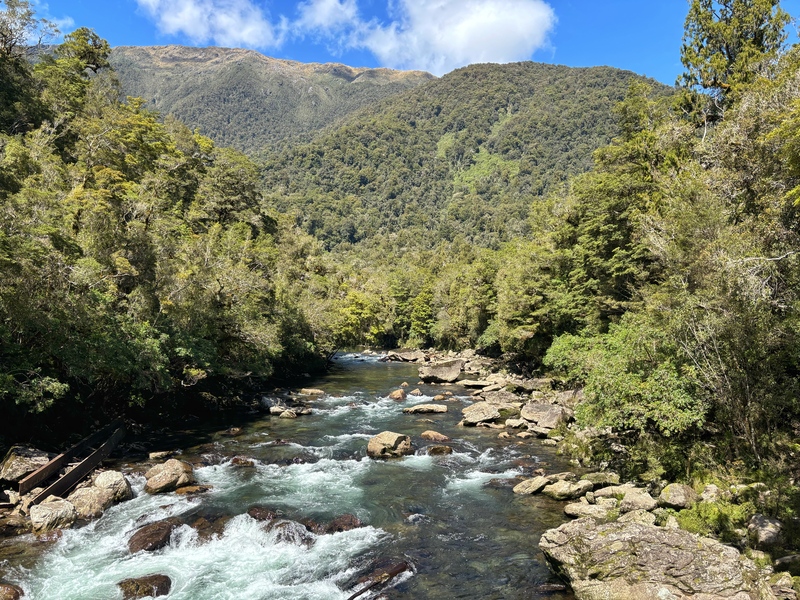
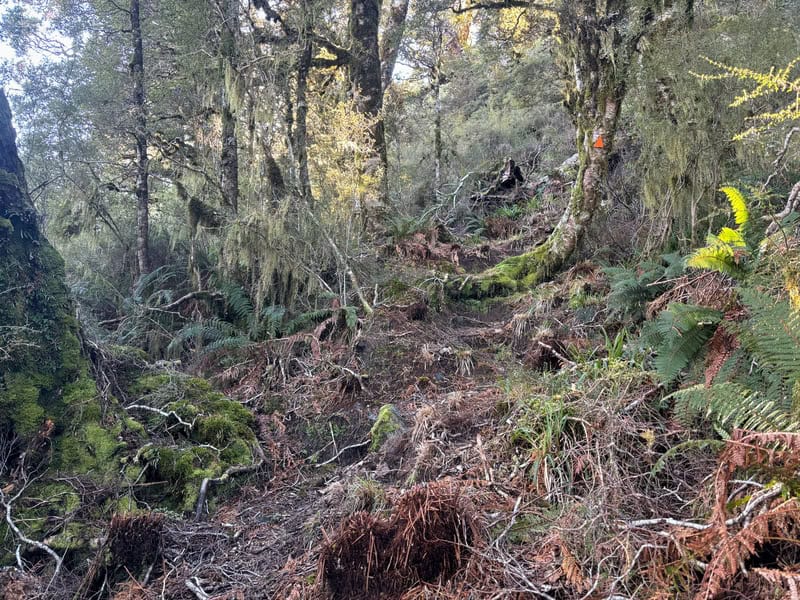
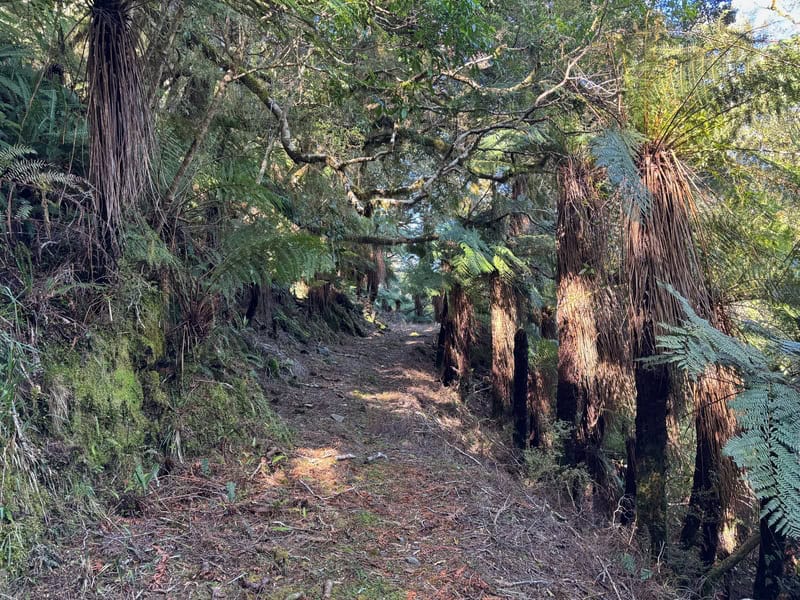
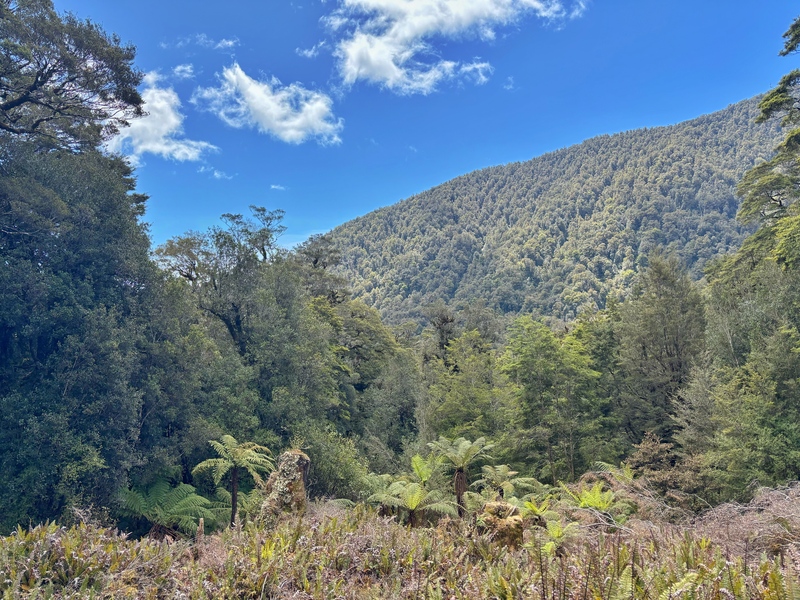
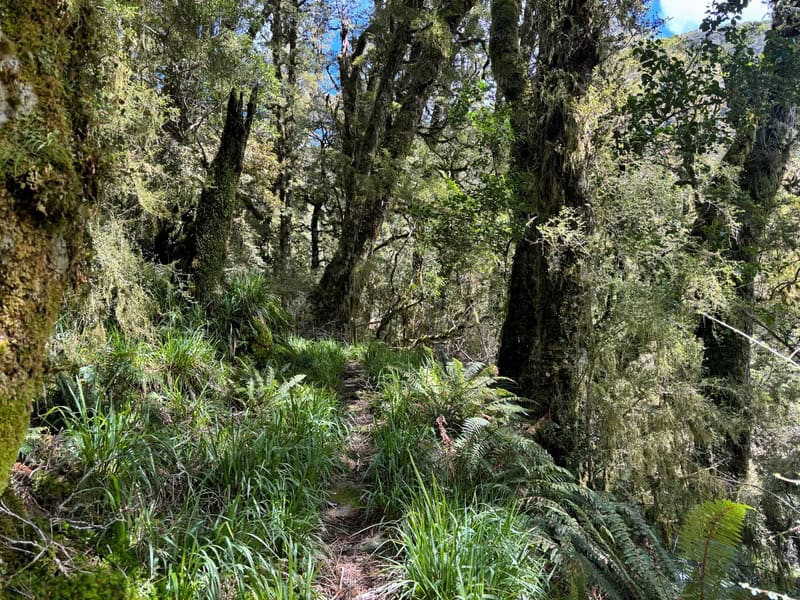
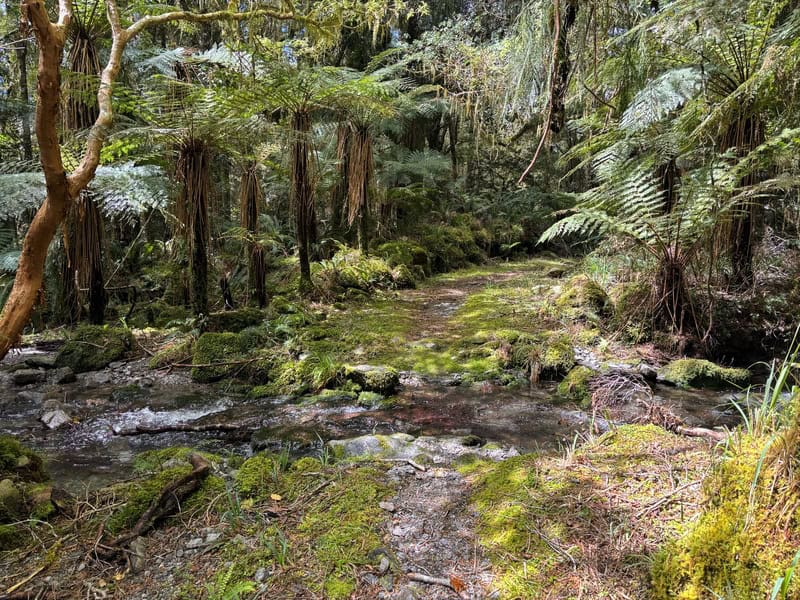
The start of the trail is fun, you’re straight into the forest, any sounds from the highway fading within the first kilometre. Being the West Coast, it’s likely that the track will always have some boggy sections and shallow water running across the track at times.

When we completed the trail there was a bit of tree fall in the first few kms, but then improved. There’s a gradual uphill (felt bigger) to start.
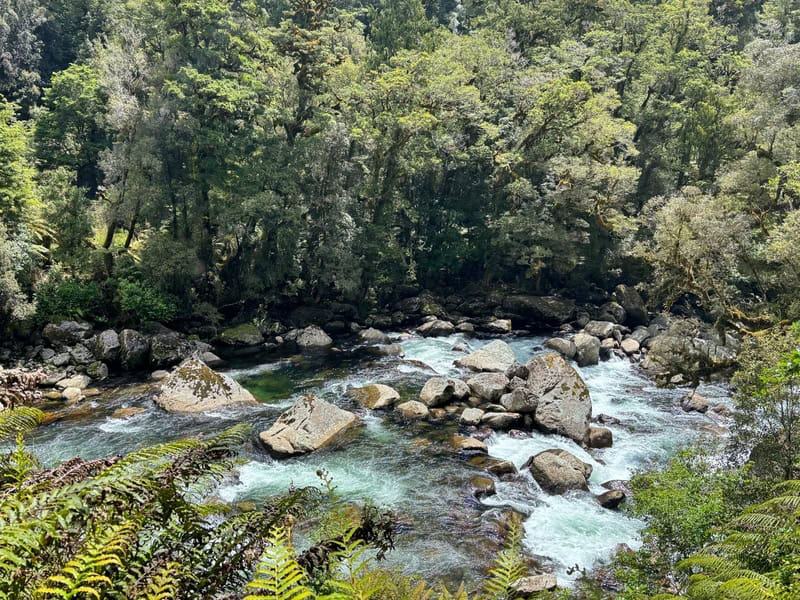
Then we crossed the bridge over Moeraki River a few hundred metres before Blue River/Blowfly hut.
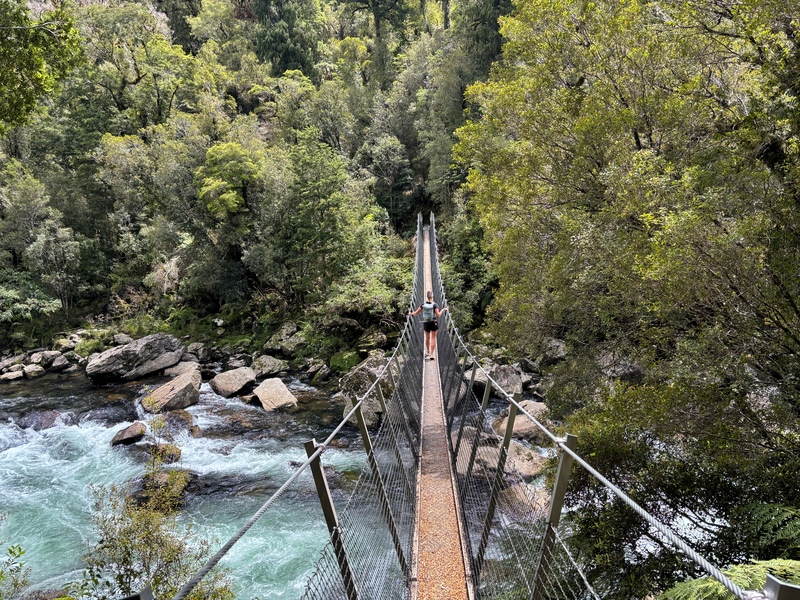
I 100% recommend taking the short detour to see this hut. Super cute, even a overnight trip (or day hike) to Blowfly Hit would be great.
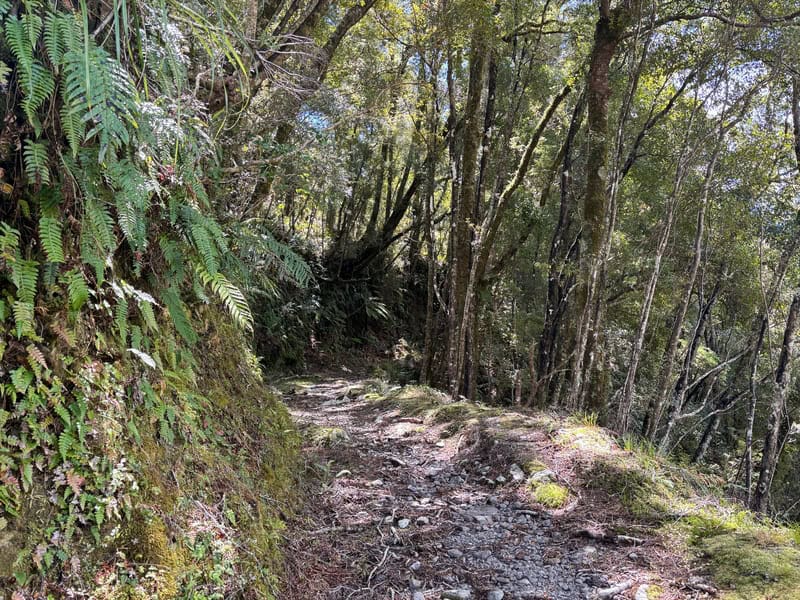
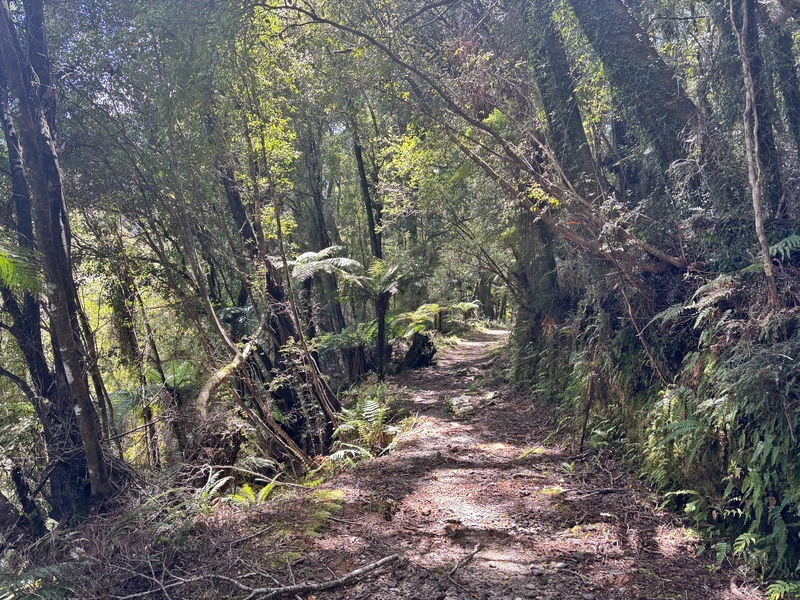
Past the hut, the climb is more noticeable but it’s still a well benched track for the most part either way any potentially steep drop offs are not even noticeable.
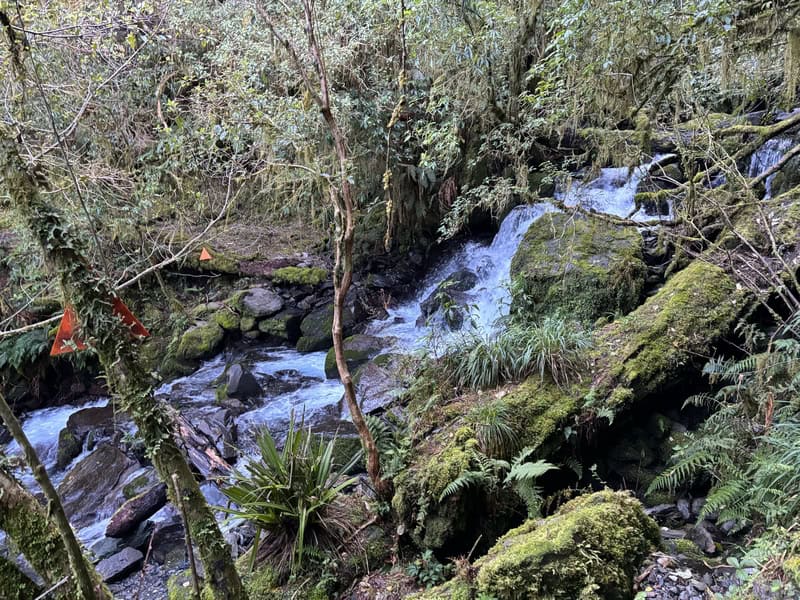
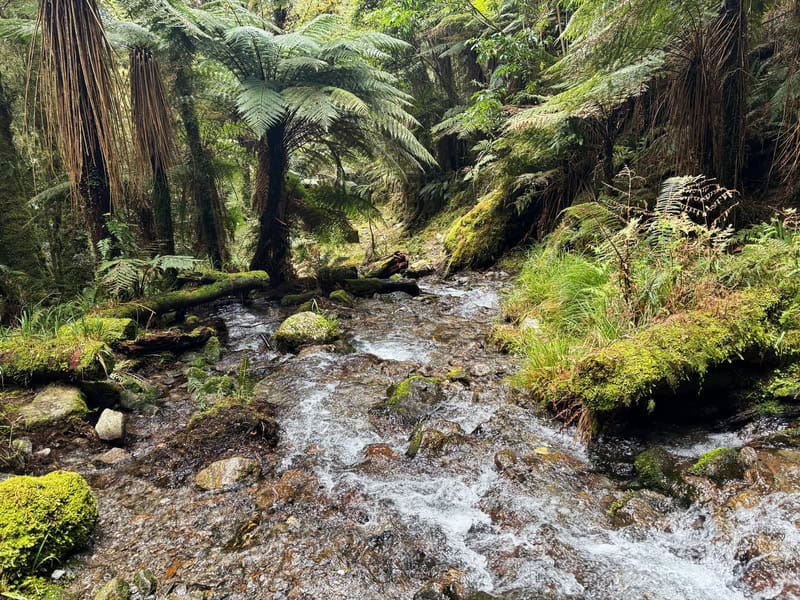
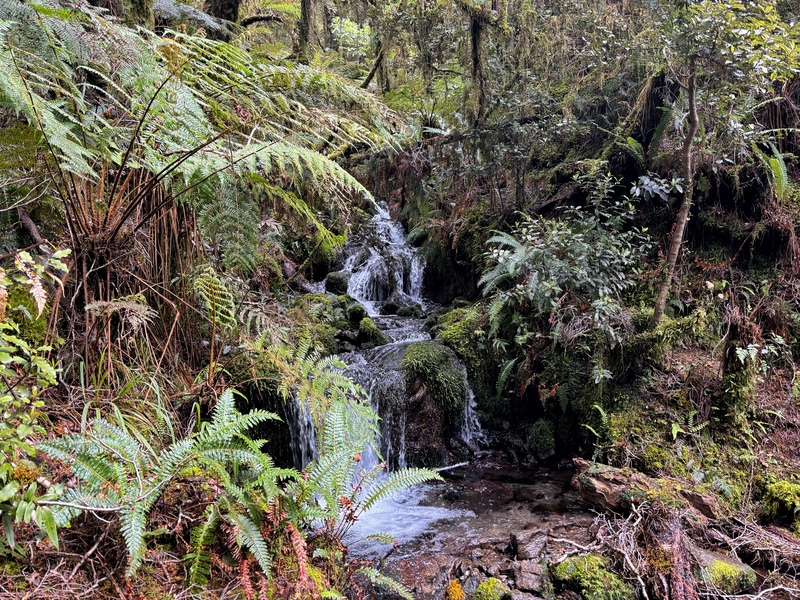
There’s a couple of short streams to hop over on the way, I usually just go with the easier option of getting the feet wet rather than trying to get fancy skipping over the rocks.
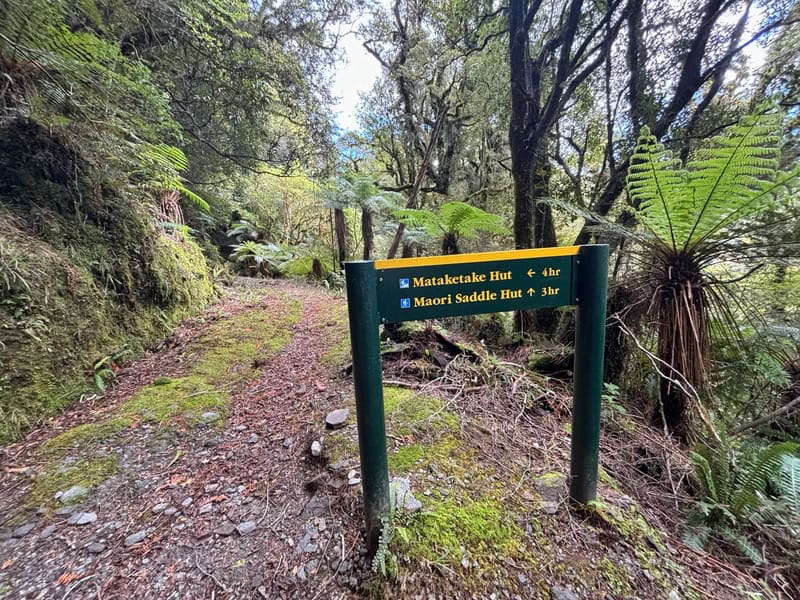
The track continues steadily until you get about 9km in where you’ll find the track junction. Here you need to decide if you’re going left, up the Mica Mine Route where you can then traverse over the tops towards Mataketake Hut.
Or you continue on straight, the track is a little bit more technical in bits (stream crossings), before it goes up the steep pinch via the Maori Saddle Route.
DOC’s recommendation for the loop is to go via Maori Saddle Route first, then return via the Mica Mine Route.
We went up Mica Mine Route first, and that seems to be what the majority do (some do an out and back to have more time on the Mataketake Ranges). We did so as we weren’t sure the views would be great the following day, so wanted to make the most of the views along the tops.

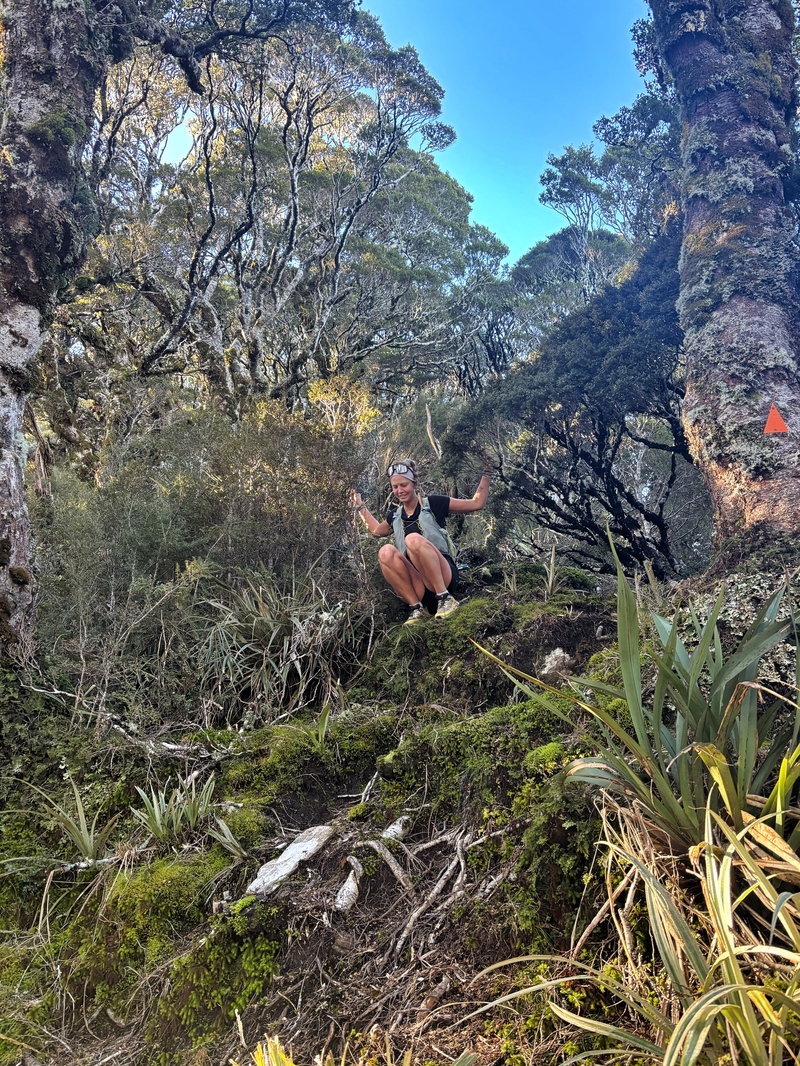
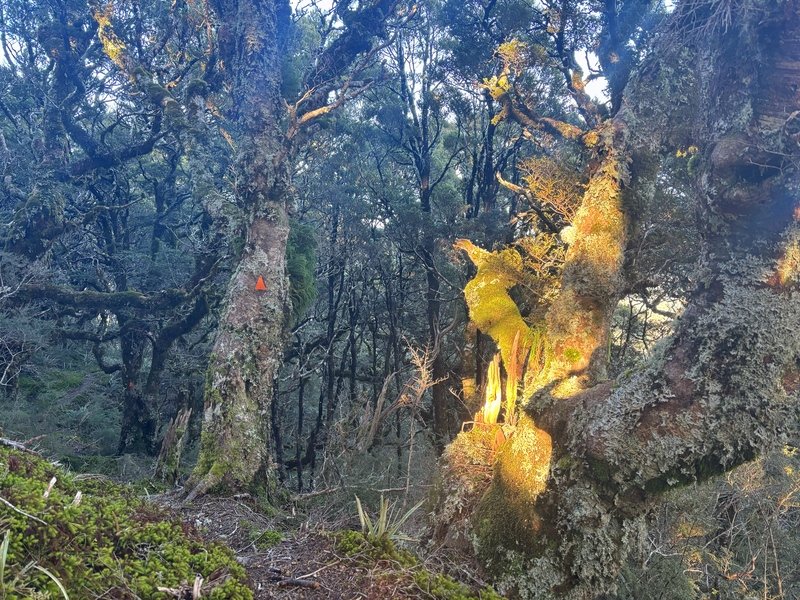
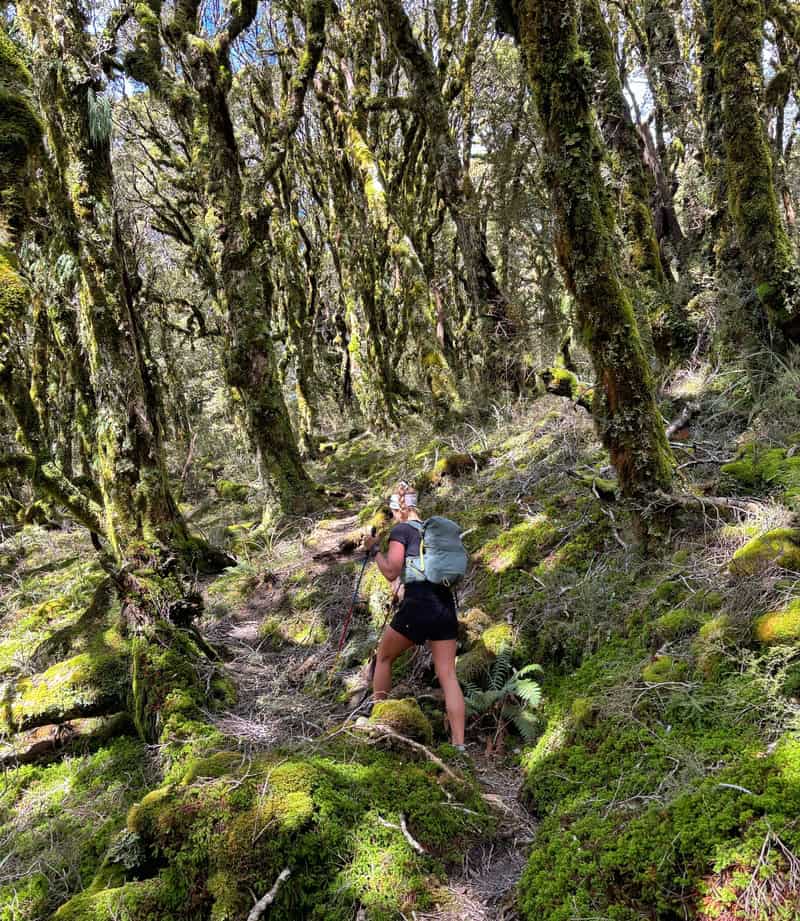
The climb up after turning left is definitely tough if you’re not used to incline but the track itself was in better condition than I expected, as you zig zag your way up. It was really cool when the forest turned into goblin forest. That always makes me smile.
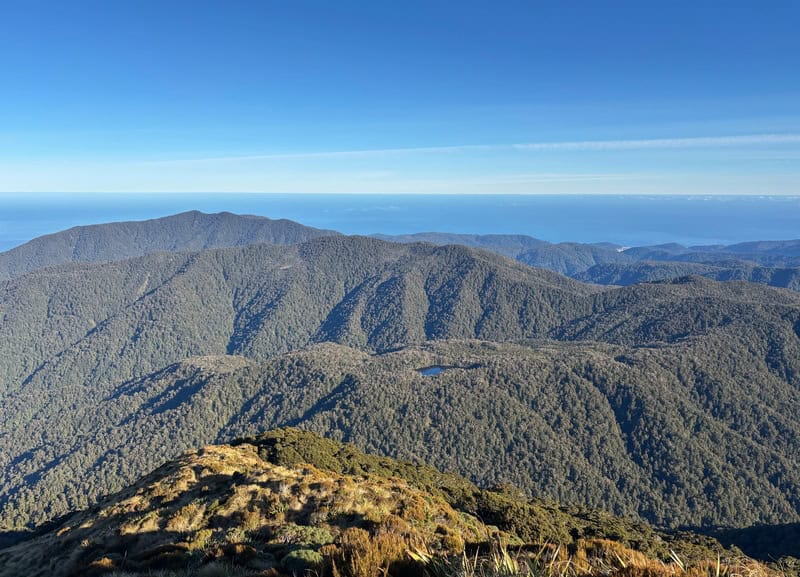
There’s a few glimpses of views out towards the Tasman Sea through the bush, but don’t sit around taking too many photos…above the treeline is where all the photo ops are.
Surprisingly, there wasn’t too much treefall, and when I saw blue sky ahead I knew we we close to emerging.
It’s always a bit of a surprise, popping out of the bush happens so quick…you’re under the forest…then you’re not…there’s no real transition zone. I like it.
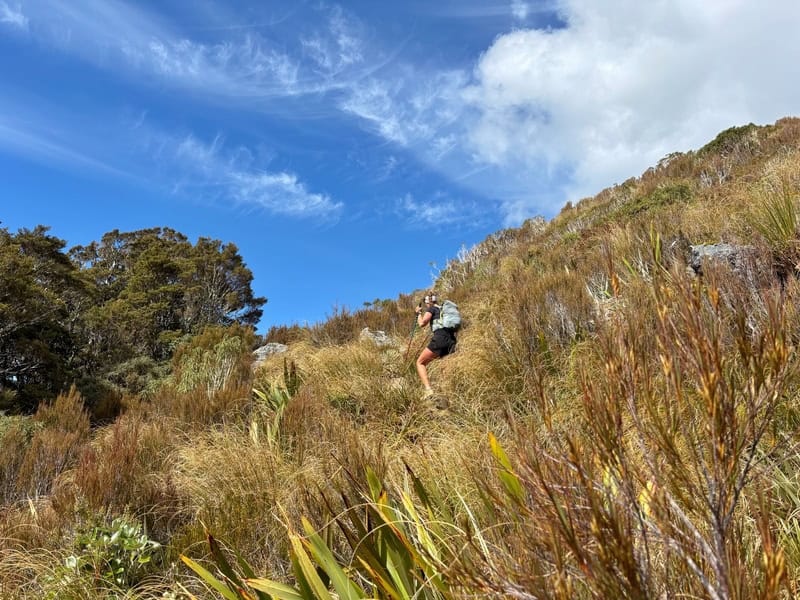
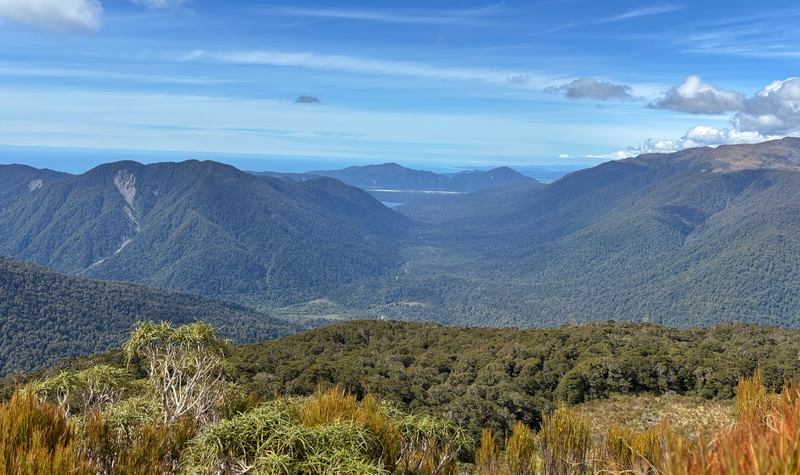
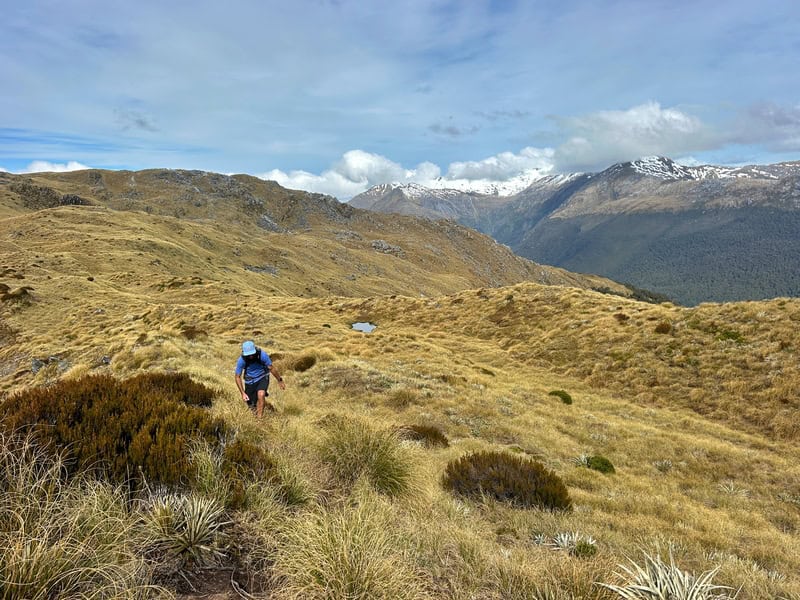
Escaping the treeline, the track seems to get steeper for a bit as you make your way to the ridgeline. If you start taking a peek behind you, you’ll see the views out to the ocean. How good!
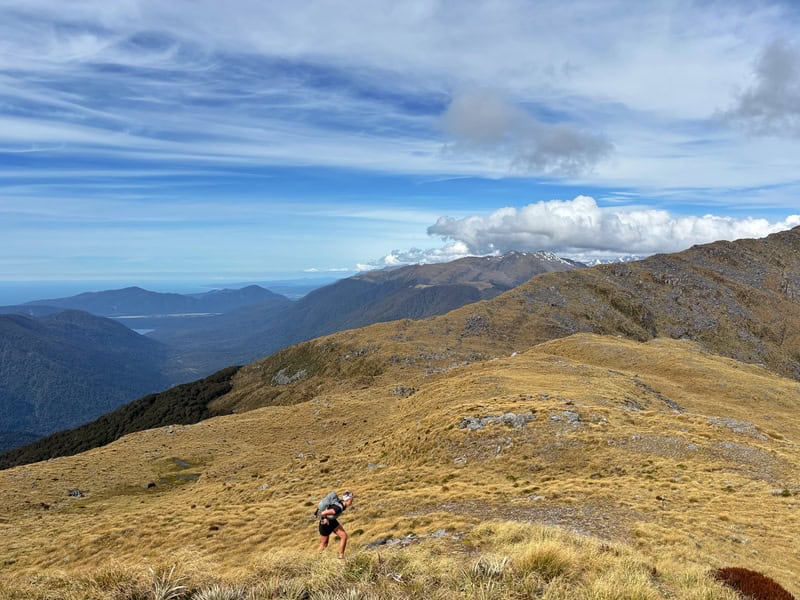
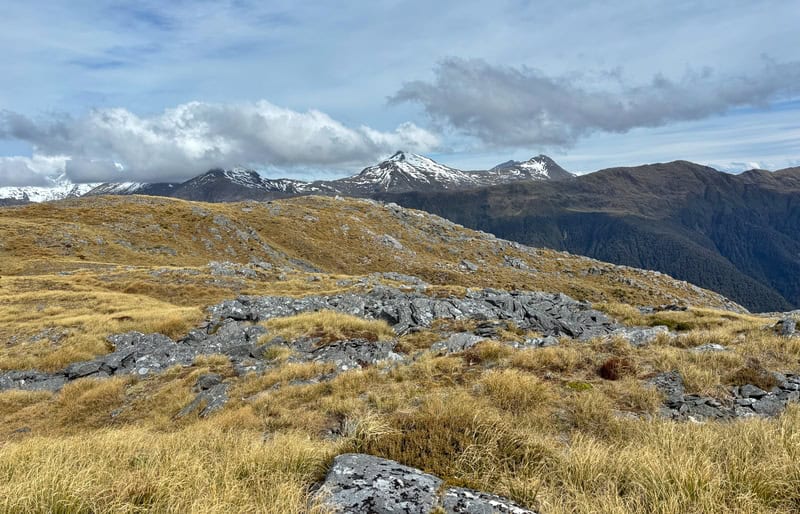
There was a knoll we eventually reached that to me felt like we were now on the ridge, with a view in pretty much all directions. A good time for a picnic.
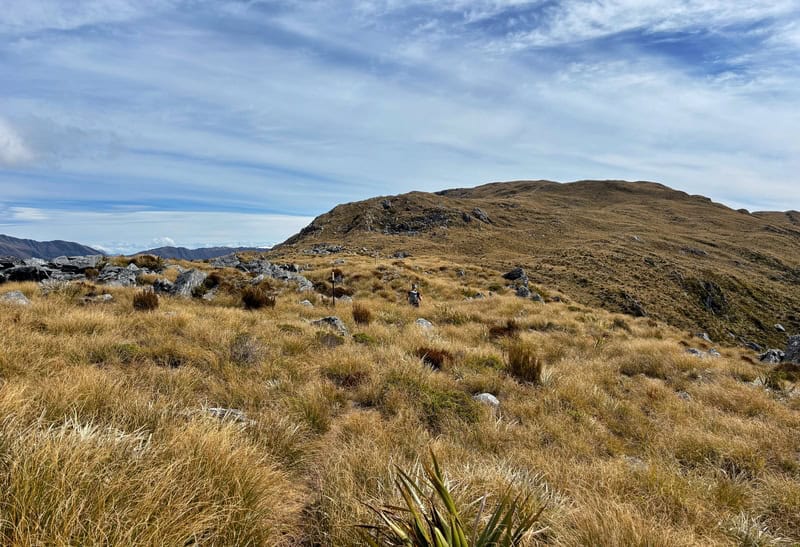
The ridgeline is awesome once you’re on the proper tops with a trail pretty well trodden in, and it’s well poled. If it was cloudy/foggy, it’d be easy to lose the trail!
I really enjoyed this section, even if it was more undulating than I was expecting. It wasn’t until we were about 1km from Mataketake Hut that I finally spotted it in the distance.
No tooo long before we knew it, we arrived. And for some reason never took a nice photo of just the hut the entire time we were there.
I’ll add a bunch of photos from the top section before getting onto the rest of the trip report.
MATAKETAKE HUT

What a cool hut! There’s 8 beds, which you must book online in advance. There’s two platforms of three mattresses next to each other (the bottom one is next to the library), and then a regular bunk bed with one mattress each. There’s a fireplace, plenty of food preparation space and a nice long dining table. And views!
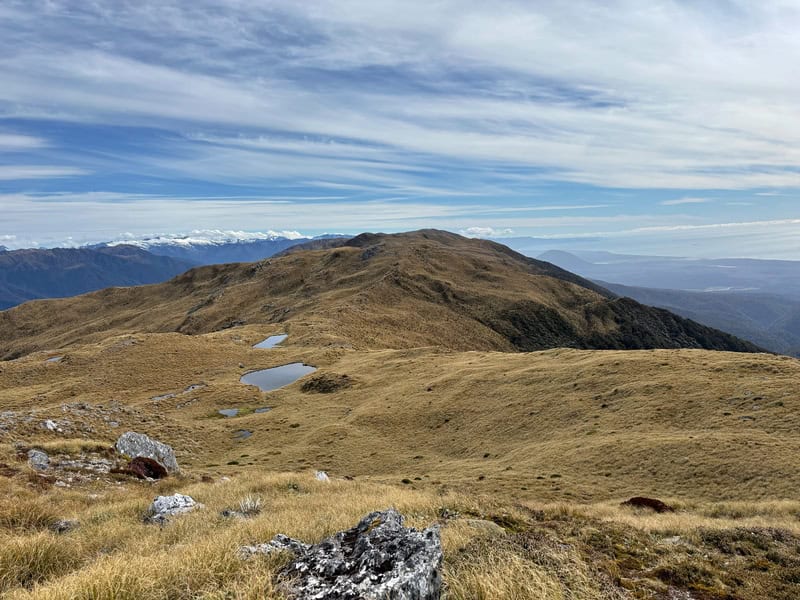
Magic. While the water tank will almost always have water in it being on the West Coast, if you got really stuck you could use a water filter to get some water from a few tarns close to the hut.
The only downside to the hut was the toilet was a little far away from the hut, especially if you need to go ones and twos in the middle of the night. BUT it is a loo with a view…no need to close the door…enjoy that alone time.
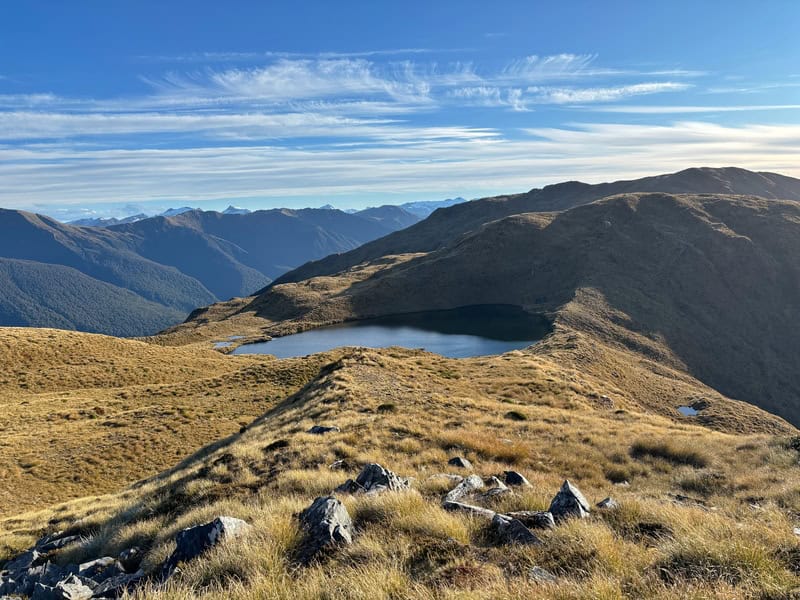
If you fancy a walk from the hut, head to Lake Dime (below)…it’s about 1km away, and if you’re keen you can swim in there.
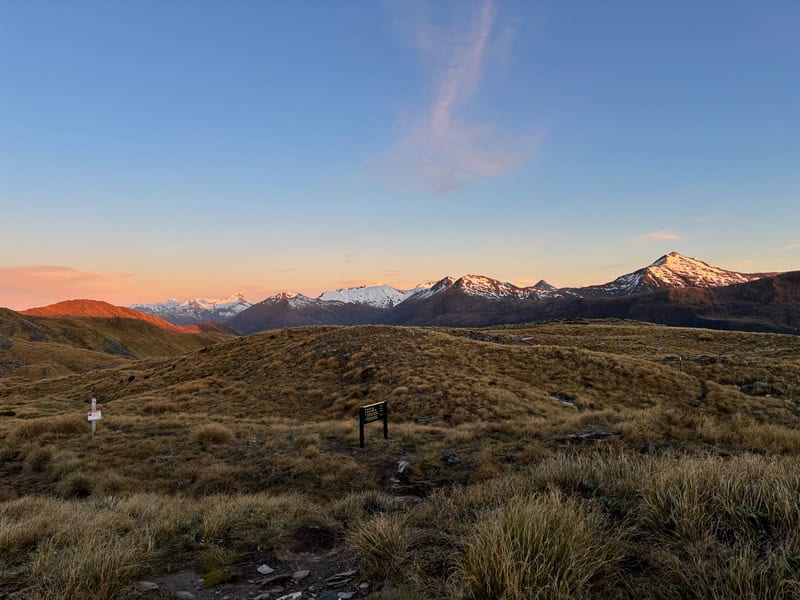
Otherwise, enjoy hut life and make sure to stay awake for sunset. In November it was magical, and the colours changed over a long period of 30 mins or so.

DAY 2 RETURN VIA MAORI SADDLE ROUTE
The next morning we set off from the hut towards Maori Saddle. Once you begin to descend, it’s steep! It’s a maintained route but it’s not an easy descent. I found it easier to hop down at spots rather than awkwardly step down (a me thing).
Take it easy through here, you’ll lose about 400 metres of elevation in 1km. It’s it steeper than going up Mica Mine Route, hence the suggestion for DOC to come this way.
Once you’re down at the valley floor turn right and it’s a short walk to Maori Saddle hut. A cool hut with triple bunks and a nice little area to sit for a snack.
Carrying on, you’re back on the Historic Haast to Paringa Cattle Track. For the next 3km kilometres it reasonably flat (net downhill). The track is in decent condition with sticks and rocks on the track, but you can still continue moving smoothly. There’s a couple of streams you’ll need to cross which pending water levels could be tricky. We had no issues, and I only got my feet wet as I don’t mind dealing with that (and it seems safer while wearing a pack).
The next 2.5km are on a bit more of a descent and there are a couple of short sections that are steeper awkward descents that’ll slow your progress.
Then you’ll get back to the junction where you turned left the day before to head to the alpine tops. From here it’s just retracing your steps back to the carpark. You’ll know what to expect having seen this section of the track previously.
Back to the carpark, and hopefully you left yourselves some great snacks and beverages to enjoy in the car.
A trip to Mataketake Hut is awesome! If you’re looking for an overnight adventure that’s only going to get more popular in the coming years, this is for you.
Got any questions or comments about a trip to Mataketake Hut? Leave a message below or email jub@churnewzealand.com.
Chur.
p.s. Here’s a map of all the hikes documented on Chur New Zealand. You can click the icon to see brief details, as well as a link to read more about the hike (like this post).
MORE PHOTOS
Heres a bunch more Mataketake Hut photos, I didn’t want to clog up the post too much.
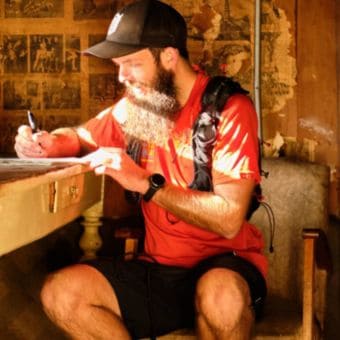
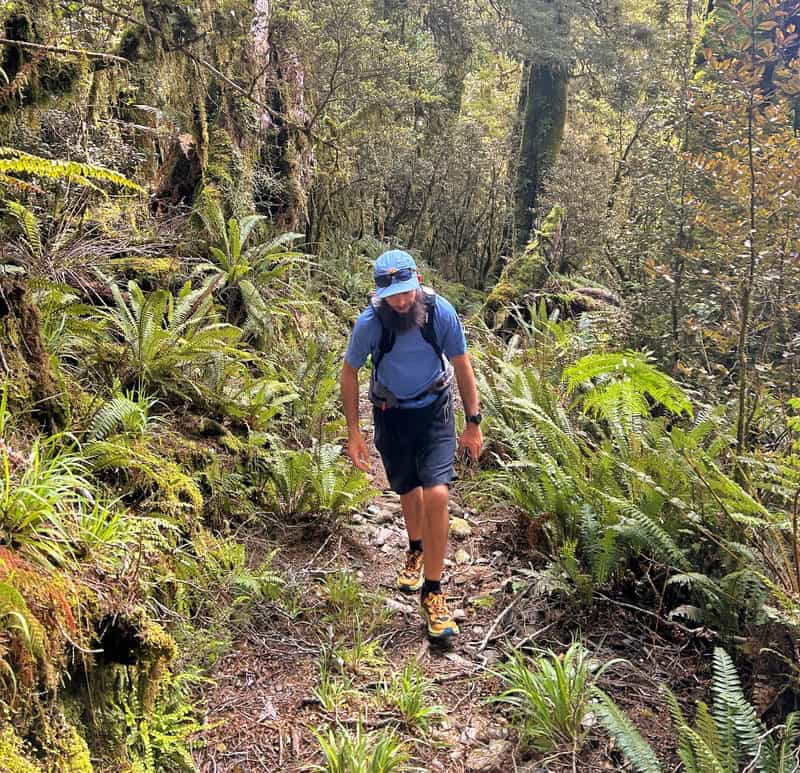
Hey, it’s Jub here. I’m the guy behind Chur New Zealand, helping you have the best time hiking, trekking, walking…whatever you want to call it…in NZ. I’m based in Queenstown and am always out and about exploring trails, old & new. If you have any questions, reach out.