The Mt Ngongotaha Jubilee Track (official name) takes you to the top of Mount Ngongotaha on the outskirts of Rotorua. The track is an out and back that’s a little under 5km return. But it has no view at the summit.
You do get to walk through the native forest though. But is it worth it?
Continue you reading for my thoughts, along with the details you need to know. I’ll usually refer to the hike as the Jubilee Track for simplicity.

TABLE OF CONTENTS
1. Jubilee Track Details
2. Jubilee Track Map
3. How To Get There
4. Jubilee Track Trip Report
1. DETAILS ABOUT THE JUBILEE TRACK
- QUICK DETAILS:
- Length: 4.8km return
- Elevation Gain: ~380 metres
- Difficulty: Easy to medium.
- Track Type: Out and back
- Time: 1.5 to 2.5 hours
It’s all about the journey they say. That’s often the case, and while the journey is nice here they really do need to establish some kind of viewpoint at the summit. Even if that means building a ladder up to a viewing platform. The view from the top would give another totally different view of Rotorua which I’m a fan of.
I did like the walk, the track hasn’t been overly manicured, and there are plenty of signs with information about the nature you might come across. And the big rata tree is cool!
If you’re a tourist in Rotorua, you don’t need to do this walk as there are plenty of other Rotorua walks that show off the natural beauty of Rotovegas. If you’re looking for something free to do in Rotorua off the beaten path? This is your activity.
How hard is the Mt Ngongotaha Jubilee Track?
Easy – Medium. The track does get a little technical once you’re beyond the Nature Loop, but it’s short enough that even in winter there are no major difficulties.
How long is the Jubilee Track?
The DOC website, and track signs have the Jubilee Track at 2.4km each way (4.8km return), whereas my Strava data had the track at 2.7km. When I zoom into the lines on that data they don’t look smooth, so I think 2.5km is about spot on.
What’s the elevation gain and profile?
The carpark is ~375 metres above sea level and the summit, about 742 metres for a gain of 376 metres which is all on the ascent. On the way back, it’s all downhill.
Here’s the elevation profile:

How long does the Jubilee Track take?
DOC says the walk will take 1.5 hours one way. This is very conservative. It took me 1 hour and 21 minutes to get up and down. I was moving quickly but did spend a few minutes reading the signs and taking photos. I’d be surprised if it took you more than 2 hours to get up and down. 2.5 hours max!
2. JUIBLEE TRACK MAP
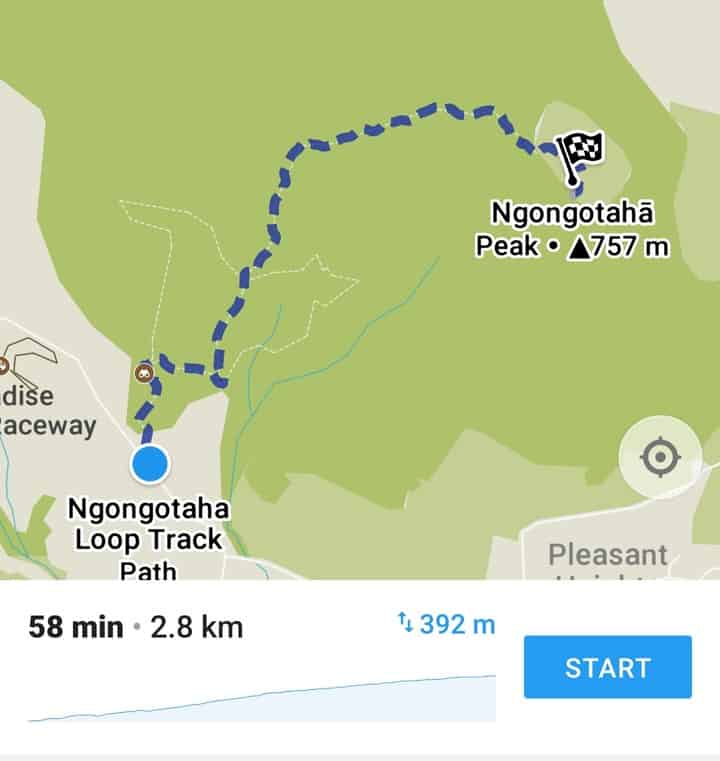
The screenshot above is from Maps.me, but it’s also on the NZ Topo 50 map.
You can see the Jubilee Track on Google Maps, but you can’t track from the car park all the way to the summit once you hit the road for the last couple of hundred metres. Nevertheless, you can see the trailhead here (it’s called the Mt Ngongotaha Nature Loop on Google Maps).
3. HOW TO GET THERE
The trailhead can be easily reached via public transport, or driving (the two best options). If you’ve got your bikes with you, that’s an option too I guess. Uber does exist in Rotorua, but it feels steep with the ride going to be about $20 to the trailhead from the city centre.
DRIVING
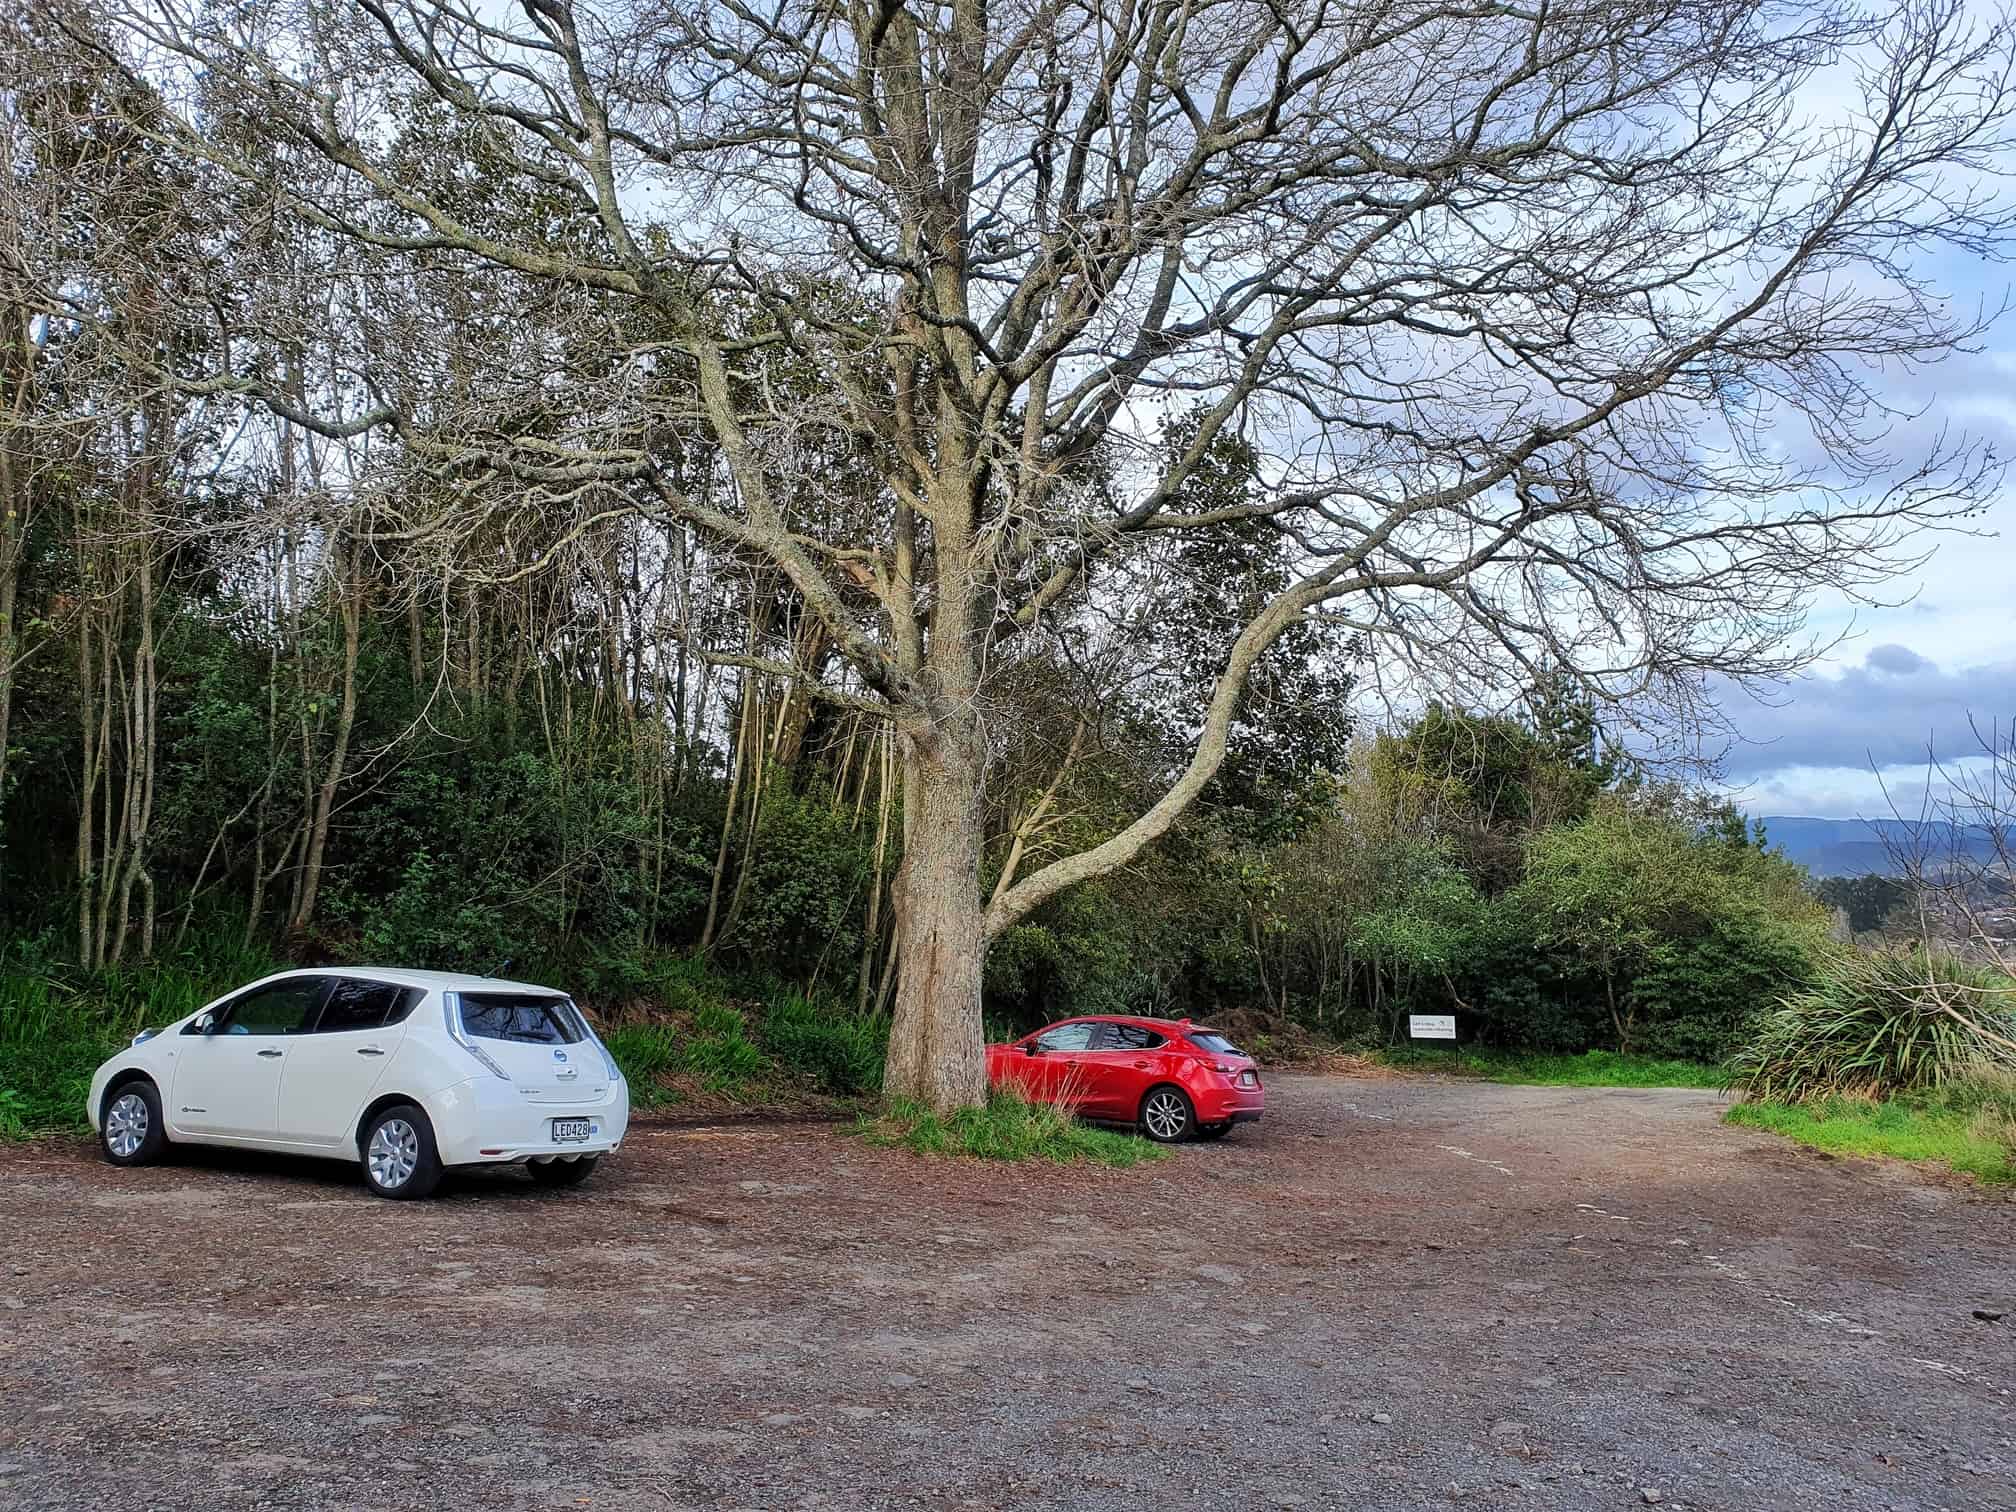
The drive from the city centre is less than 8 kilometres, and will take from 10-15 minutes. There’s a road sign letting you know the trailhead is approaching and on the righthand side of the road you’ll see the car park. I can’t imagine the car park is ever super packed. Given the location with minimal traffic, do your best to keep your valuables out of sight.
PUBLIC TRANSPORT
If you’re planning to catch a bus, the nearest bus stop to the trailhead is at Pukehangi Road – Fronting No. 8. This is 500 metres from the trailhead. The walk from the bus stop to the trailhead has no footpath, so just be wary of cars as you walk.
The main bus stop in Rotorua is around the corner from the i-Site on Arawa Street here. You need to catch the #7 bus. At the time of writing, adult fares are $2.80 and the ride takes about 20 minutes. You can see the full timetable here.
If you’re going later in the day in summer, make sure to check when the last bus back to Rotorua is.
4. MY MT NGONGOTAHA JUBILEE TRACK EXPERIENCE
I’d been wanting to do this walk having visited the area a few times over the years. And to be honest, knowing that there’s a road that leads to the summit (cars cannot go all the way to the top) and knowing there weren’t any summit views, my expectations were low to start.
I caught the bus out there and was immediately impressed with the signage at the trailhead. I was expecting some vague track with minimal information.
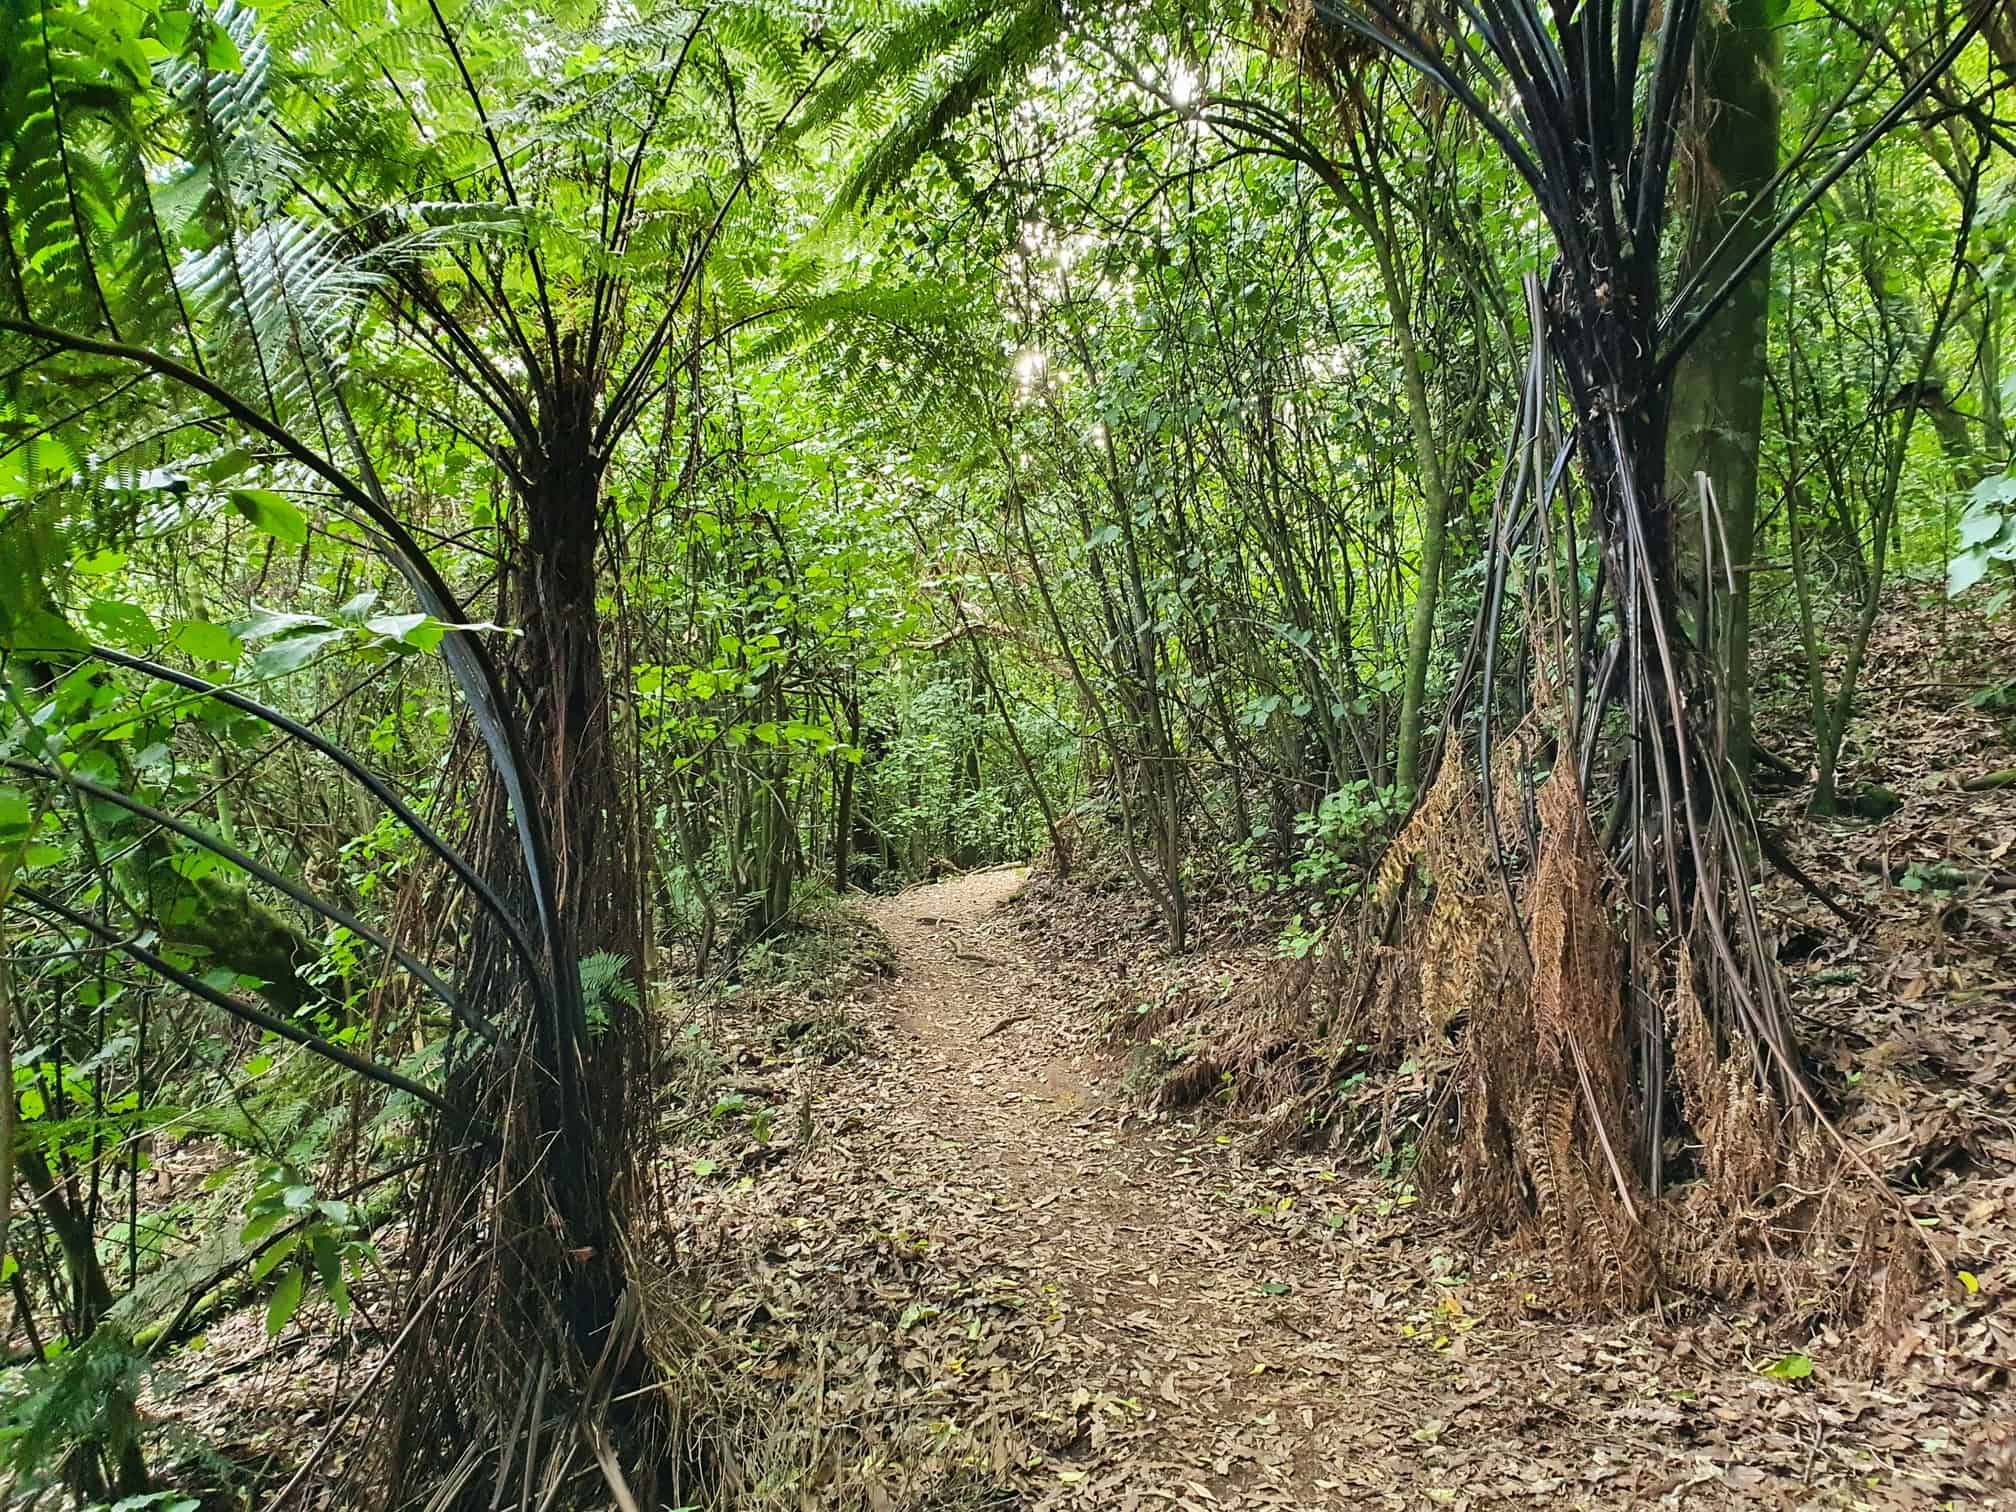
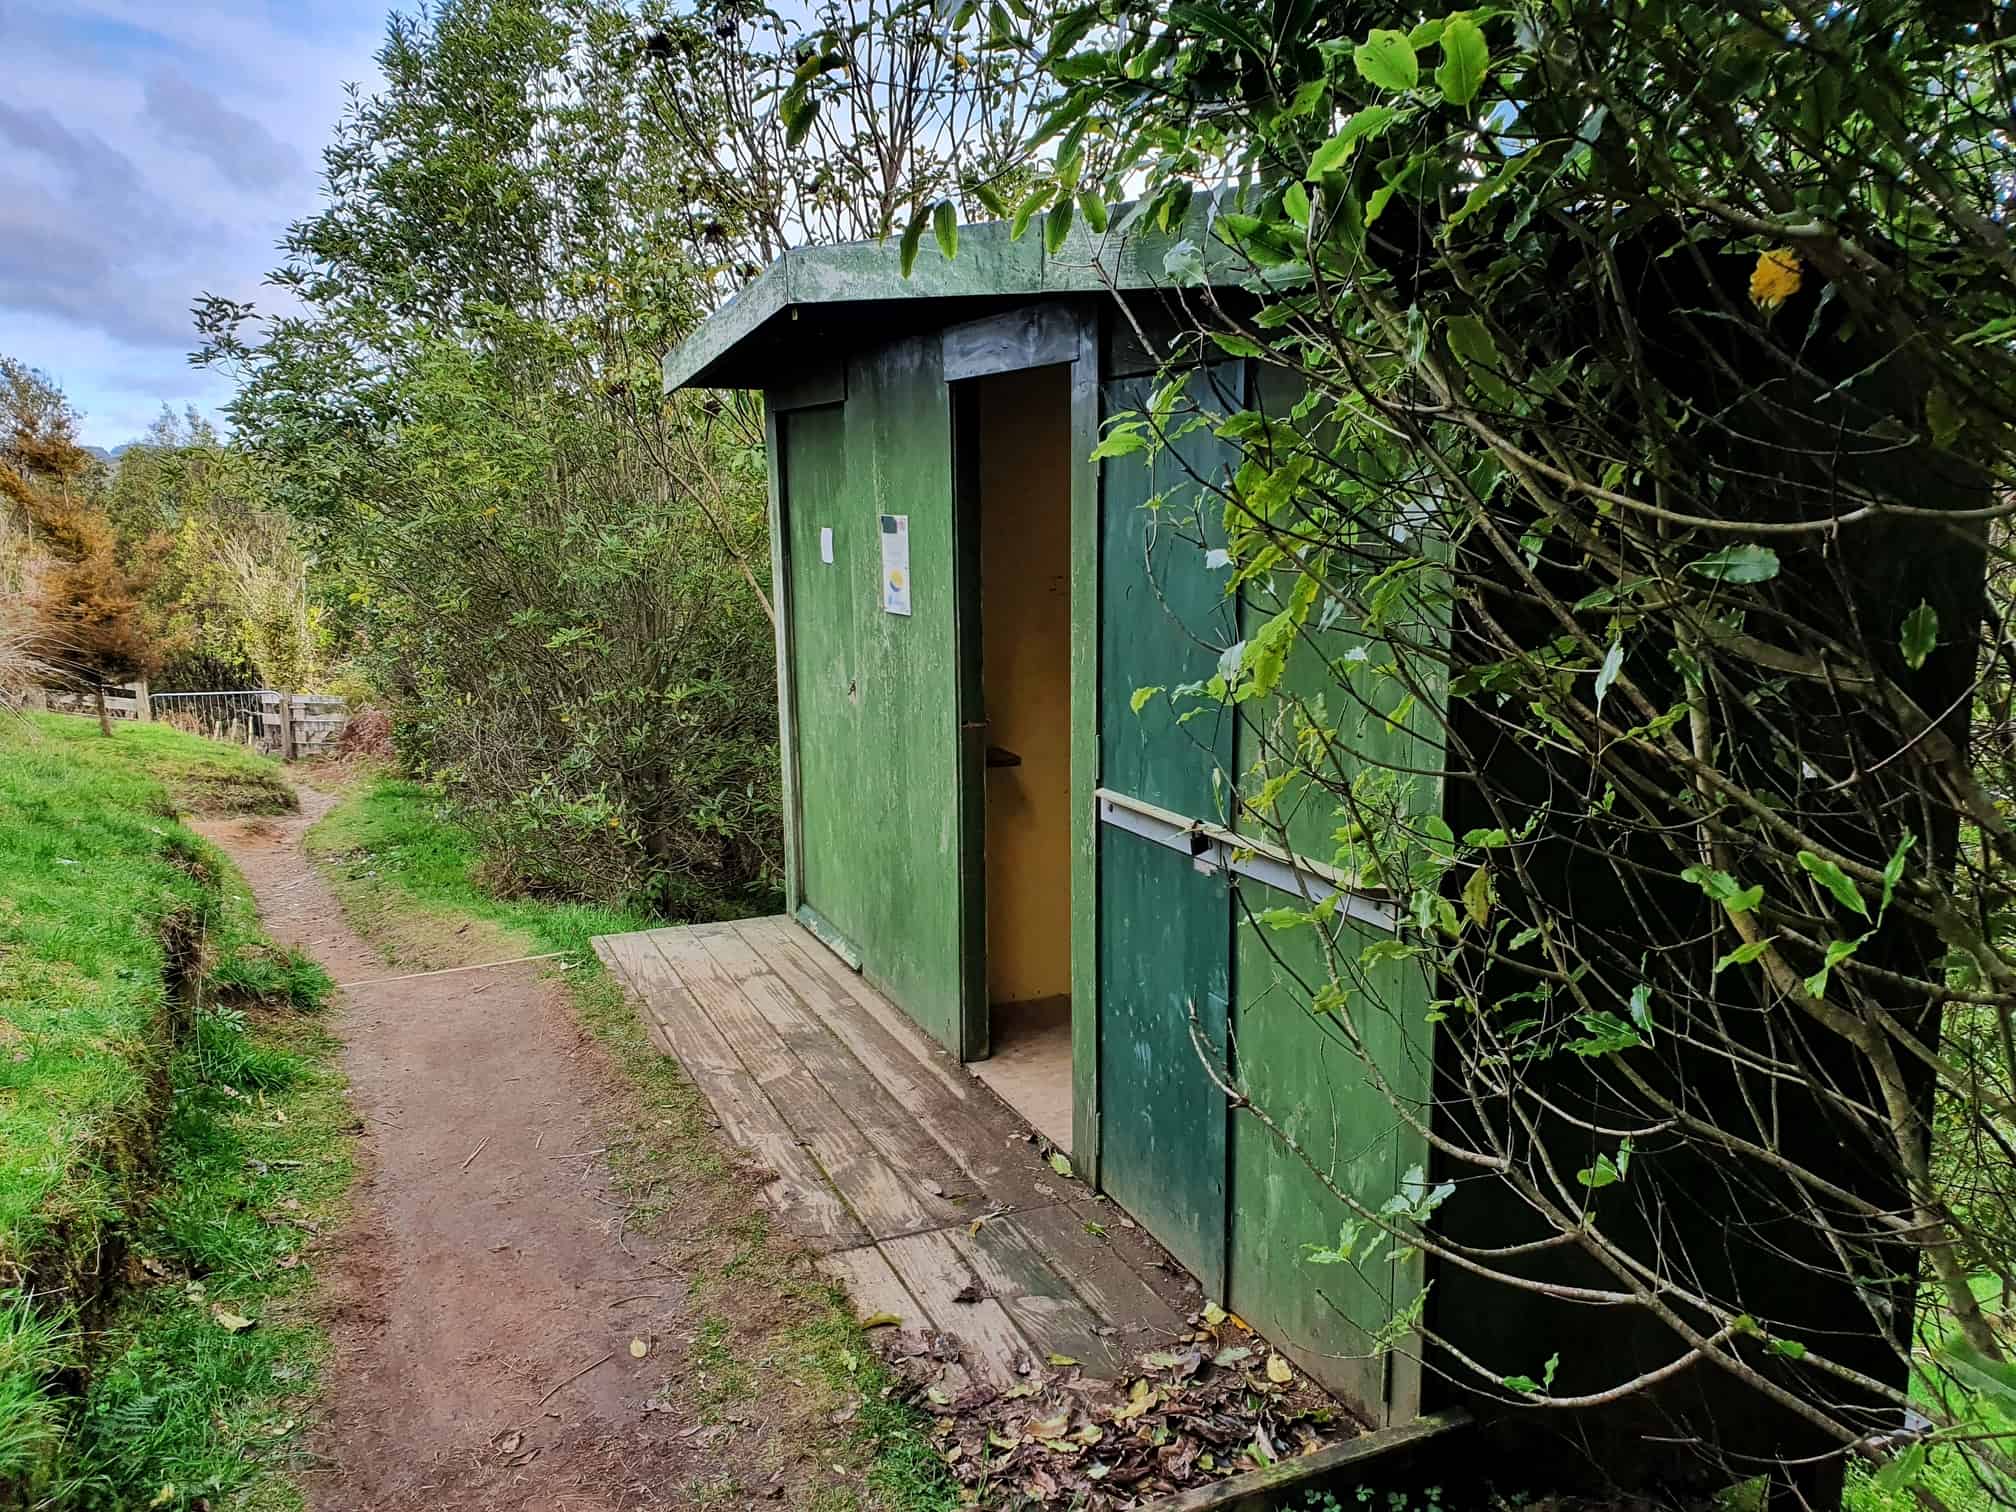
The start of the track takes you through a couple of gates on a gravel track before taking you past the toilets and then you get into the forest canopy. This only takes 200 metres or so.
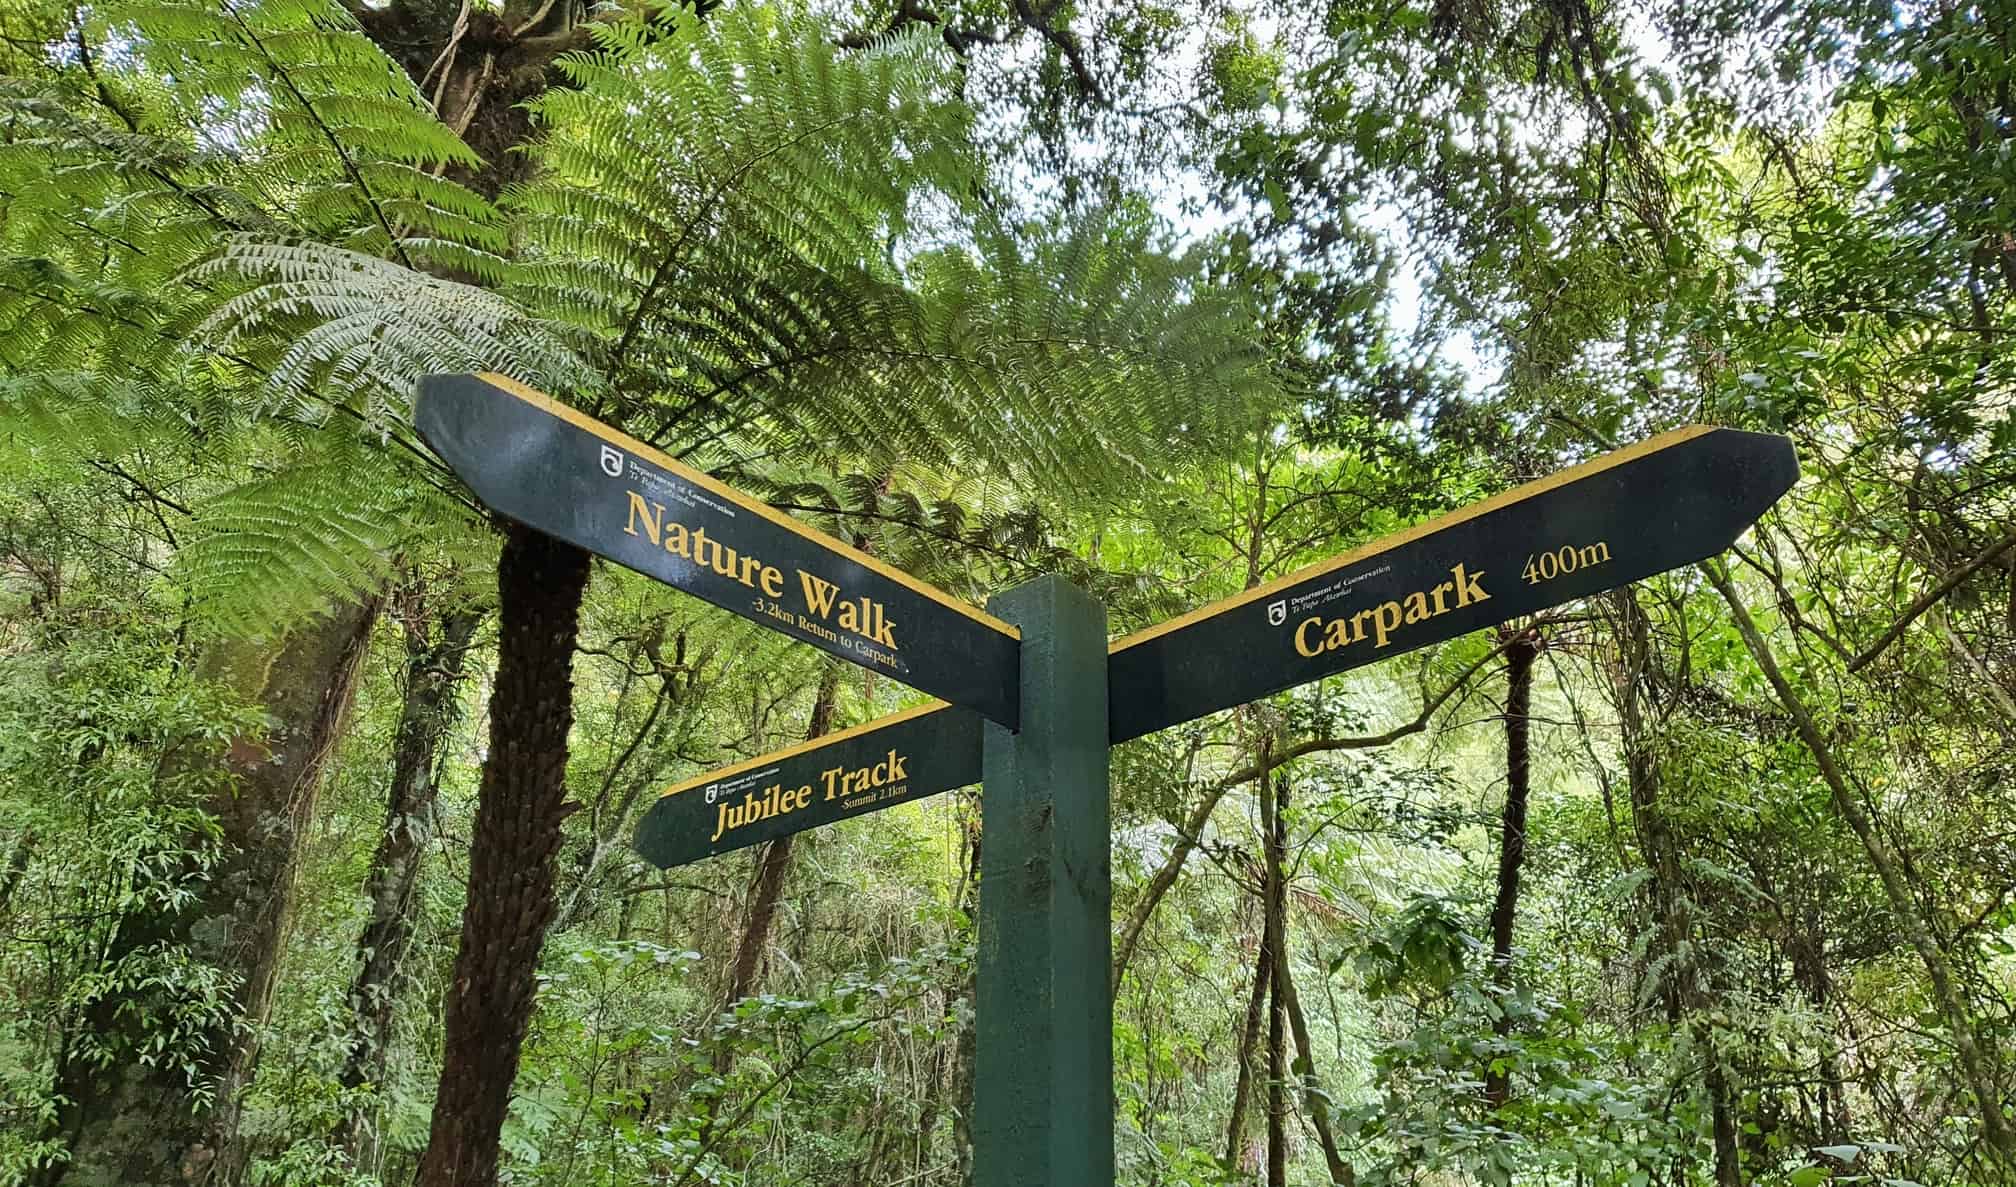
There is another track on Mt Ngongotaha called the Nature Loop which crosses over the Jubilee Track a few times. Fortunately, the signage is really good and even includes distance markers on them. So there’s no need to worry about following the wrong track.
Do take the time to read the signs about the trees and wildlife in the area. The walk becomes a whole lot cooler when you know there are over 70 different fern species on Mt Ngongotaha right?
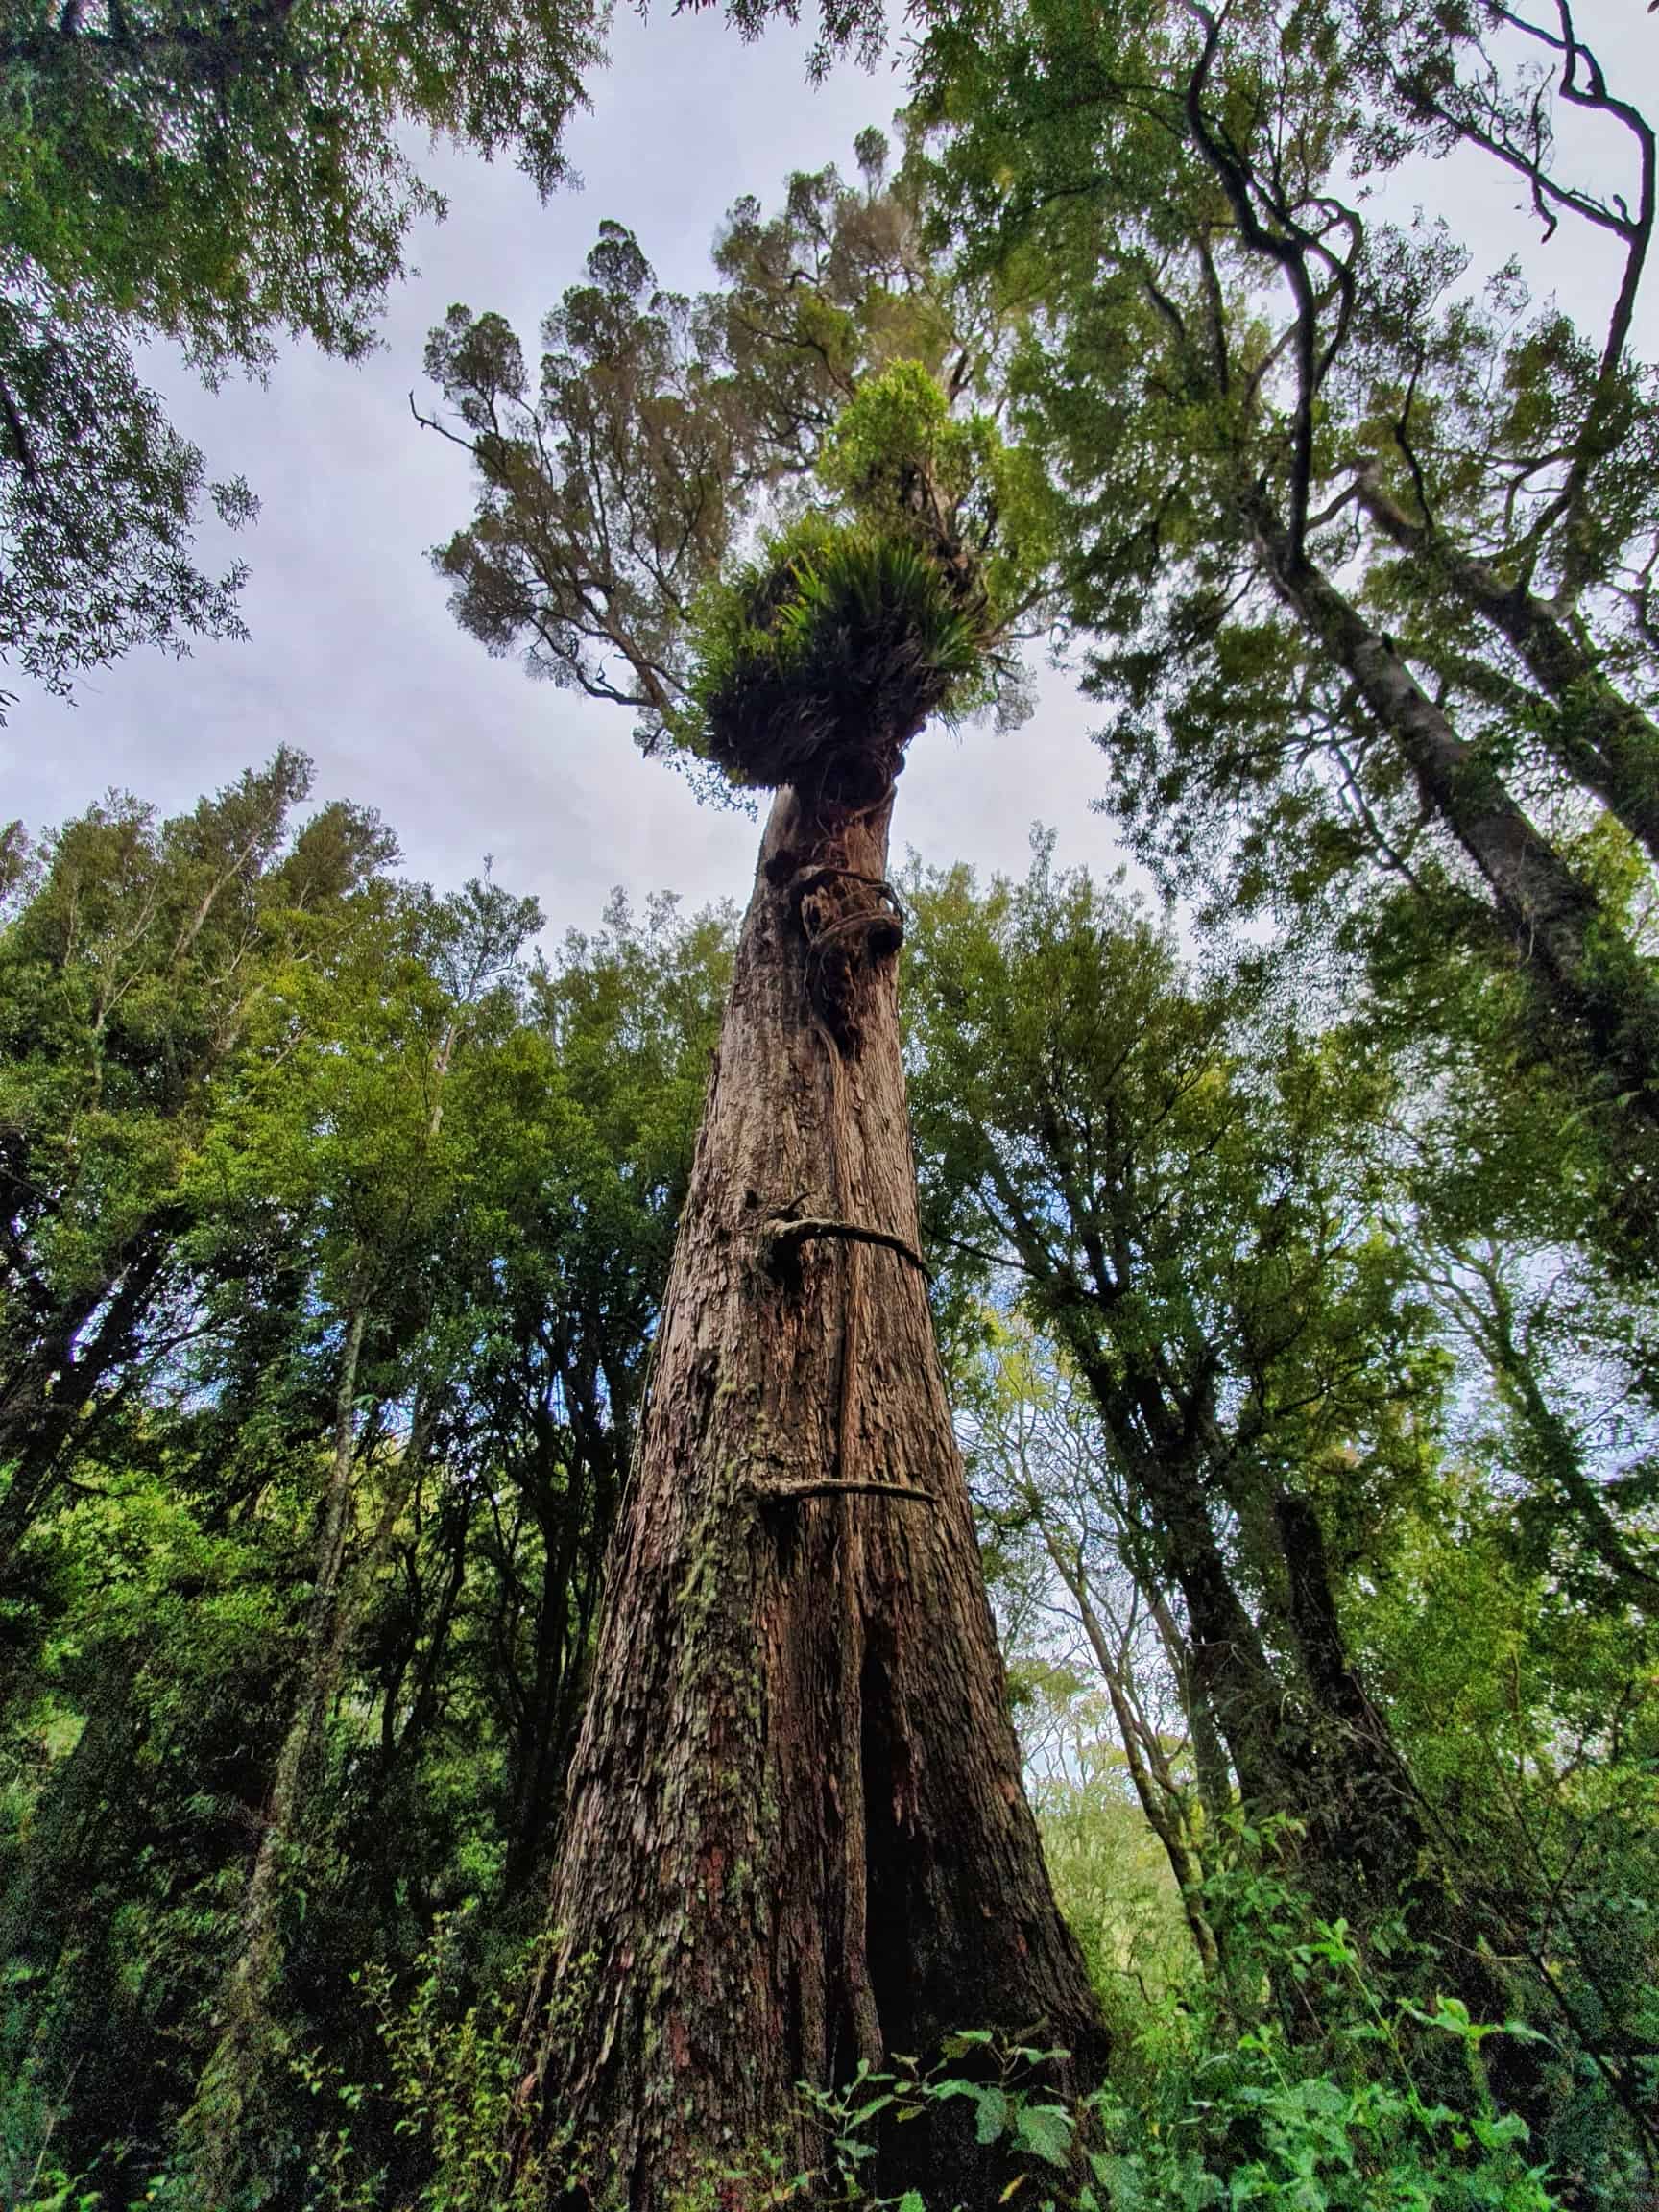
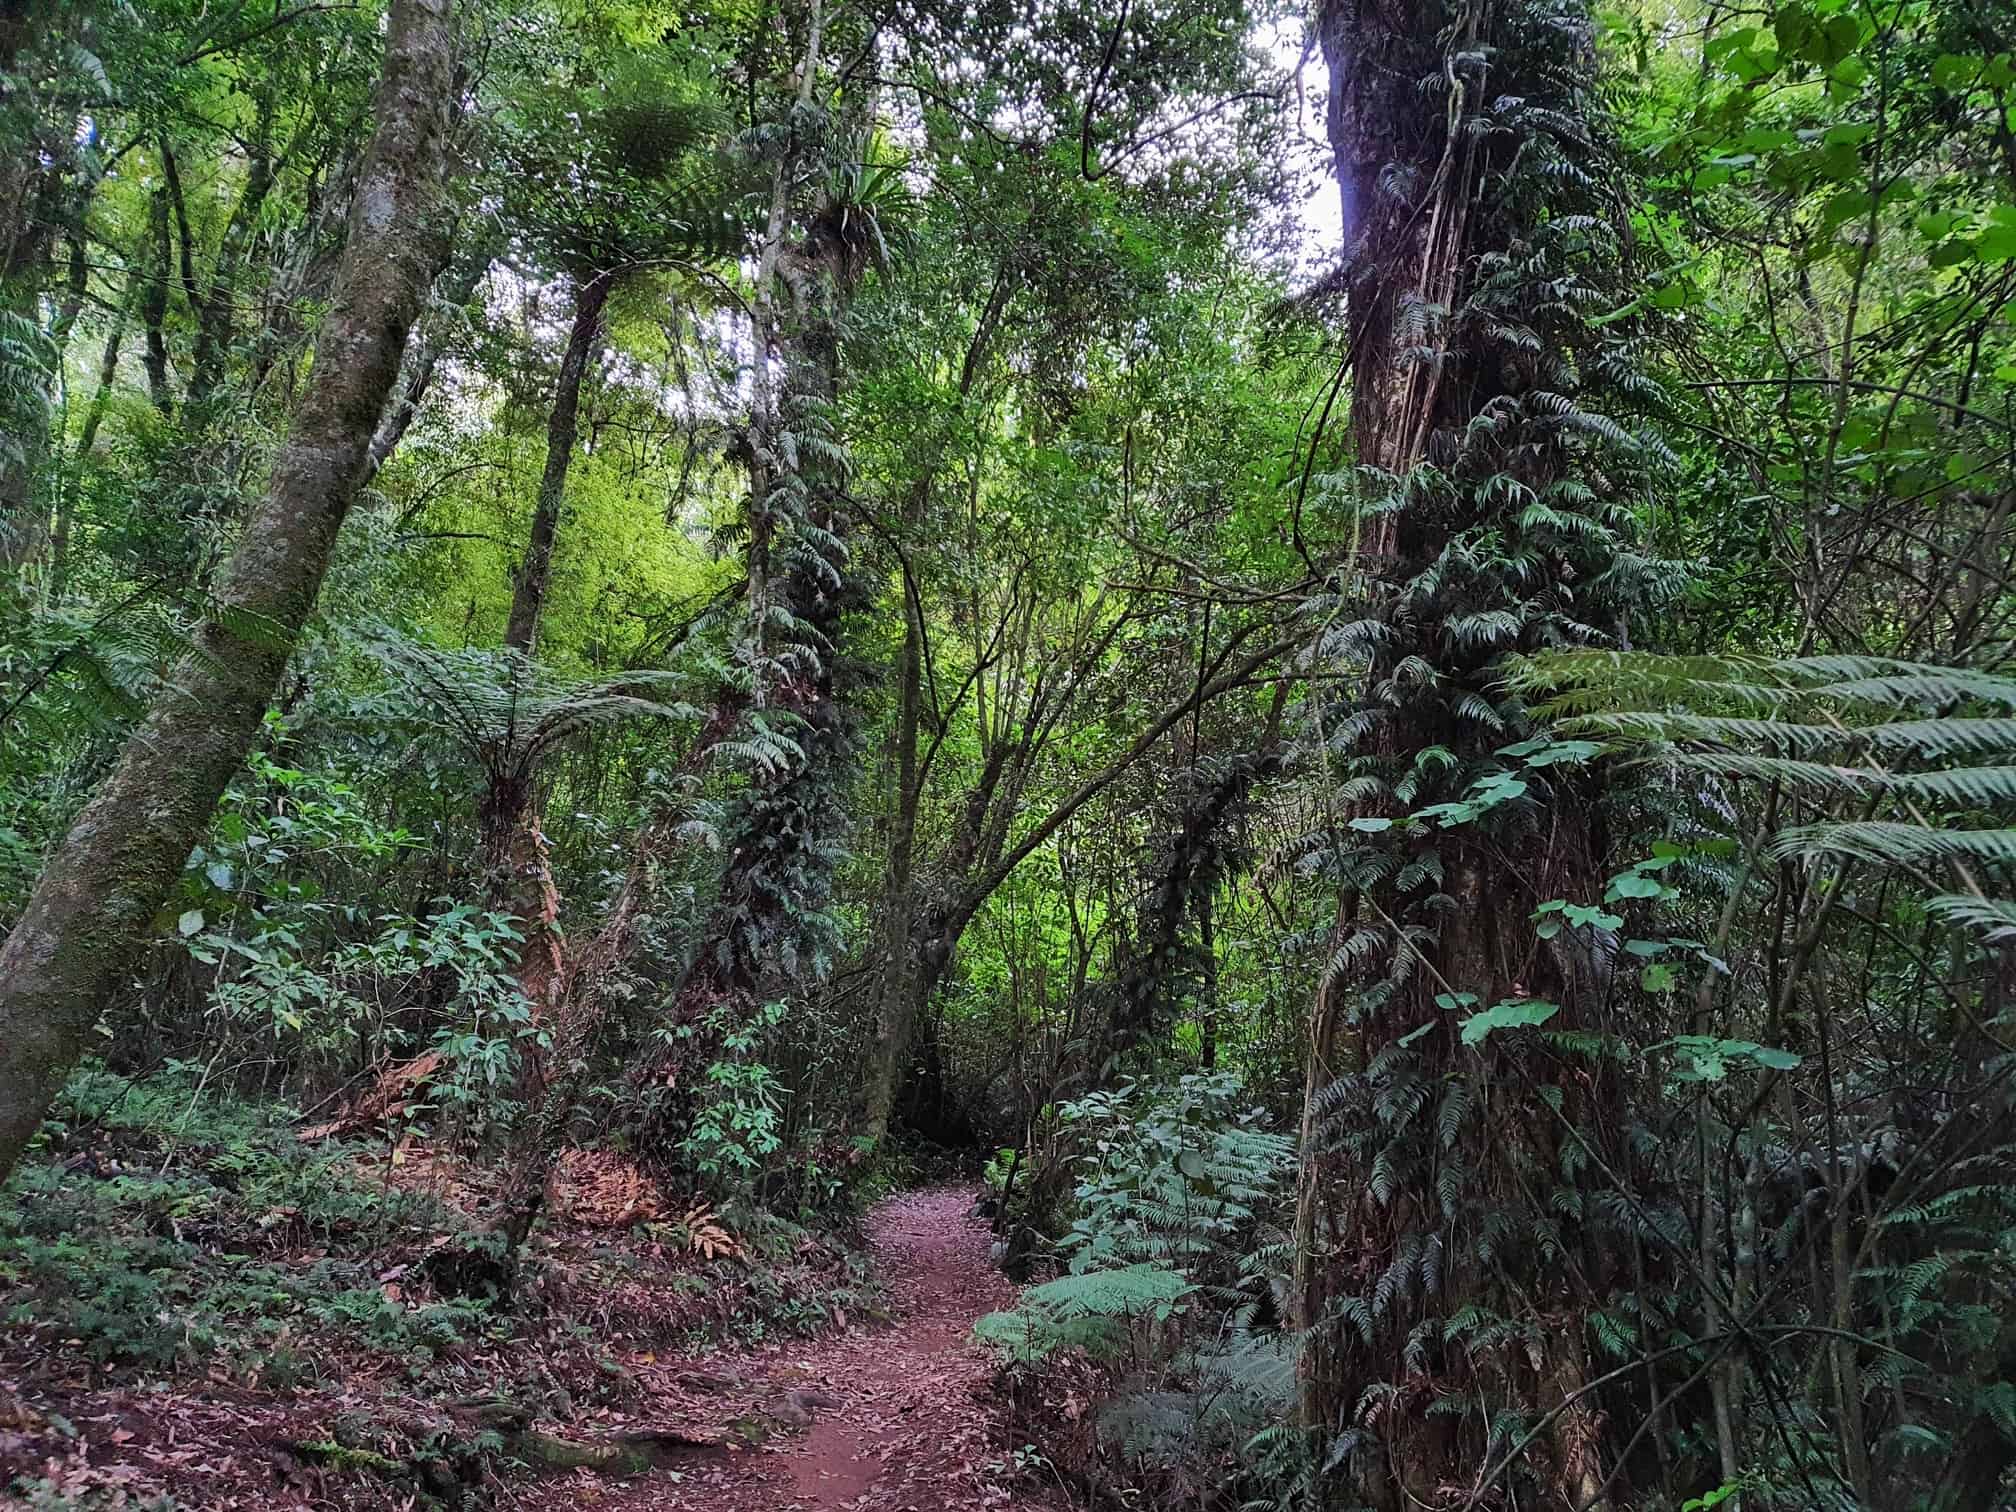
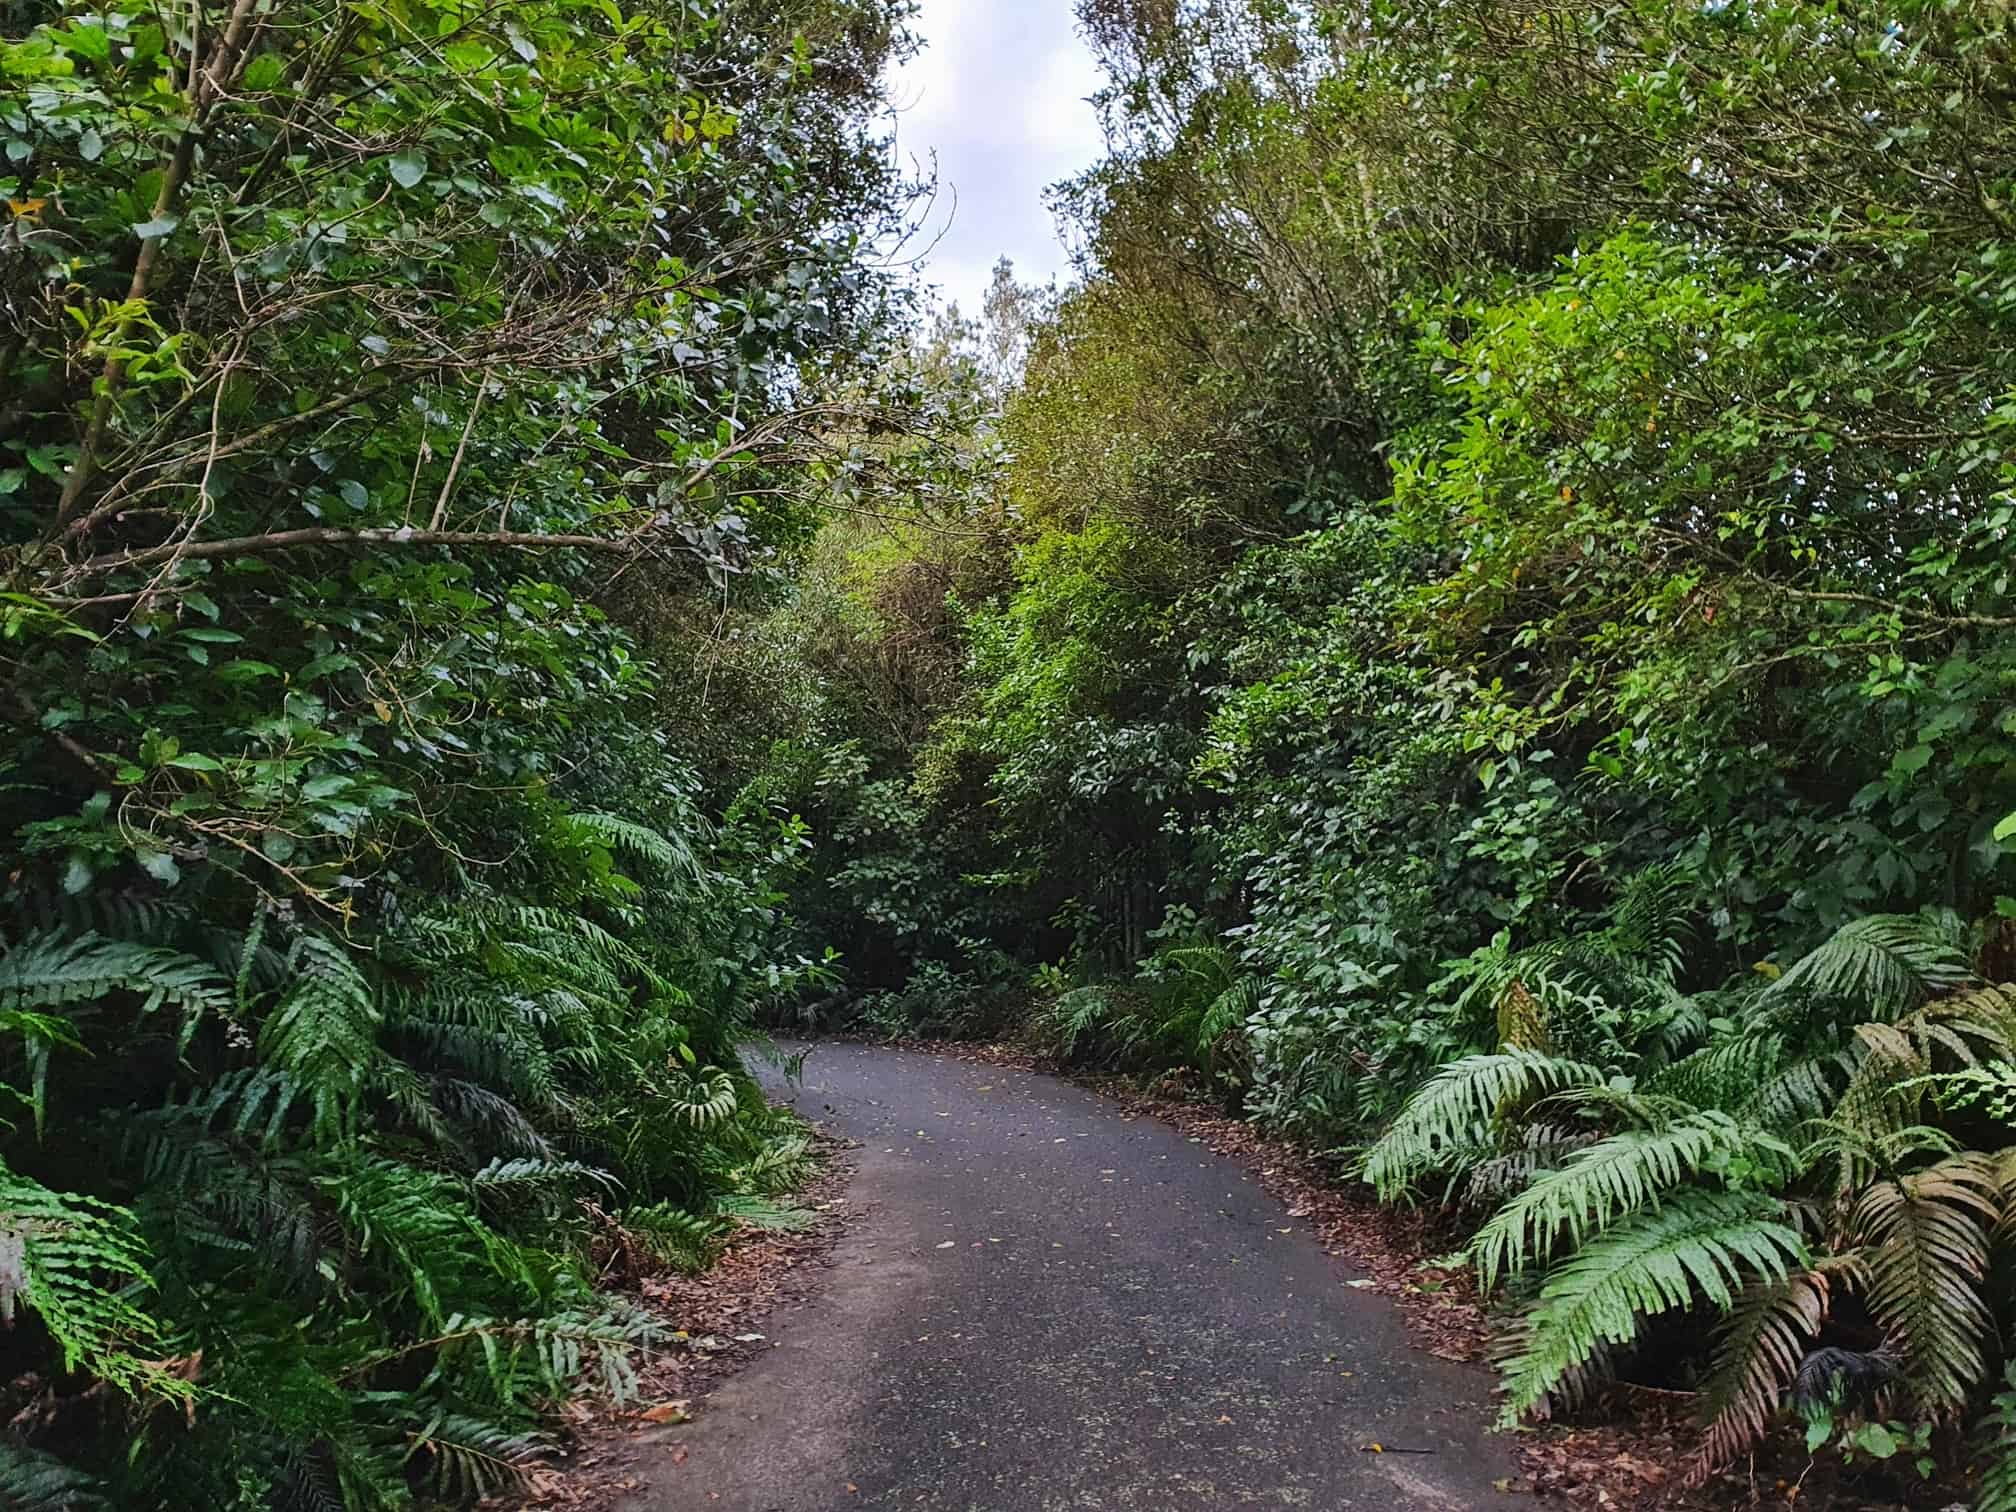
The canopy is super green and lush, love the natives! And there’s a massive rata (see below).
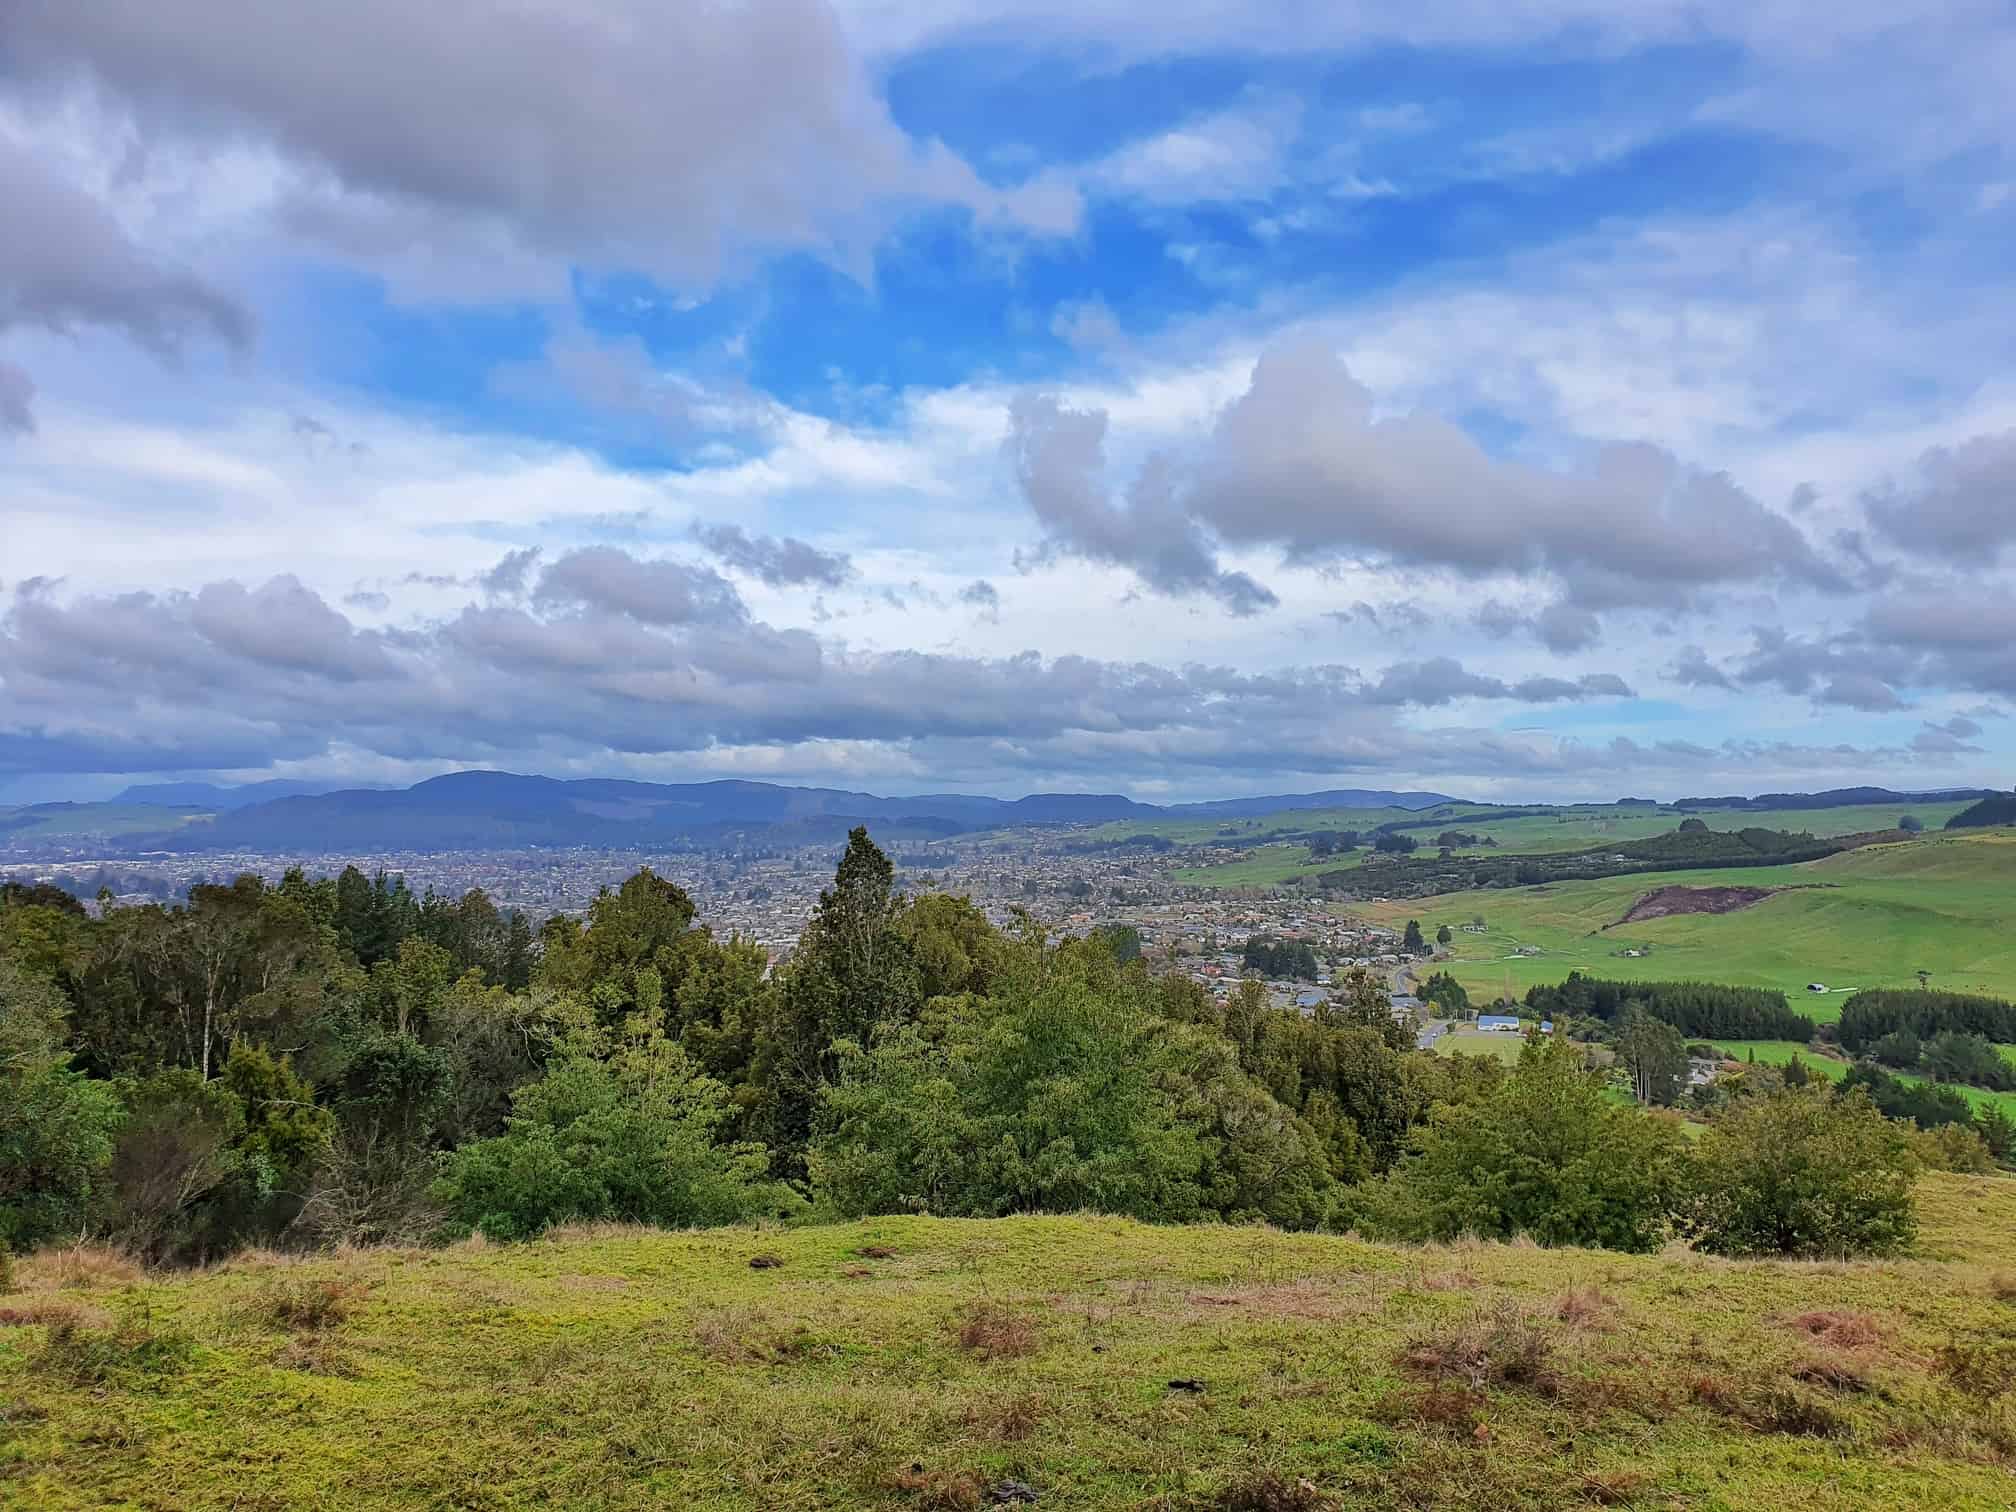
The incline begins from the outset with just a couple of short flat sections throughout. It’s pretty steep across the board. At about 700 metres in, there’s a quick detour to a viewpoint that is worth a quick look at. It’s the only view you get the whole way (it’s like 10 metres off the main track).
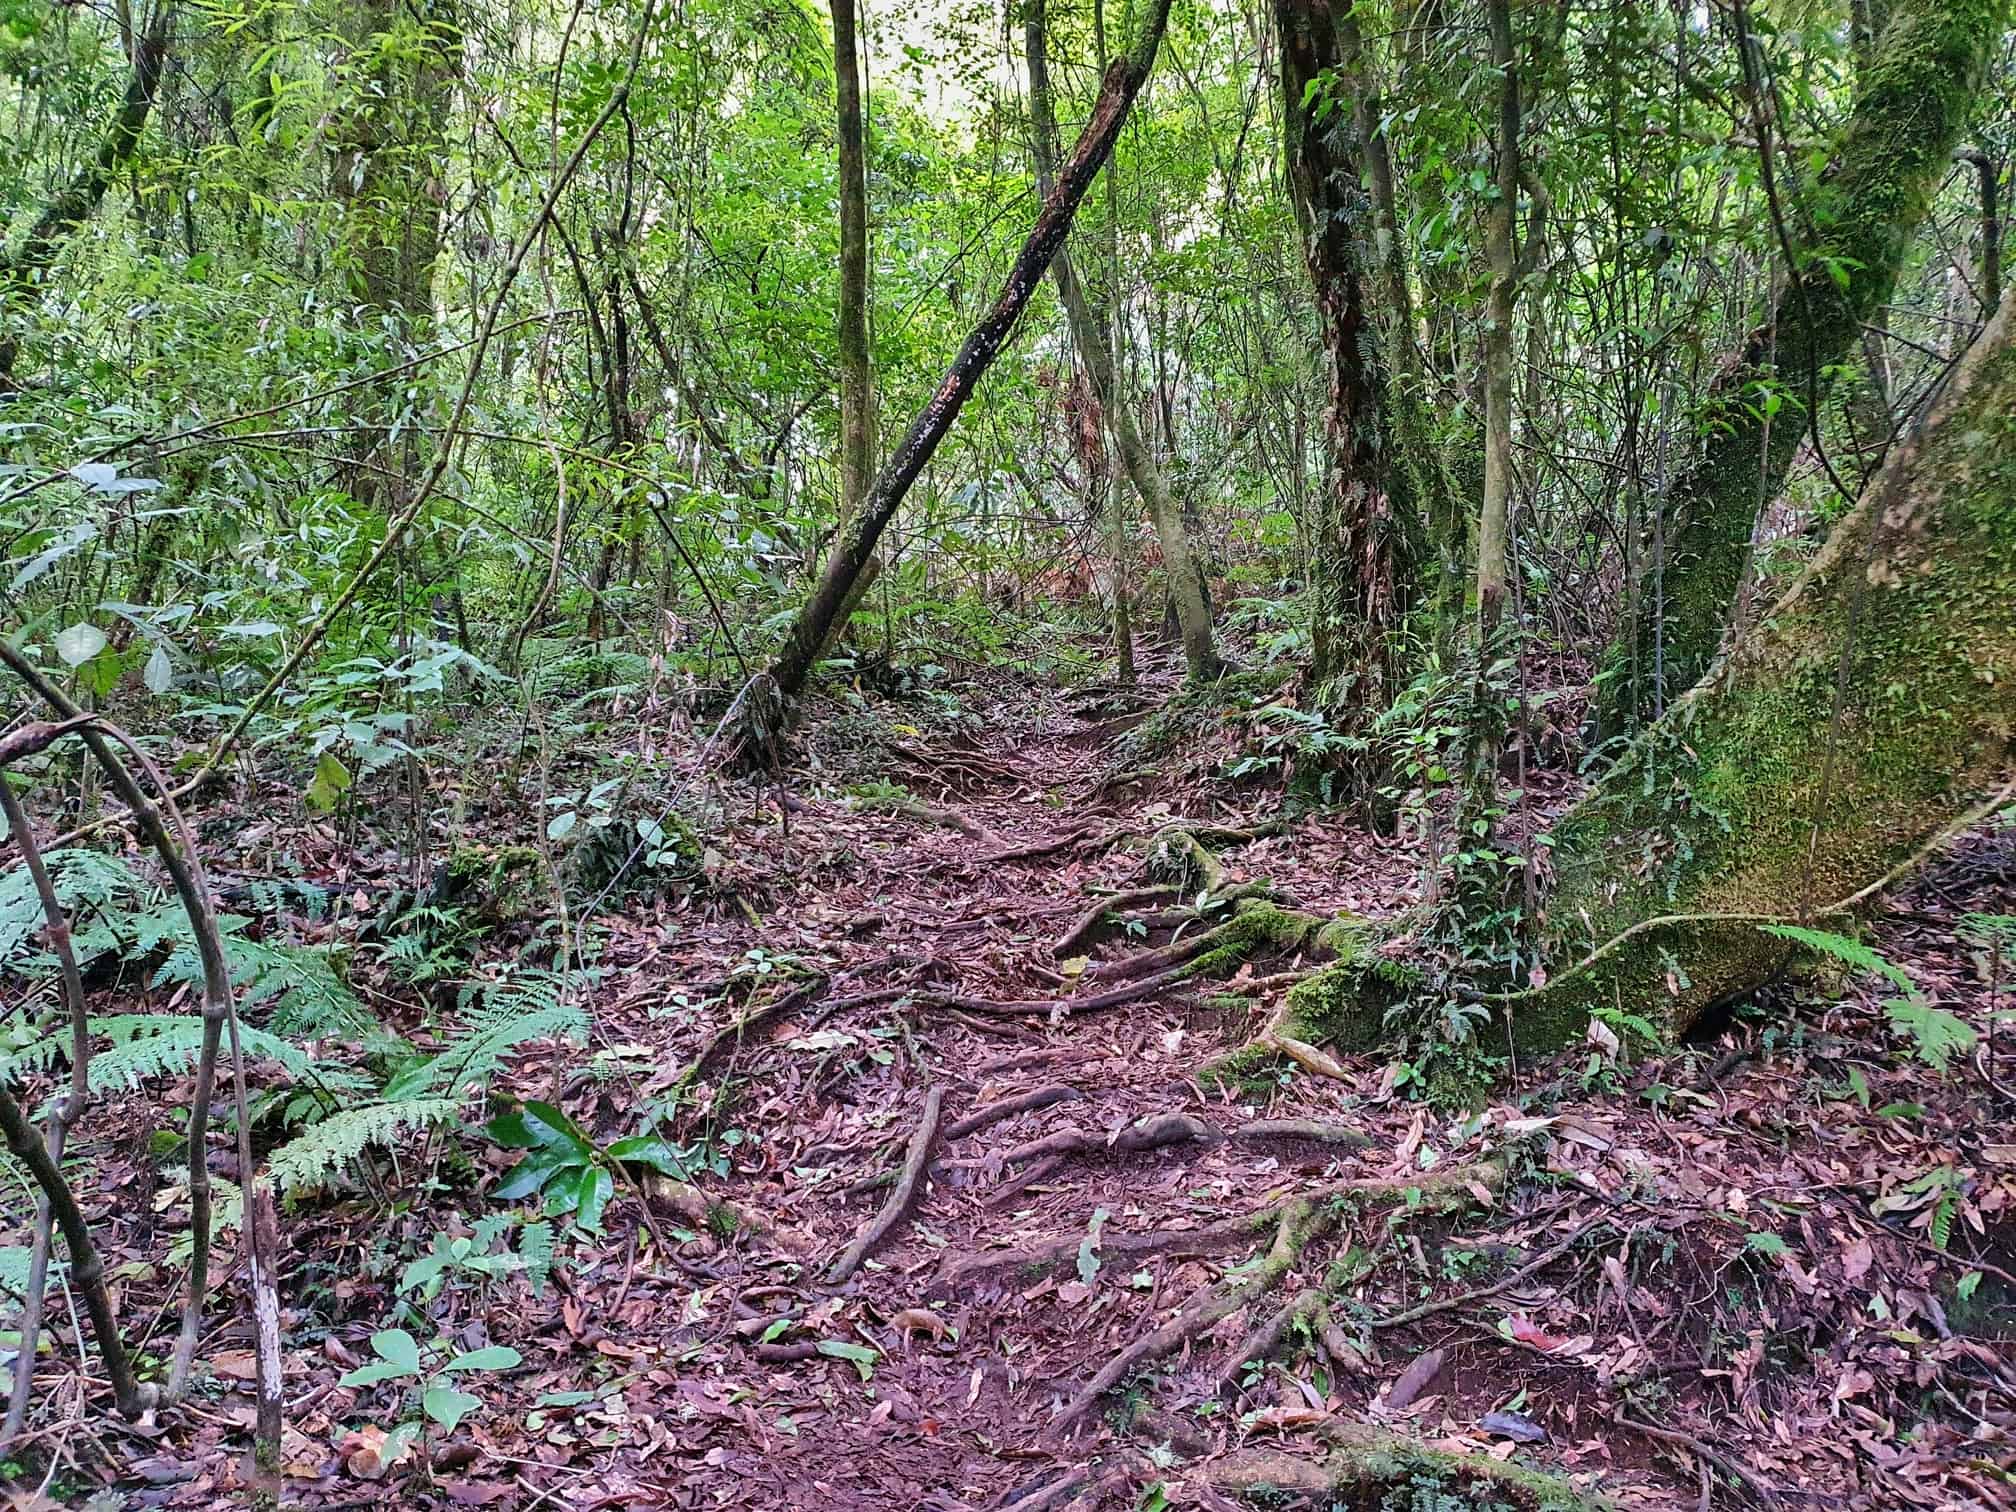
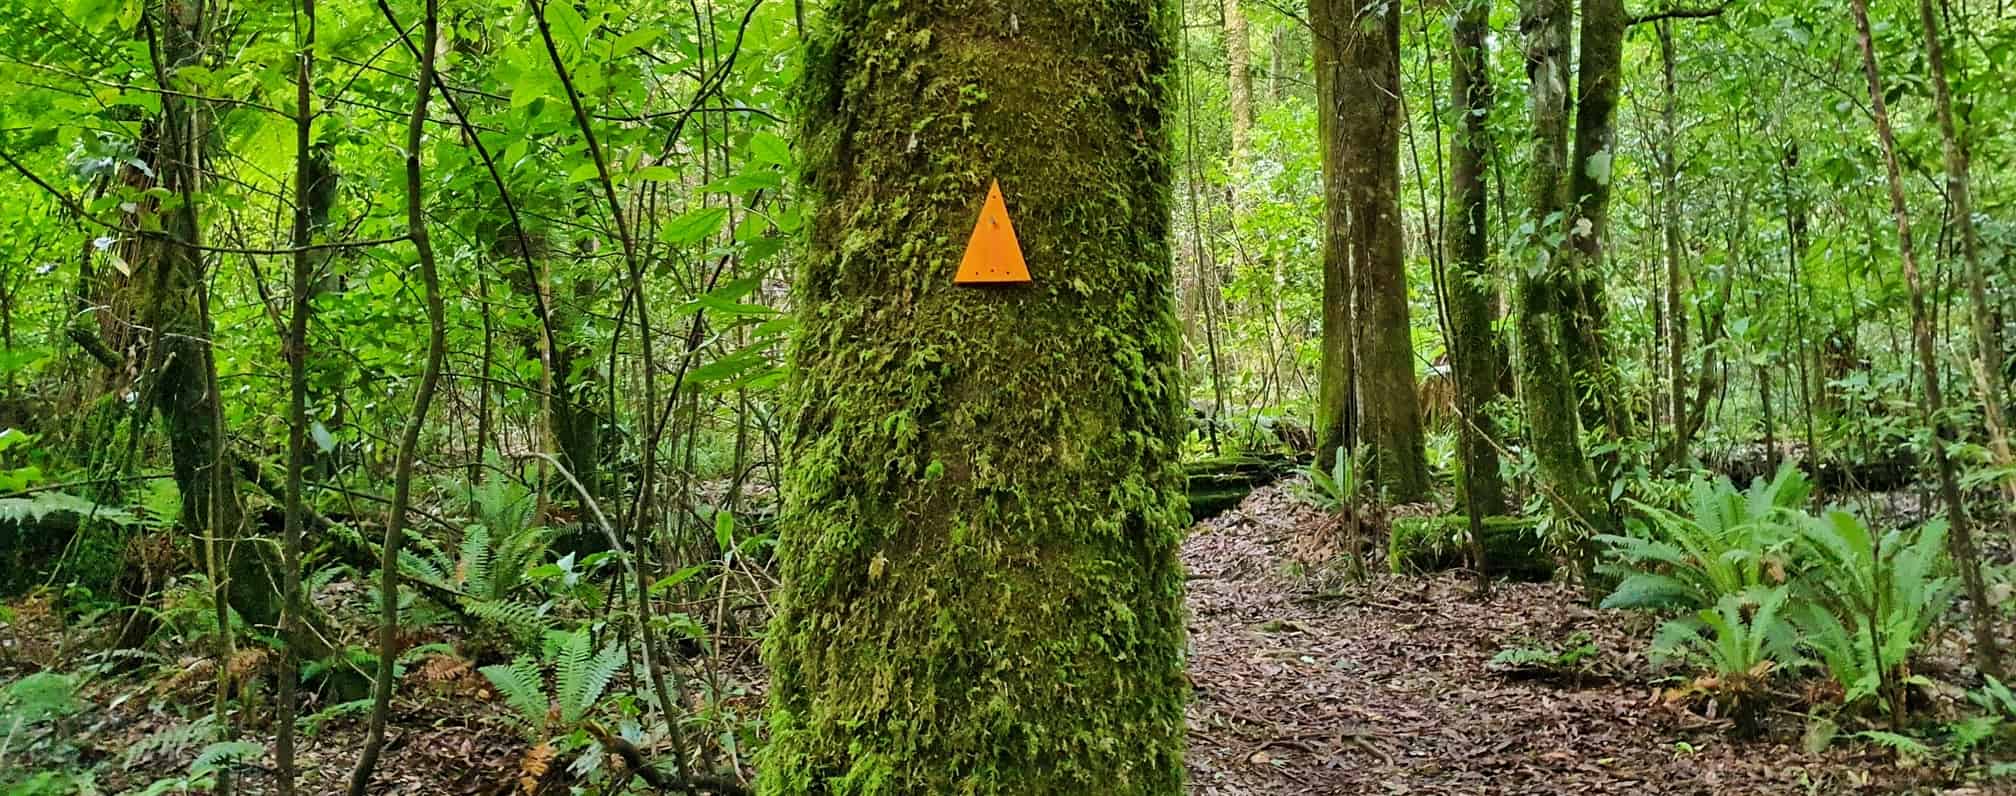
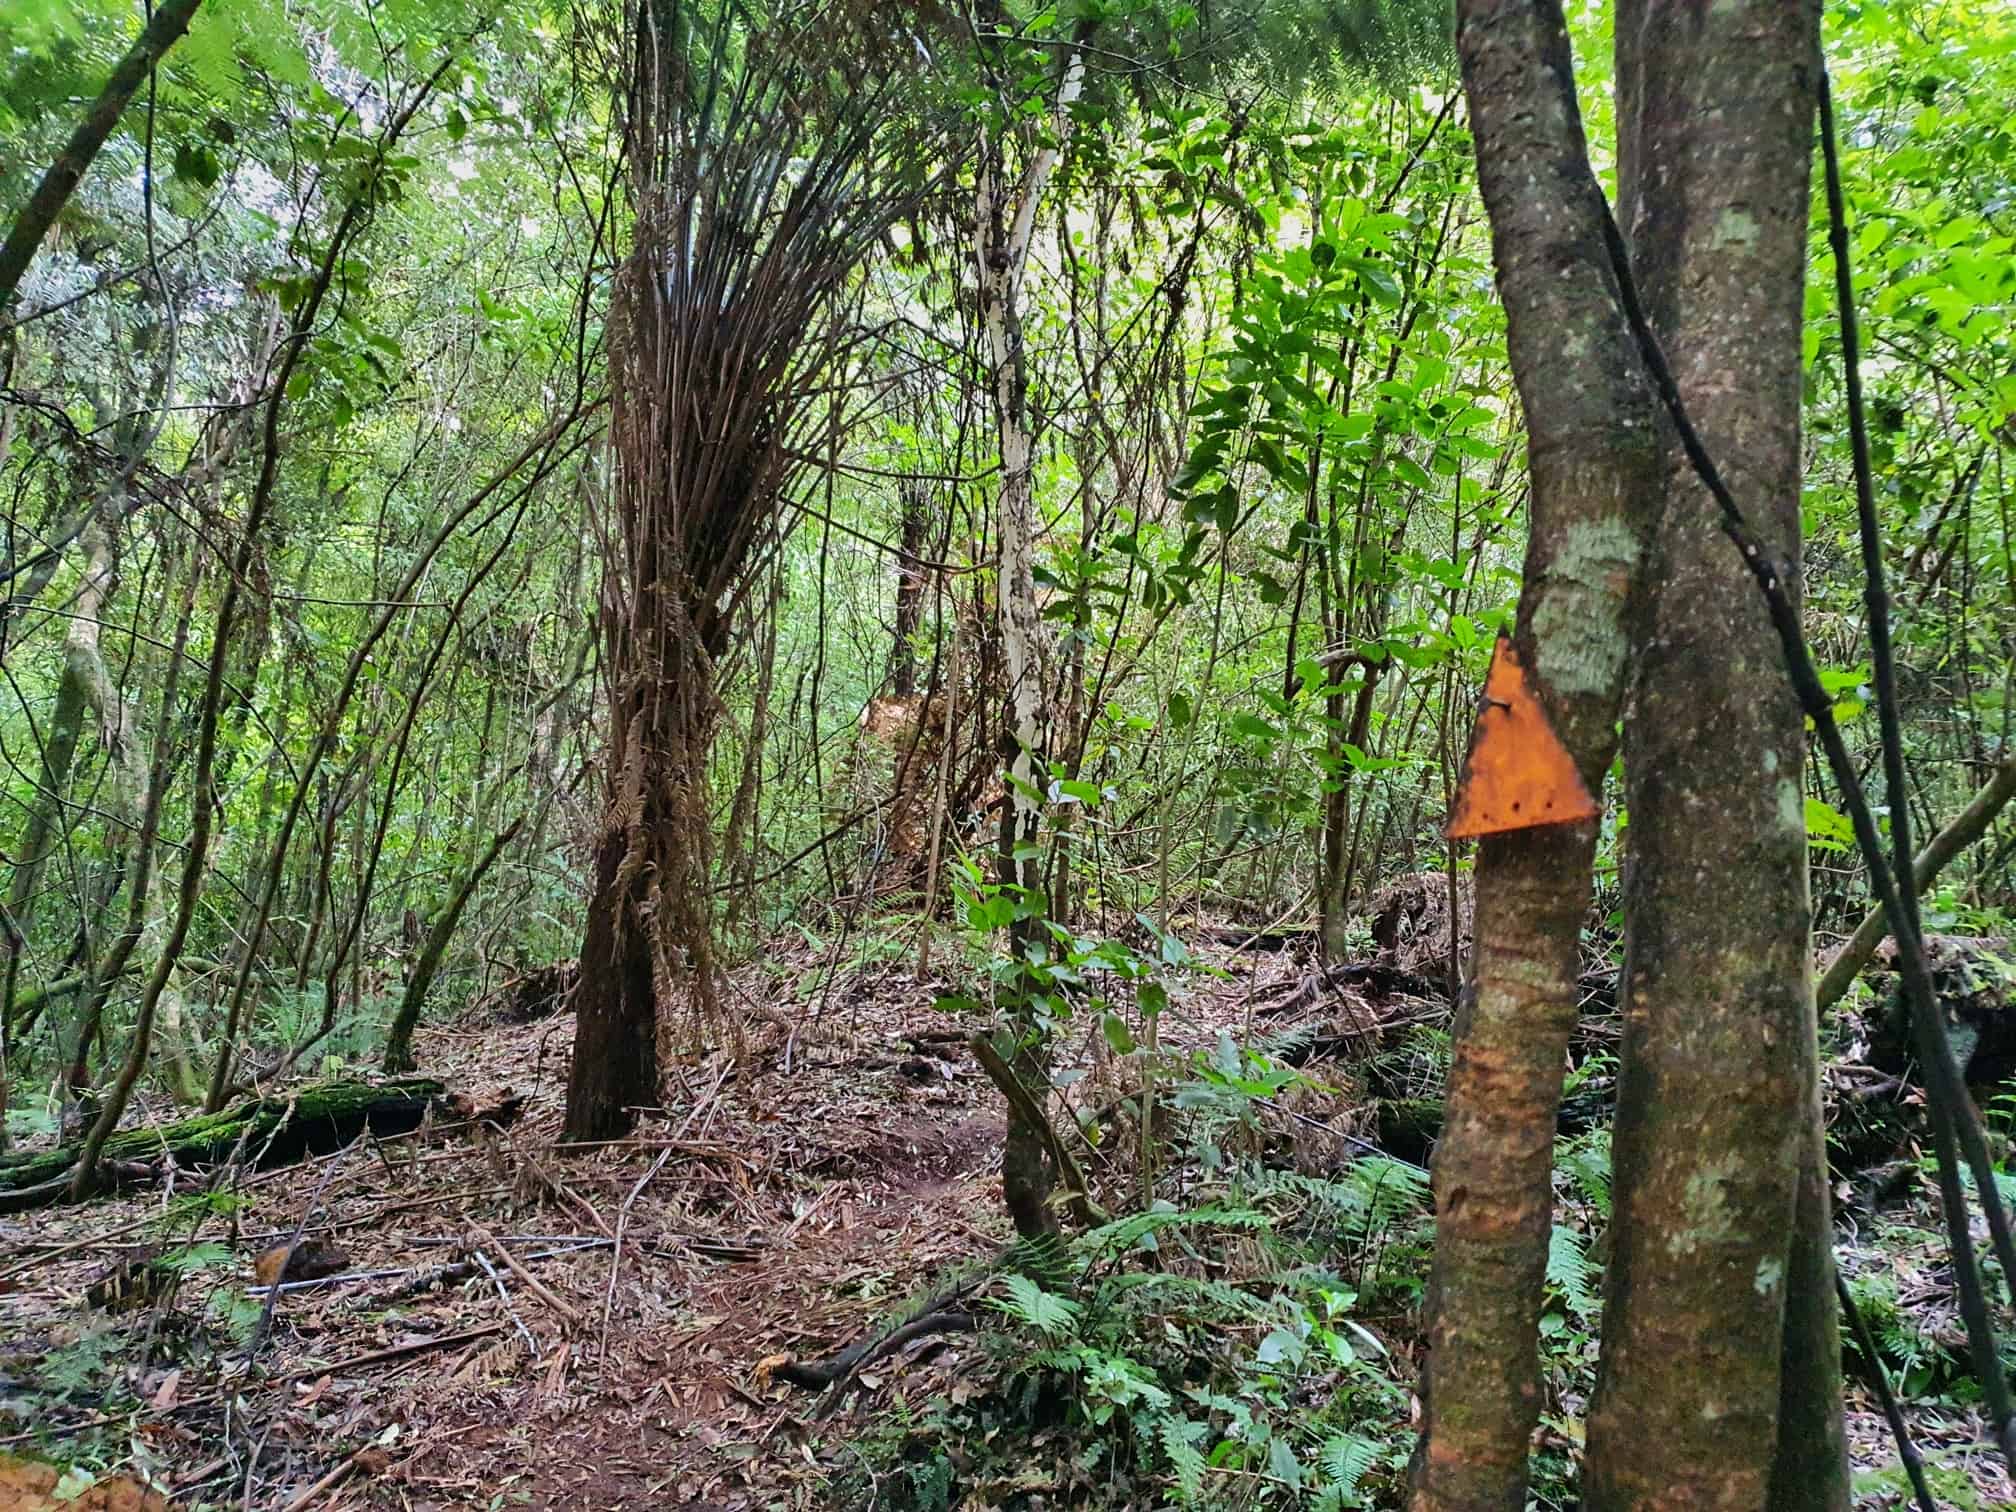
The deeper you get into the forest the more gnarly the track becomes with a couple of larger steps, and tangled roots crisscrossing the tracks. You won’t get lost though, with the track obvious enough throughout. And there are the orange trail markers anyhow.
Even in winter, I found the track to be in good condition, and not slippery. Though there were a couple of short muddy sections. Nothing that’ll cause you trouble.
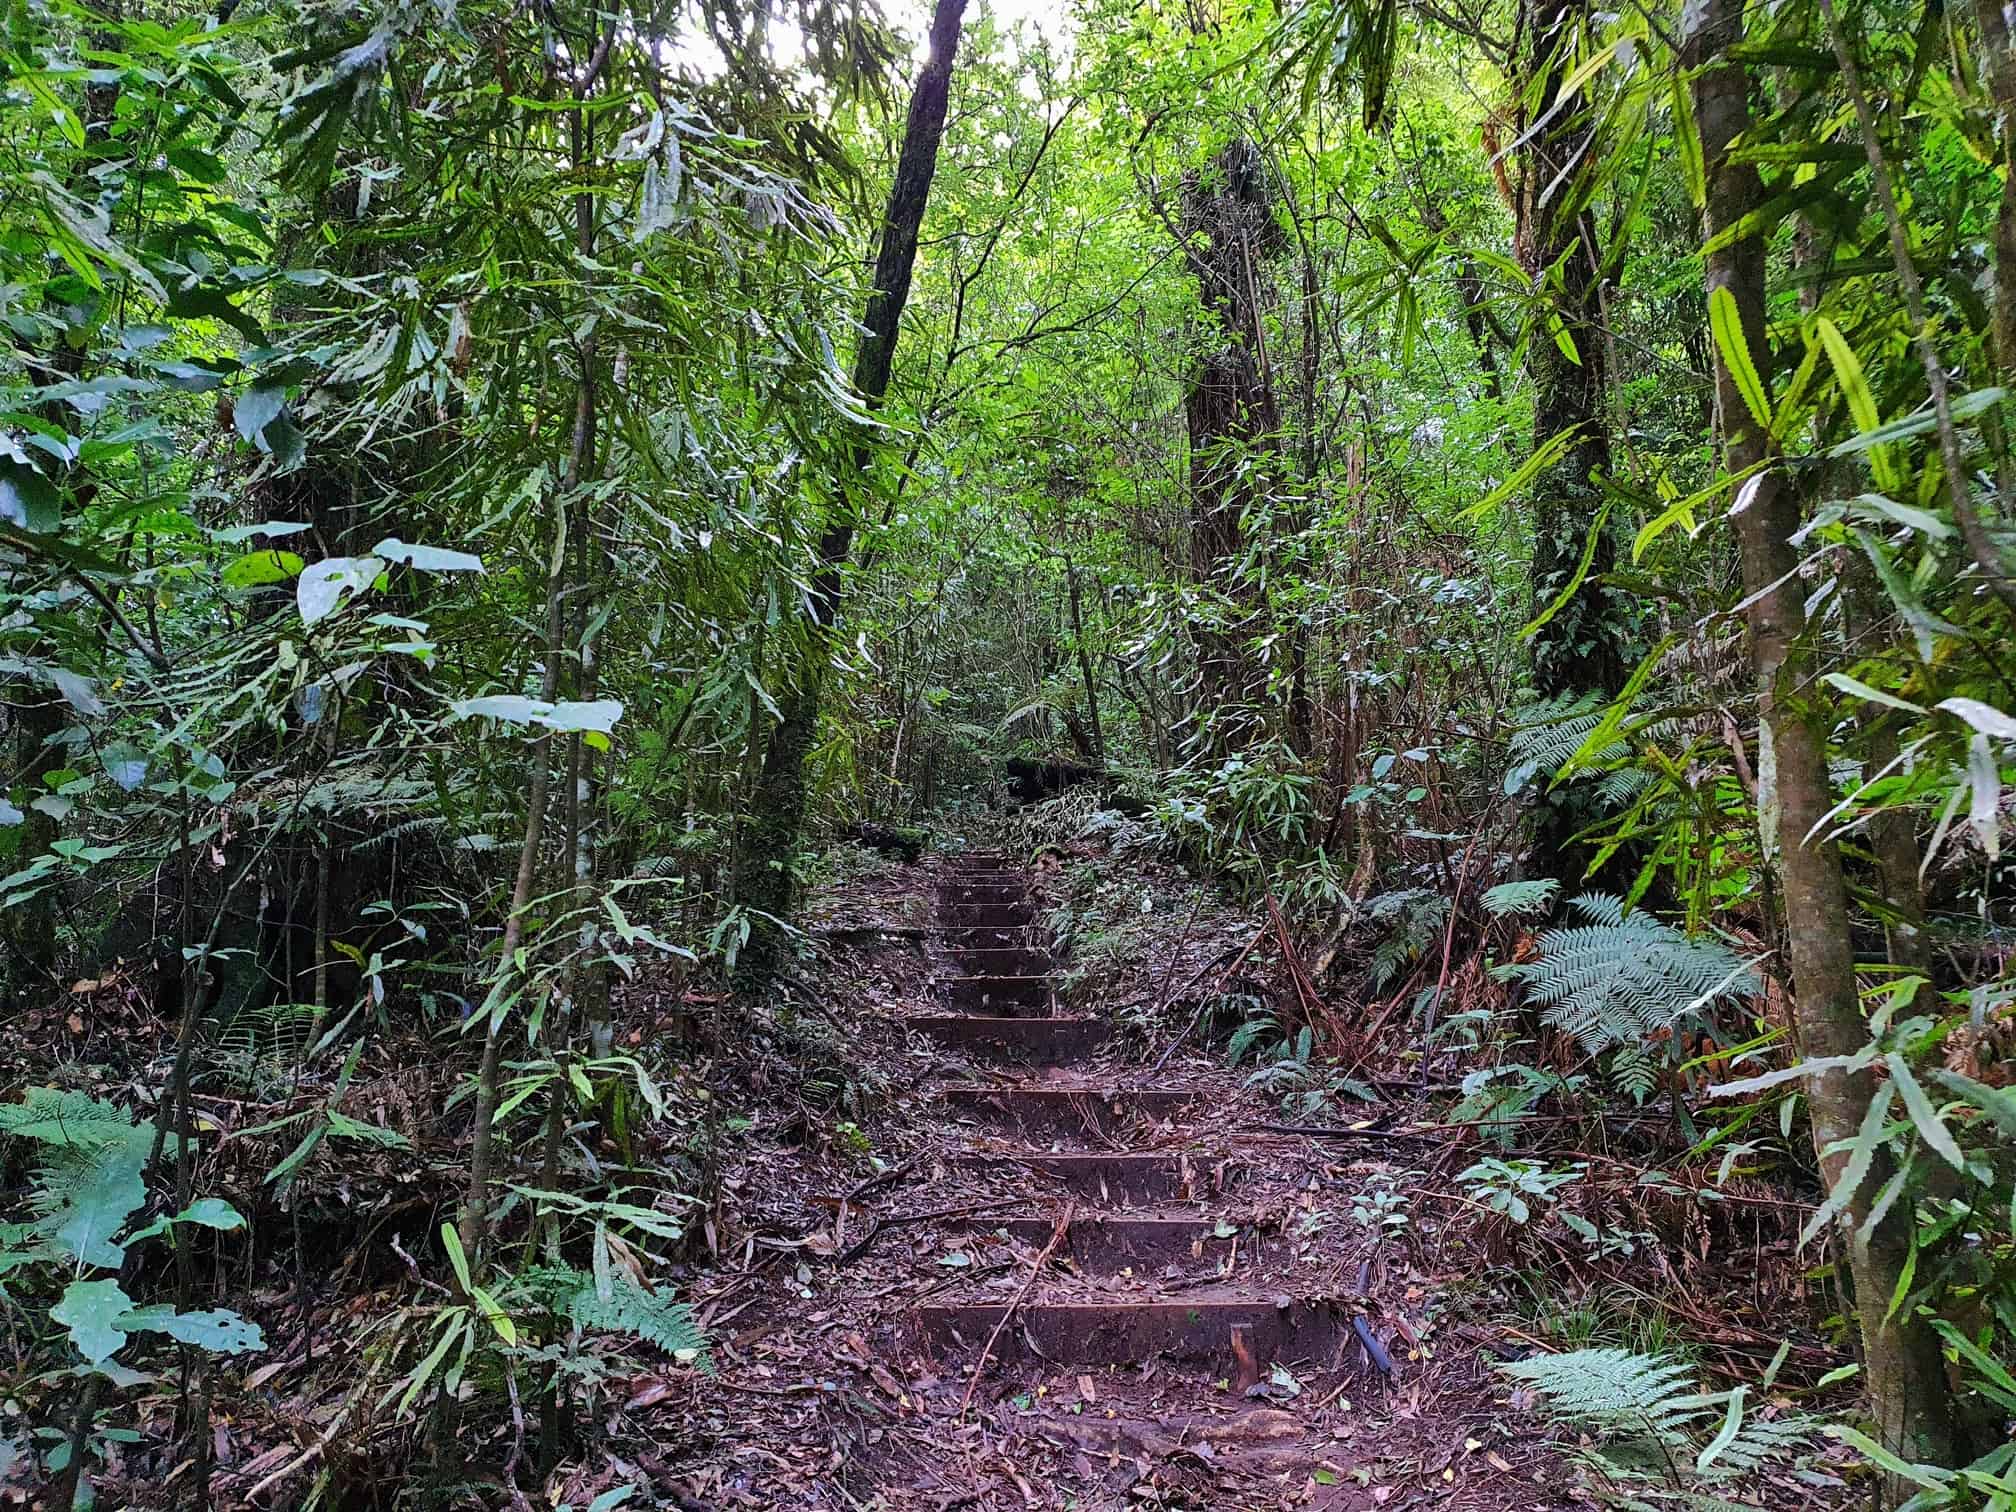
You’ll notice the stairs above. There are very few of them!
And then you reach the road. It’s not obvious which way to go I found, so remember this. TURN LEFT.
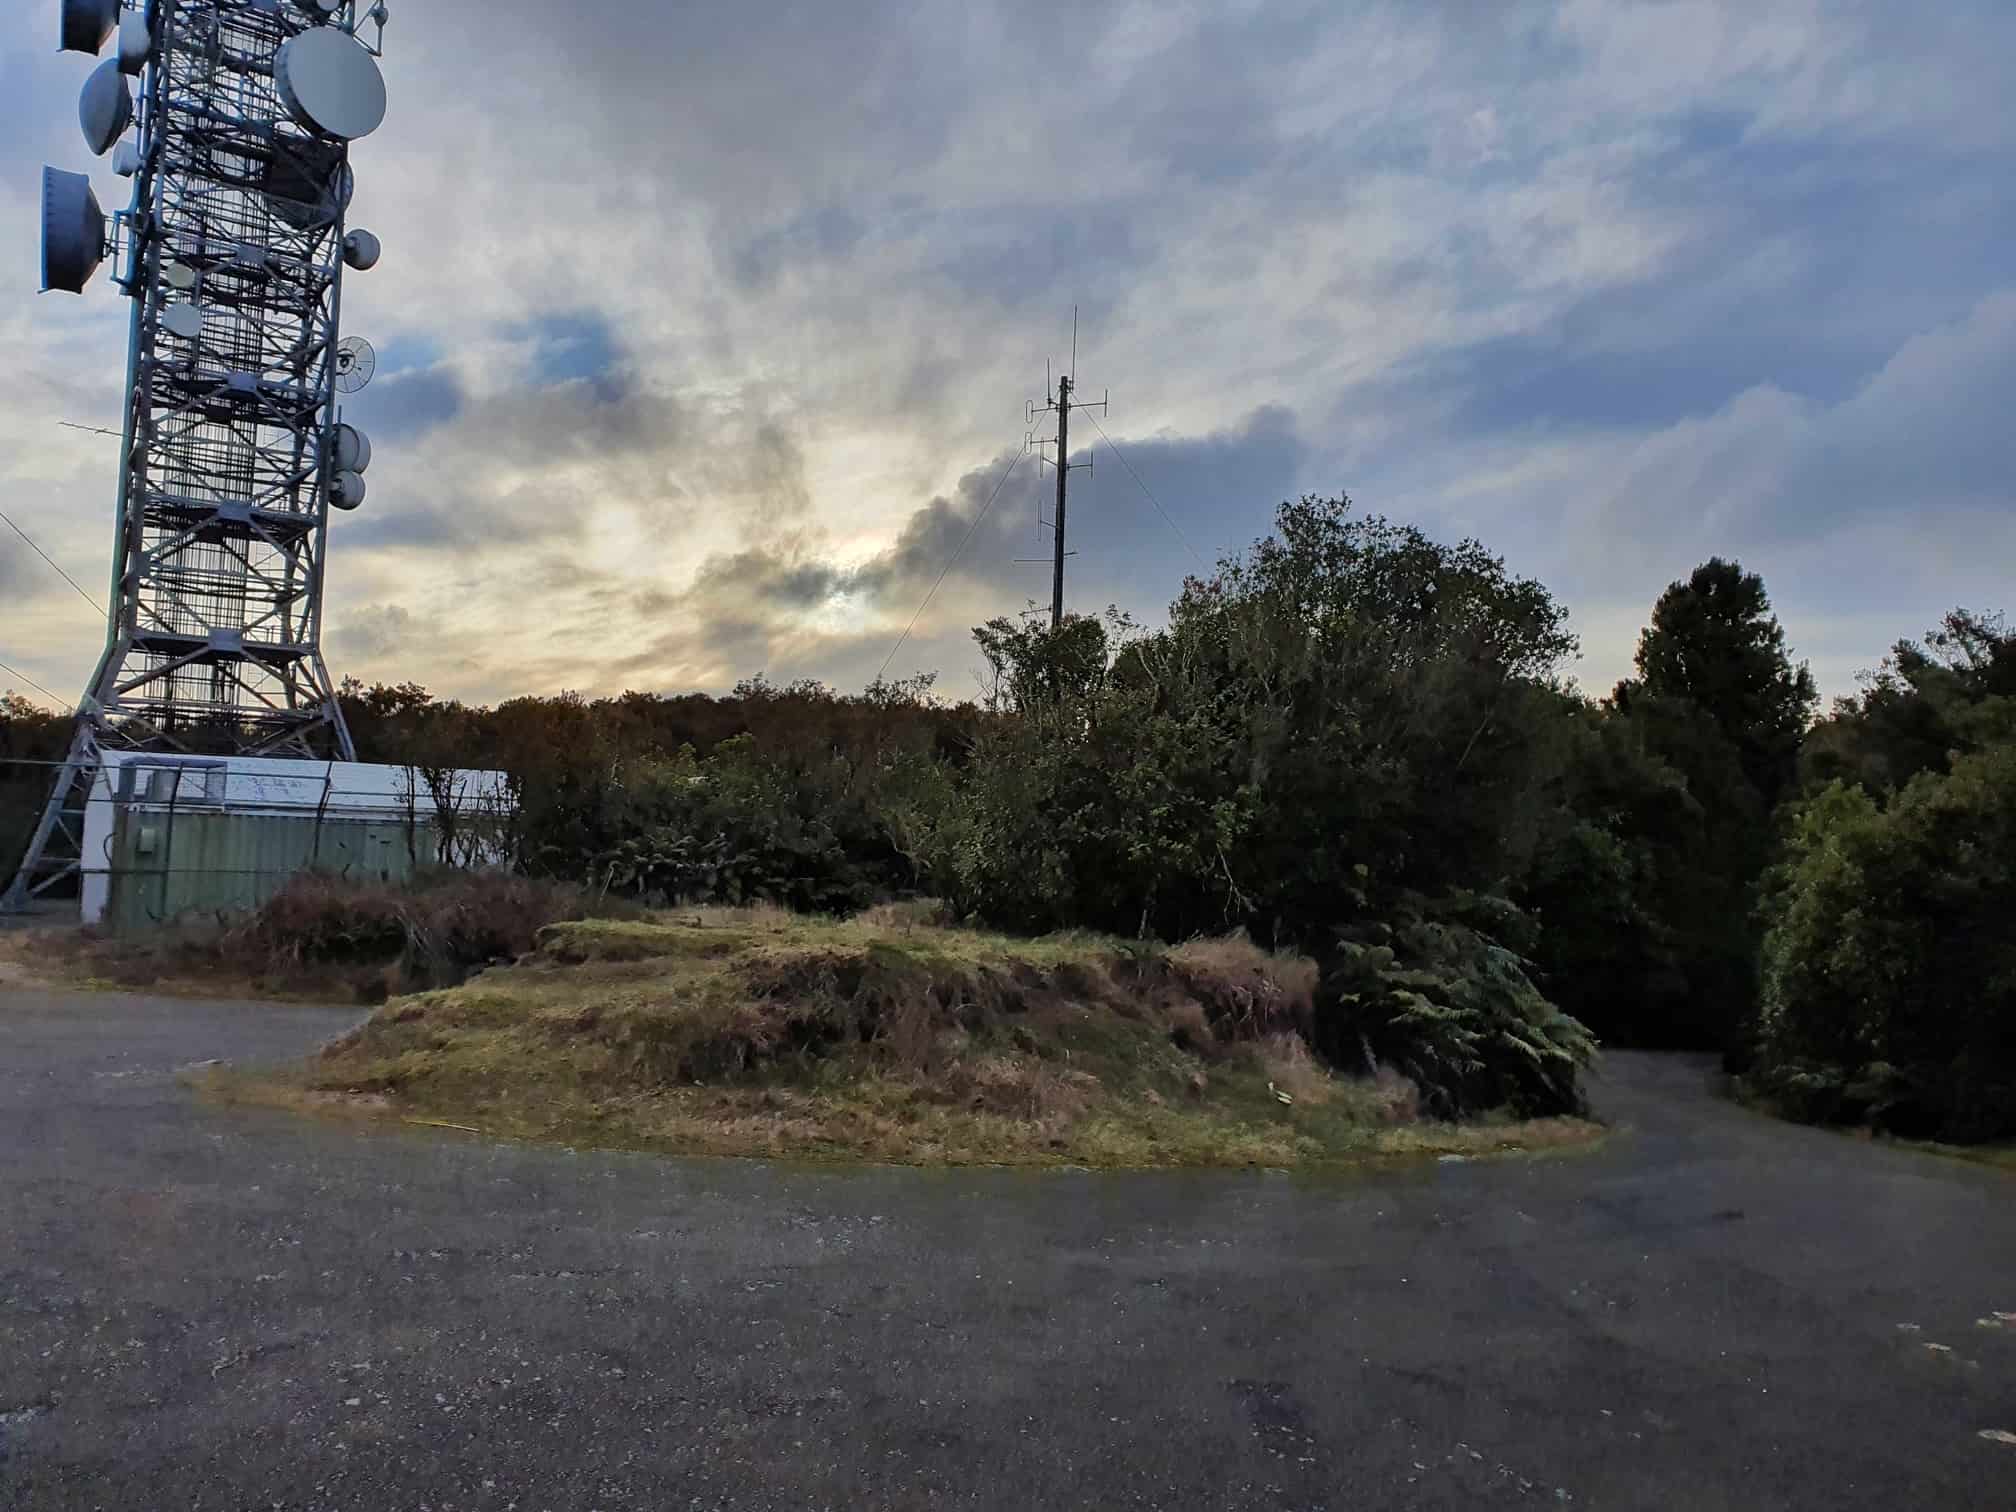
And in 200 metres you’ll reach the summit where there’s some kind of power station. I was secretly hoping there was a vantage point somewhere, but no such luck. And here’s the summit…
It was time to head back the way you came. Don’t do what I did and miss the turnoff back into the bush leaving you to trudge back up the hill to the turnoff 🙂
Coming back down, you could take a detour on the way back via a section of the nature loop if you’d like. Make sure not to rush too fast coming down, as some of the roots are super slippery.
So the walk itself is pretty sweet with plenty of native bush. The lack of view though, gutted.
If you’ve got any thoughts on this walk, let me know in the comments below or email me jub@churnewzealand.com
Chur.
p.s. Here’s a map of all the hikes documented on Chur New Zealand. You can click the icon to see brief details, as well as a link to read more about the hike (like this post).
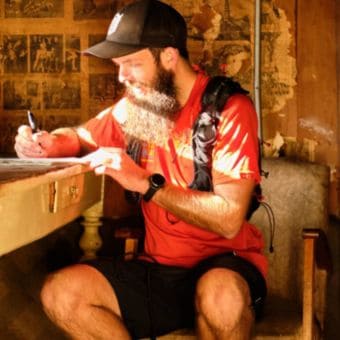
Hey, it’s Jub here. I’m the guy behind Chur New Zealand, helping you have the best time hiking, trekking, walking…whatever you want to call it…in NZ. I’m based in Queenstown and am always out and about exploring trails, old & new. If you have any questions, reach out.