Gunsight Pass (Canterbury) is not for the faint-hearted, with a steep climb and descent of a small pass with peaks towering either side. It goes good though, and the feeling of accomplishment afterward can’t be beat.
This post will give you all the details you need to know about hiking Gunsight Pass which connects the two Temple Valley Tracks in Ruataniwha Conservation Park near Lake Ohau.
TABLE OF CONTENTS
1. Details About Gunsight Pass
2. Gunsight Pass Map
3. How To Get There
4. My Gunsight Pass Experience
5. More Photos
1. DETAILS ABOUT GUNSIGHT PASS
- QUICK DETAILS:
- Distance: ~23 – 24km
- Elevation gain: ~1400 metres
- Difficulty: Hard, experience required.
- Download the GPX File here
How hard is hiking Gunsight Pass?
The pass itself is hard. It’s a steep climb up (potentially the steepest 1km I’ve hiked) to the pass with unstable terrain, and potential rockfall. The North Temple and South Temple Tracks aren’t difficult, but it’s just the pass and getting to South Temple Track that’s the hard part.
What distance is the Gunsight Pass track?
The full loop is in the 23 – 24km range.
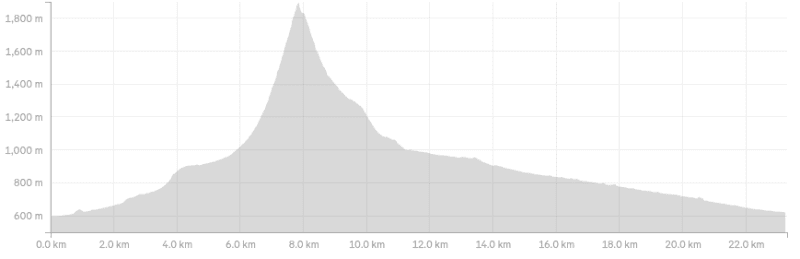
What is the elevation gain of Gunsight Pass Loop?
My watch measured 1,390 metres of elevation which seems to be similar to what others have measured. The majority of that is in the couple of kilometres after you leave the North Temple Track and reach Gunsight Pass.
Here’s the elevation profile:
How long does it take to hike Gunsight Pass?
This is so hard to judge. If conditions are right and you’re very fit, you could do it in one day. But most people are going to do this over two days. If you do any side trips to the peaks, you could make it three days…or if you just want to take it easy.
What direction is best?
We saw people going in both directions, but for me, going up the steepest way made the most sense so we went anti-clockwise (on the North Temple Track first).
Where to camp on the Gunsight Pass loop?
Off course, you can bring your hut tickets and stay at South Temple Hut…but it seems that people camp in three spots while doing this trail:
1. The Cirque Basin at the end of the North Temple Track
2. A spot at the 1500 metre topo map mark on the south side of the pass
3. Alongside the Upper South Temple Track next to the bush
You could camp on the pass, but if it’s windy…I could think of lots of places I’d rather camp.
Best time to do the hike?
This hike is best done in late summer/early autumn, when all the snow/ice has melted from the pass and surrounding peaks. I’ve heard of friends doing it around Christmas time, but there’s potentially ice etc.
2. GUNSIGHT PASS MAP
The map below is the GPX file overlaid on a map from topomap.co.nz. If you click on the image below, it’ll open in a new window.
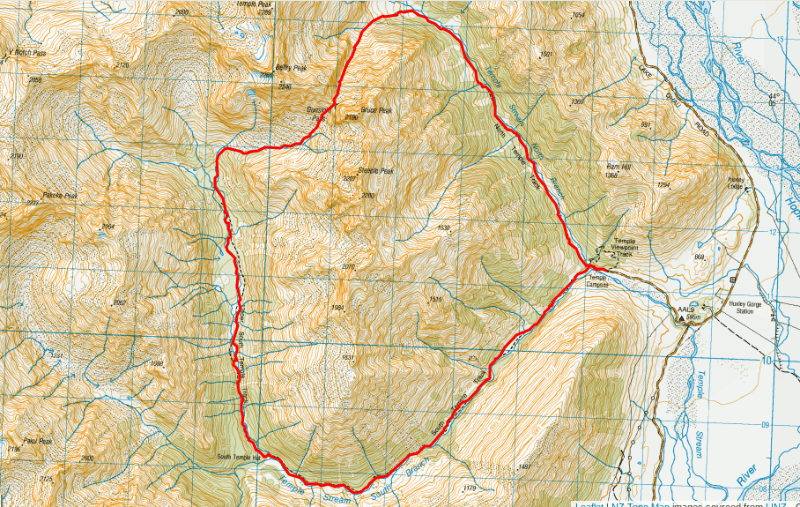
This is a track you’ll definitely want to have a good topo map app like NZTopo50 (paid – worth it).
3. HOW TO GET THERE
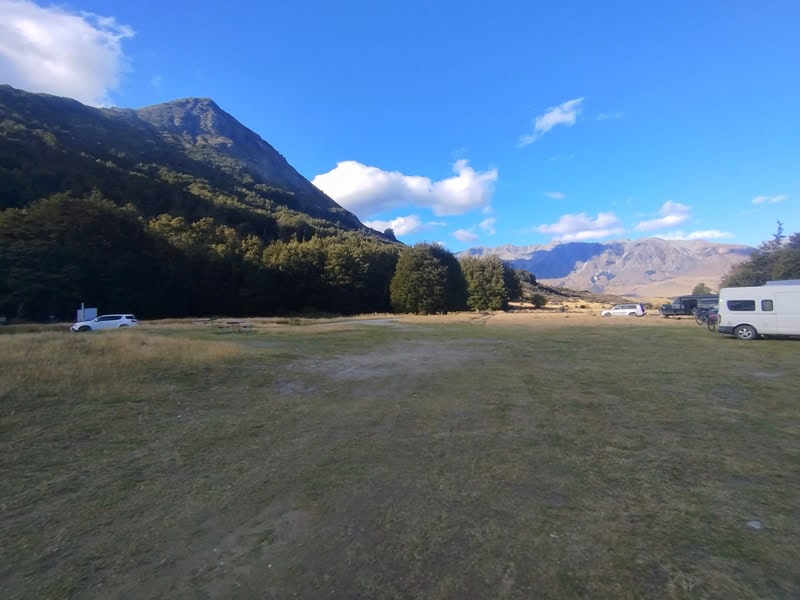
The starting point for the Gunsight Pass Loop is Temple Campsite (Google Maps link), which is a cool place to stay overnight.
You’ll have to have a car to get there realistically, with the road beyond Ohau Lodge soon turning to a gravel road. It was in good condition when we were there, and we did see cars of all shapes and sizes at the campsite.
Make sure to close any gates if they’re closed when you get to them.
Distance from a few nearby locations:
- Lake Ohau Village: 22km/~30 minutes
- Twizel: 53km/~55 minutes
- Wanaka: 167km/~2 hours & 20 minutes
- Lake Tekapo: 109km/~90 minutes
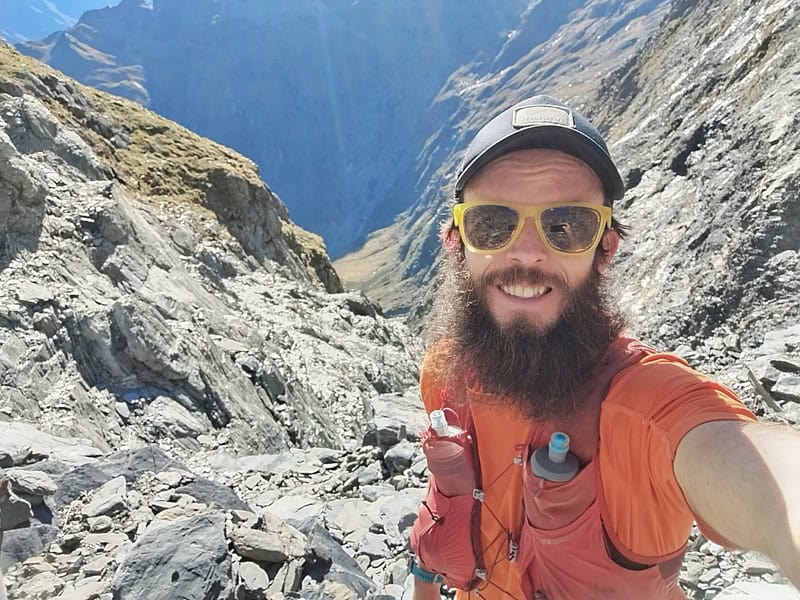
4. MY GUNSIGHT PASS EXPERIENCE
I’ve split this up into the four distinct sections of the loop.
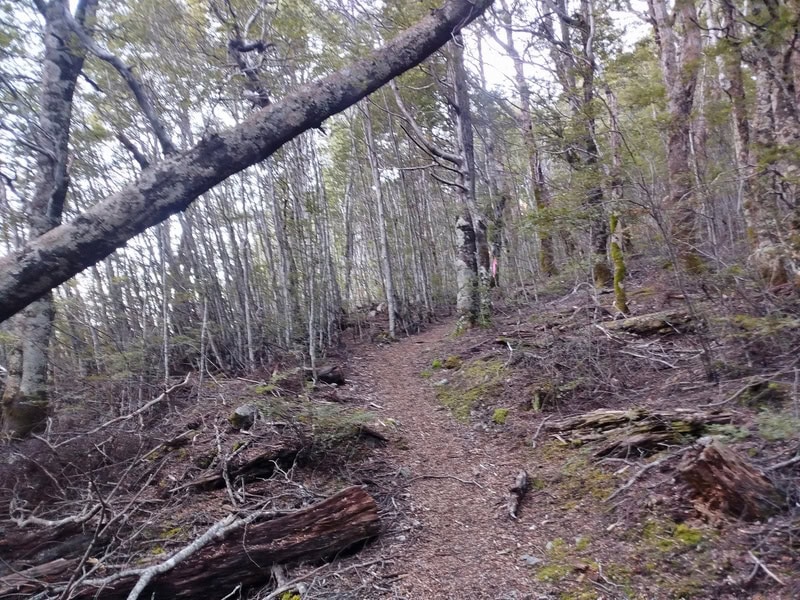
PART 1: NORTH TEMPLE TRACK (5KM)
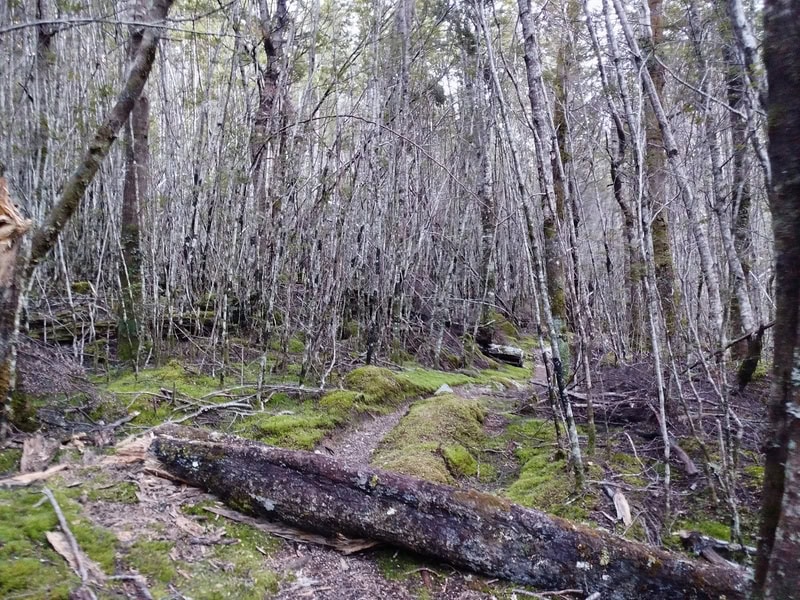
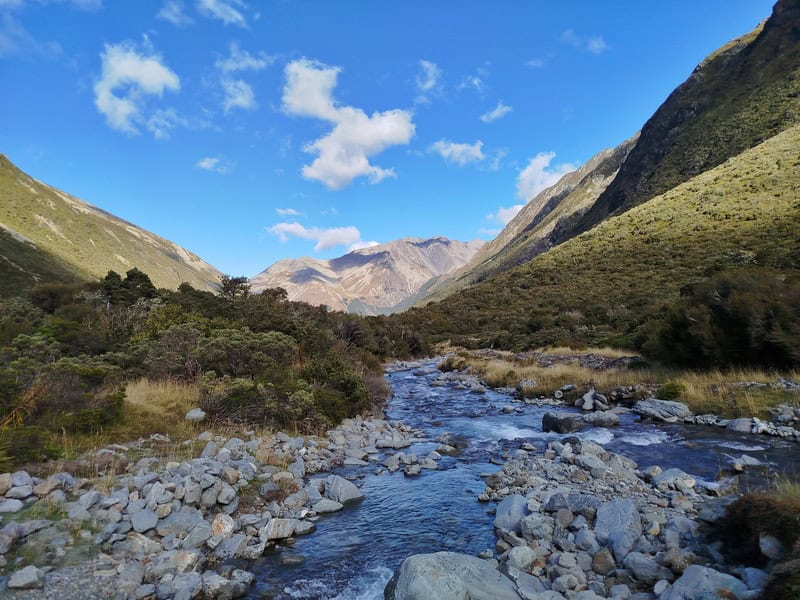
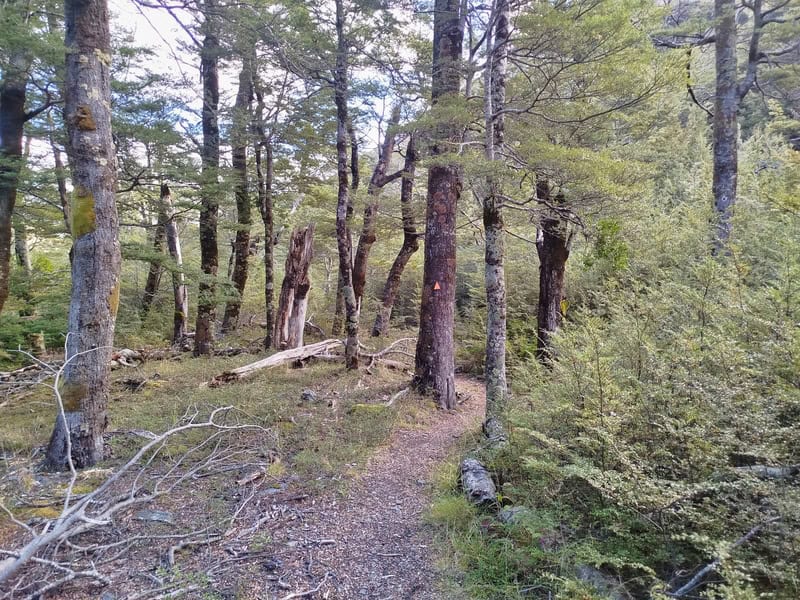
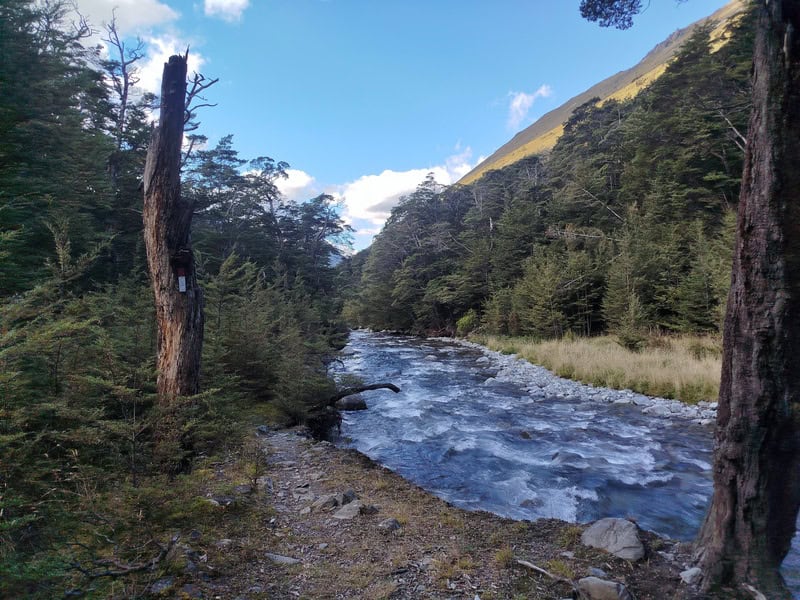
Starting from the campsite, it’s a nice wee stroll through to Temple Stream, which you could potentially keep your feet dry on…but no luck for me.
Turning right, it’s a beautiful wee track along through the forest with some gentle hills to get you warmed up. The stream will be in view at times, but it’s just generally a nice walk.
Once you emerge from the forest after about 5km the North Temple Track has finished.
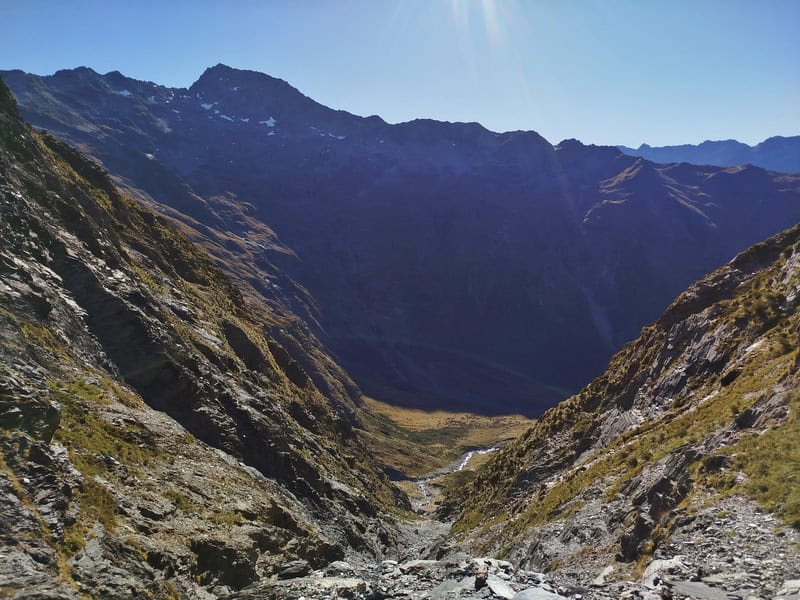
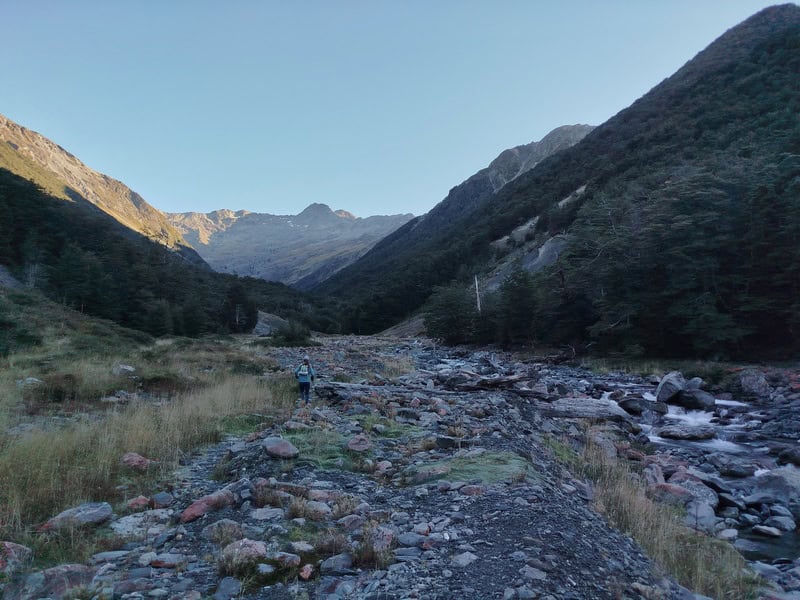
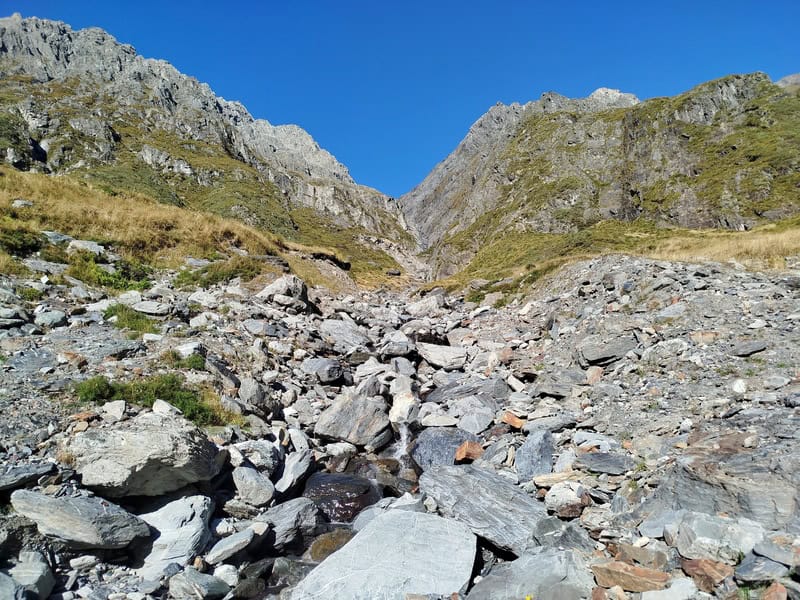
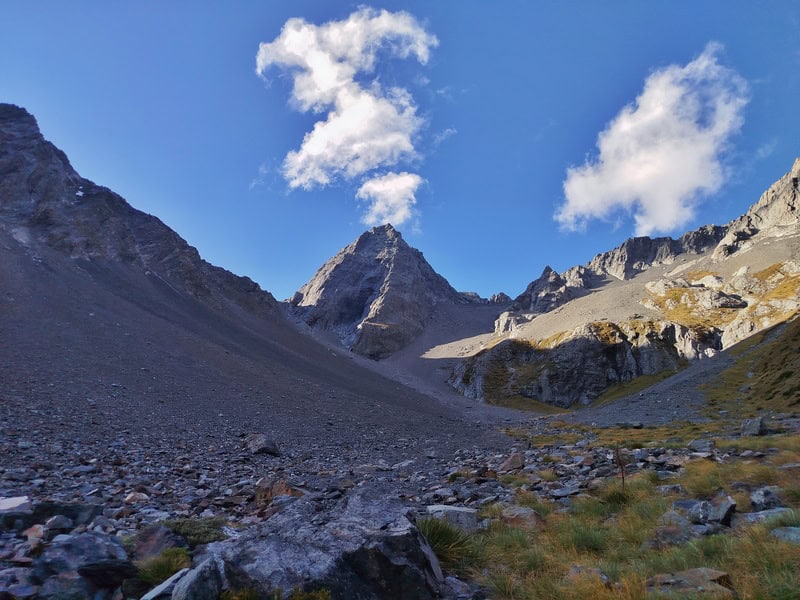
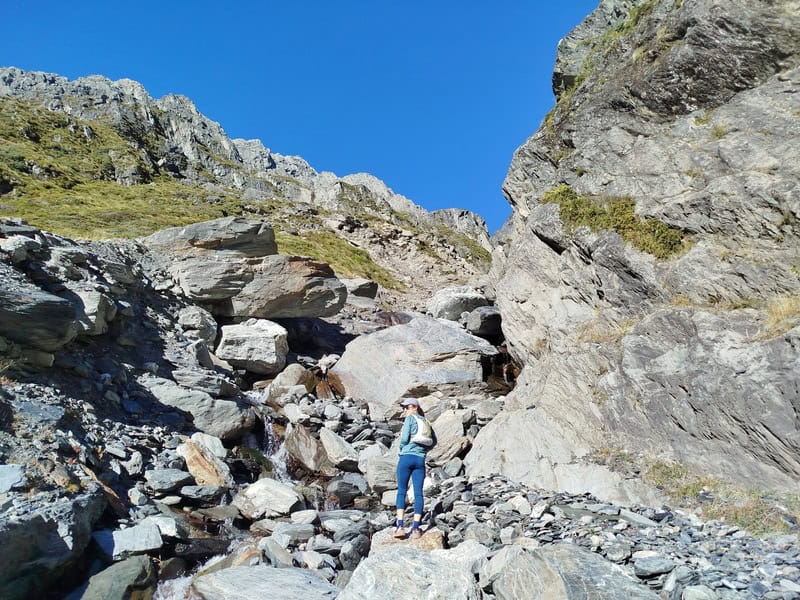
PART 2: UP GUNSIGHT PASS (2.8KM)
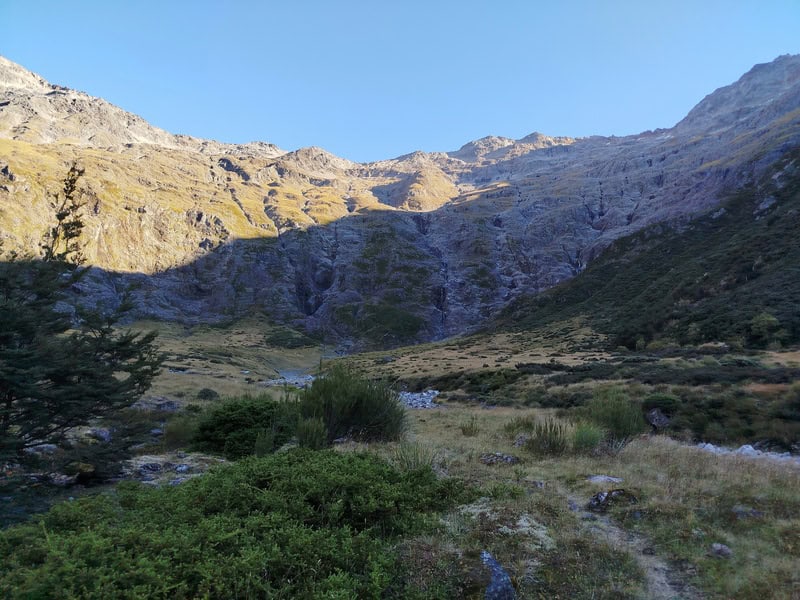
The cirque basin opens up and is stunning with steep walls surrounding you. As it takes a little bit of time until your route becomes clear, I was debating how it was going to be possible to get out!
There’s still remnants of a track that follows the stream once you’re in the basin, but it does fizzle out regularly. There was the occasional cairn.
It’s easy enough to follow the river bed to start with…sometimes we popped up into the tussocks on the side of the stream. It was about 1km after leaving the North Temple Track until the track started going up, up.
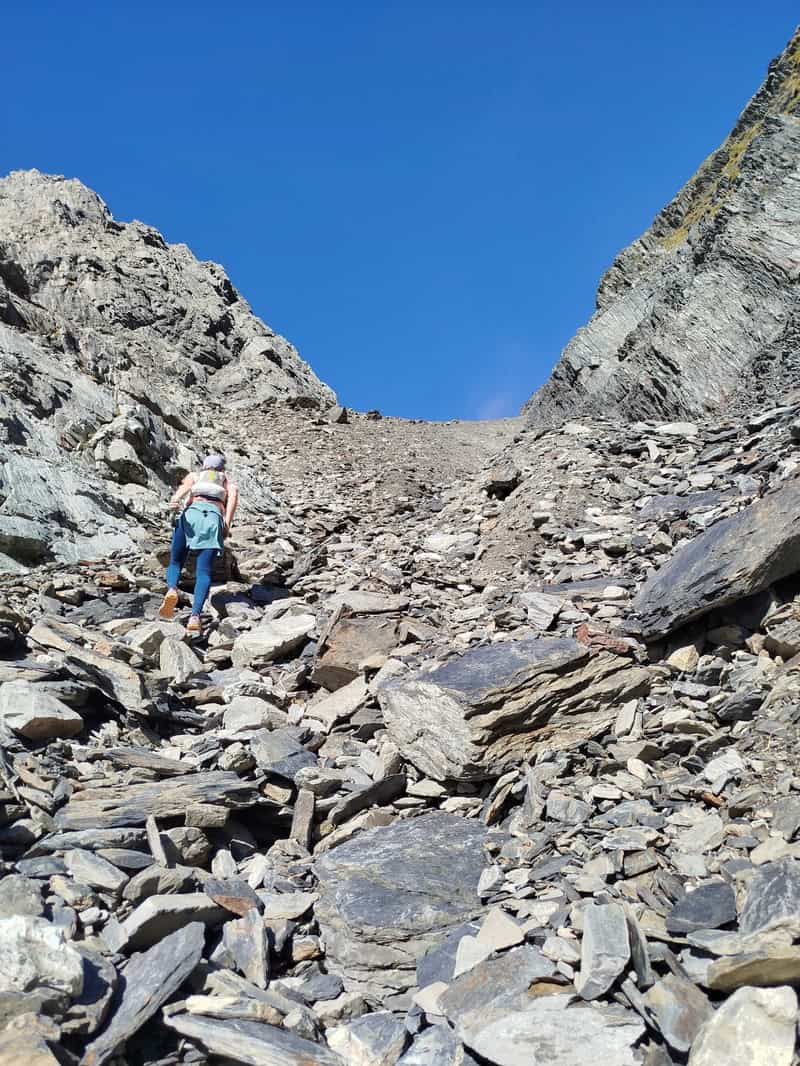
The stream had by now petered out into a small trickle, and the tussocks were long gone. The climb got steep fast, and while there was some short sections of trail from time to time. It was more or less a choose your own adventure though, with my friend and I often taking slightly different lines pending what looked better to our own eye. We were careful to not kick rocks down to whoever was below.
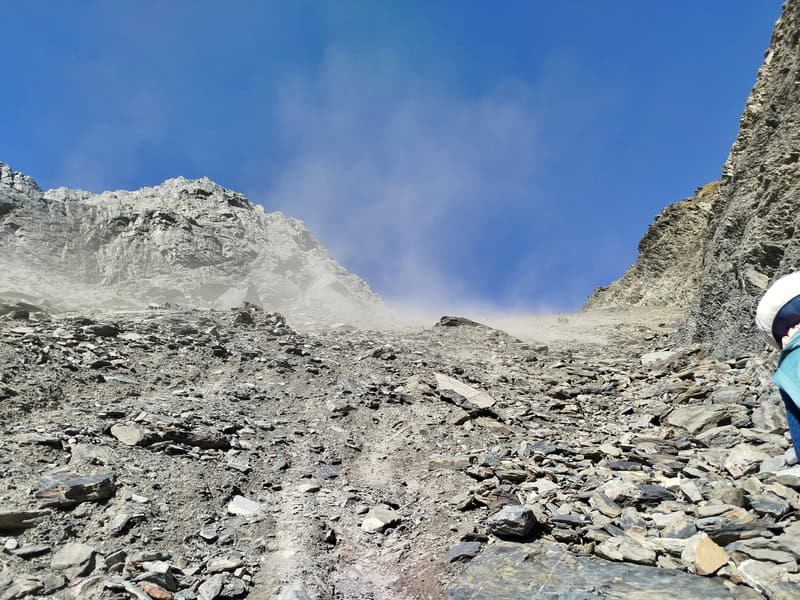
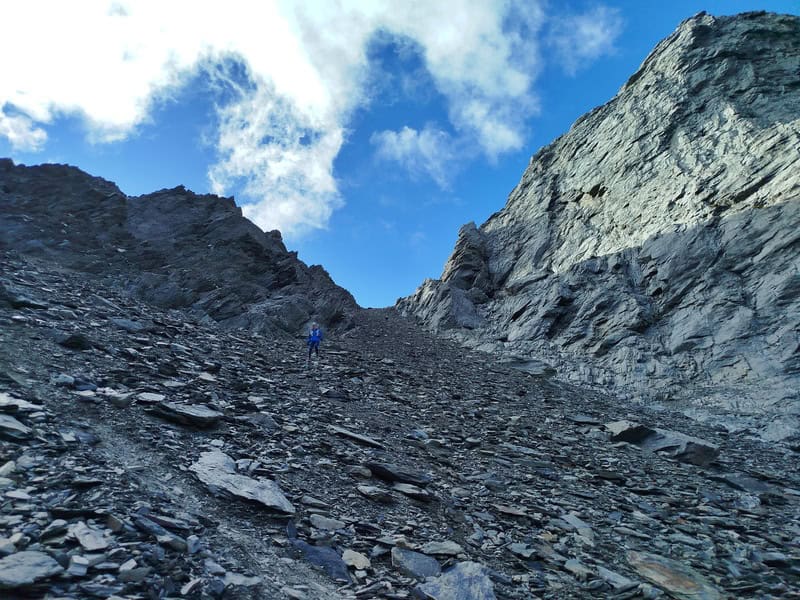
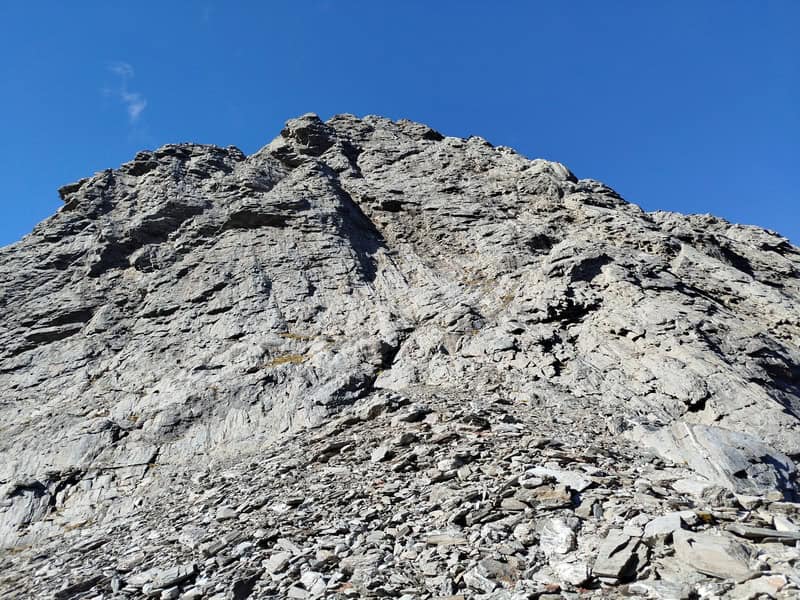
The rock was pretty cruisey, it certainly wasn’t big boulders like we thought it was going to be. Towards the top, we had some dust cloud coming down towards us (and it was a generally pretty calm day), which meant some small stones came down at us. If it was super windy, I’d want a helmet in case any bigger rocks coming down (we didn’t think about this, mistake).

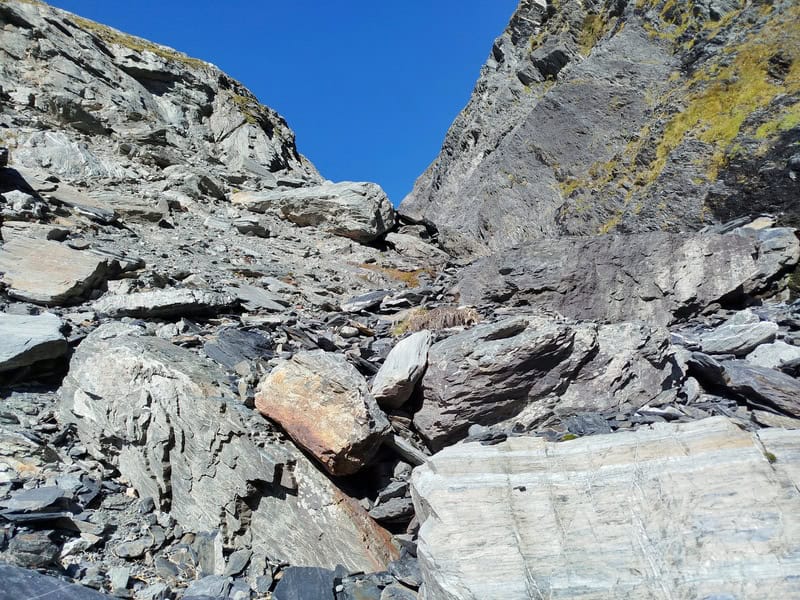
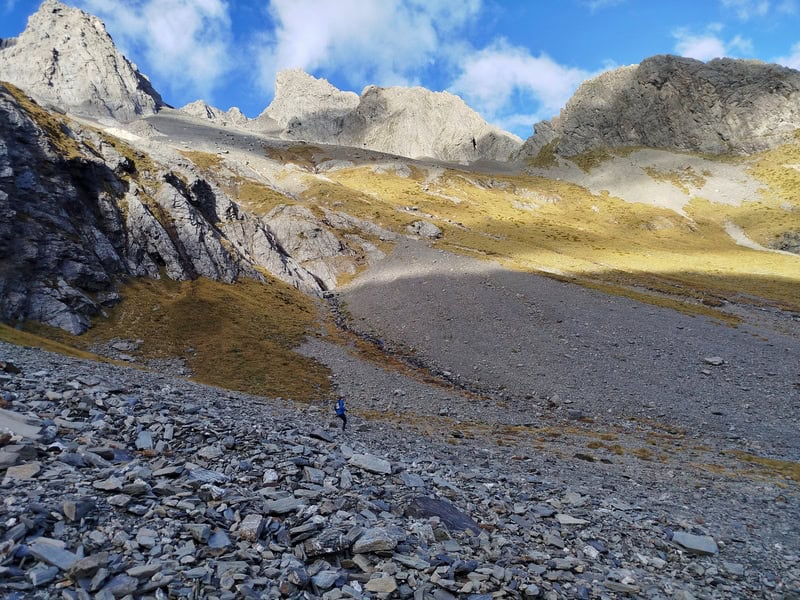
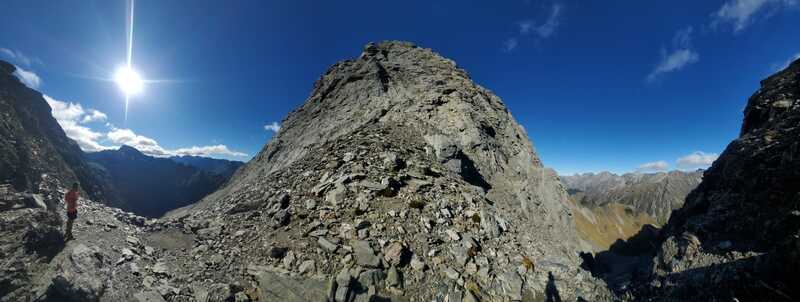
The pass took a long time to come into view, but with less than 100 metres to go it does open up a bit with boulders giving way to scree. We hugged the right-hand side of the trail where we found what was the most traction.
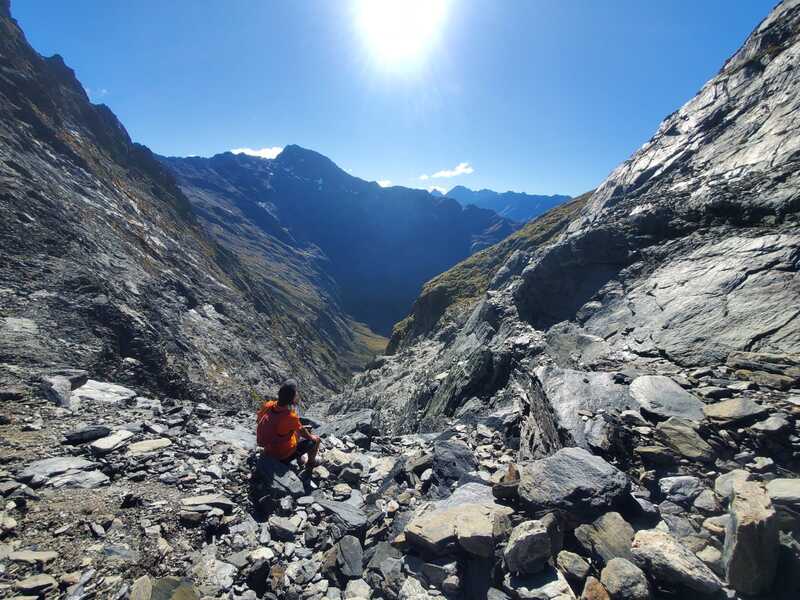
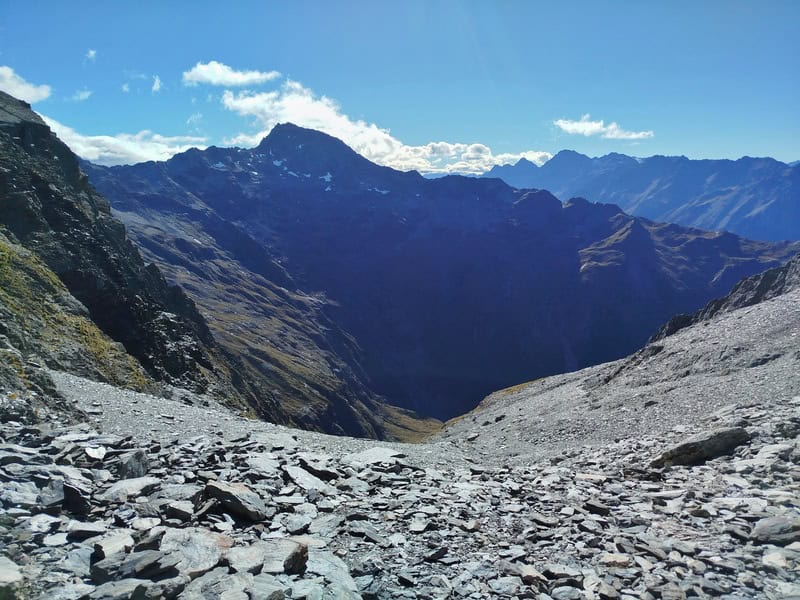
The views from the pass? Worth it. We found a beautiful we spot in the sun just on the North side of the pass that was somehow getting no wind. Stunning.
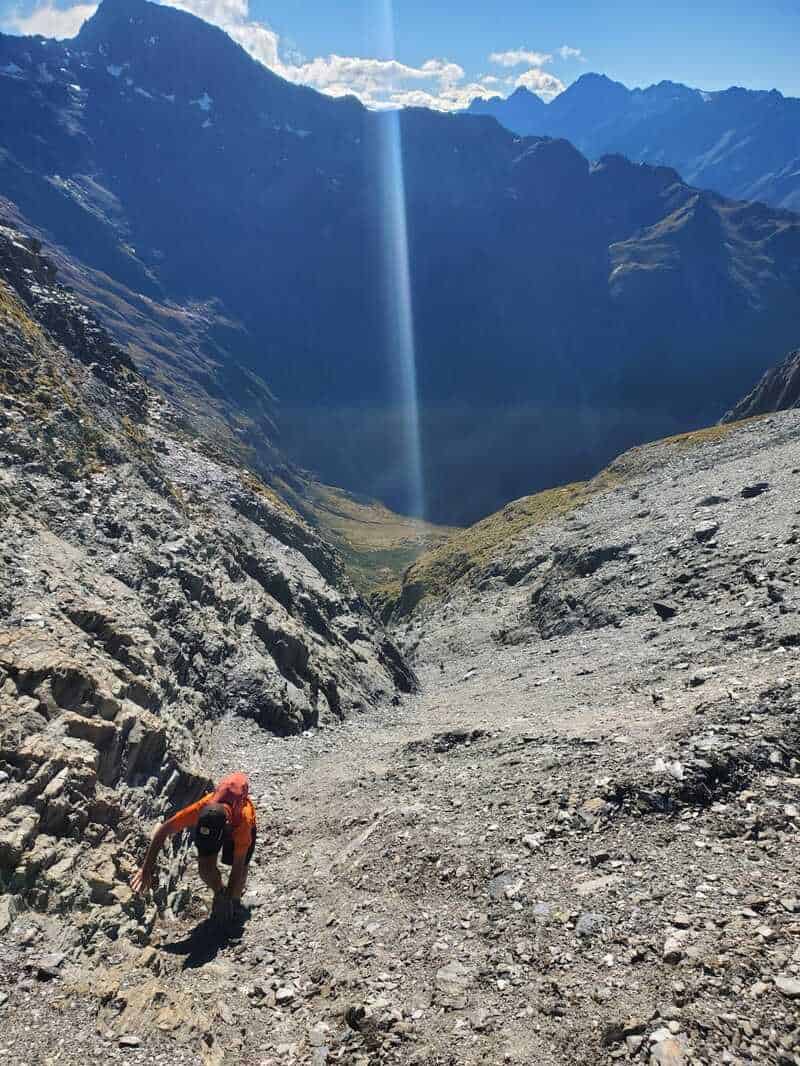
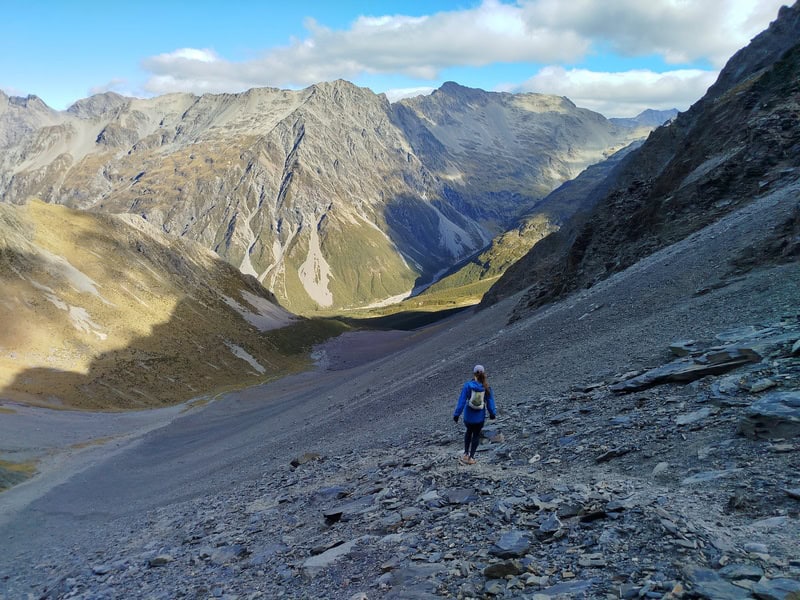
PART 3: DOWN GUNSIGHT PASS TO SOUTH TEMPLE HUT (8KM)
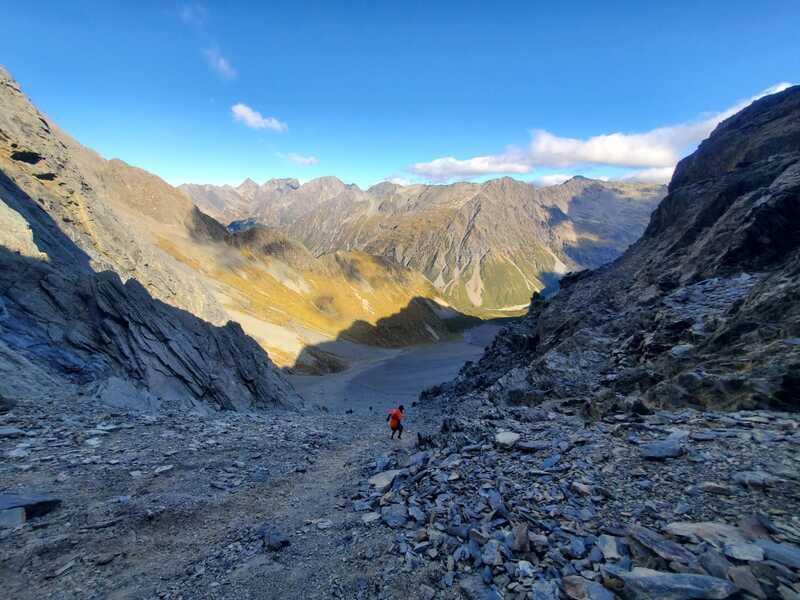
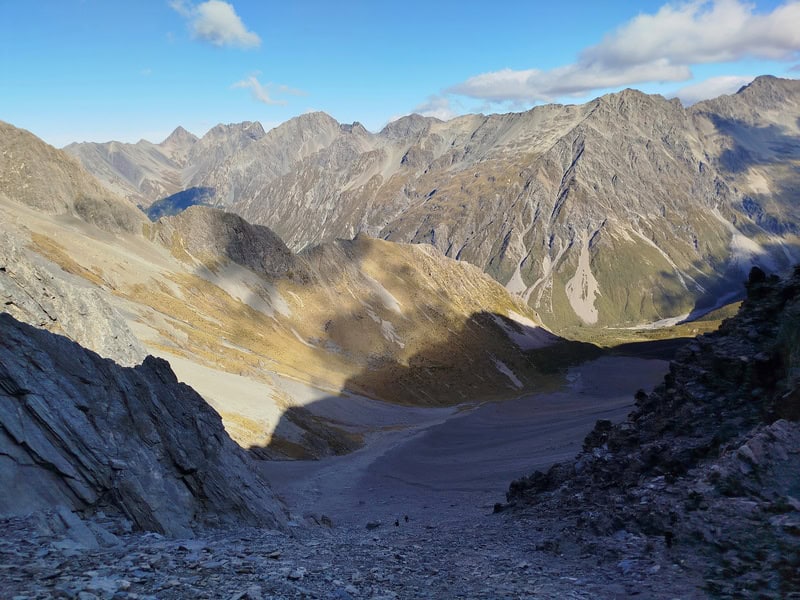
The descent is pretty intimidating but there was enough of a track that had been made from other hikers to make it clear which way was a good way to go down. The start is the steepest, but there’s just enough traction to pick your way down the first 100 metres or so. It was super dry when we were there, a little bit of moisture (but not too much 😛 ) in the ground might have helped traction maybe? There was no ice though, that’s what I was mainly worried about.
After the first 100 metres, the slope starts to ease off little by little as you make your way into the valley. Do be mindful of people below you as you could knock a rock or two below them. Which brings me onto helmets. In hindsight, we should have had them for the pass I think? On our way down, some rocks (not massive but enough to inflict damage) were blown off the top of the mountain in our direction and pummeled down into the valley below. It kept us moving and on alert.
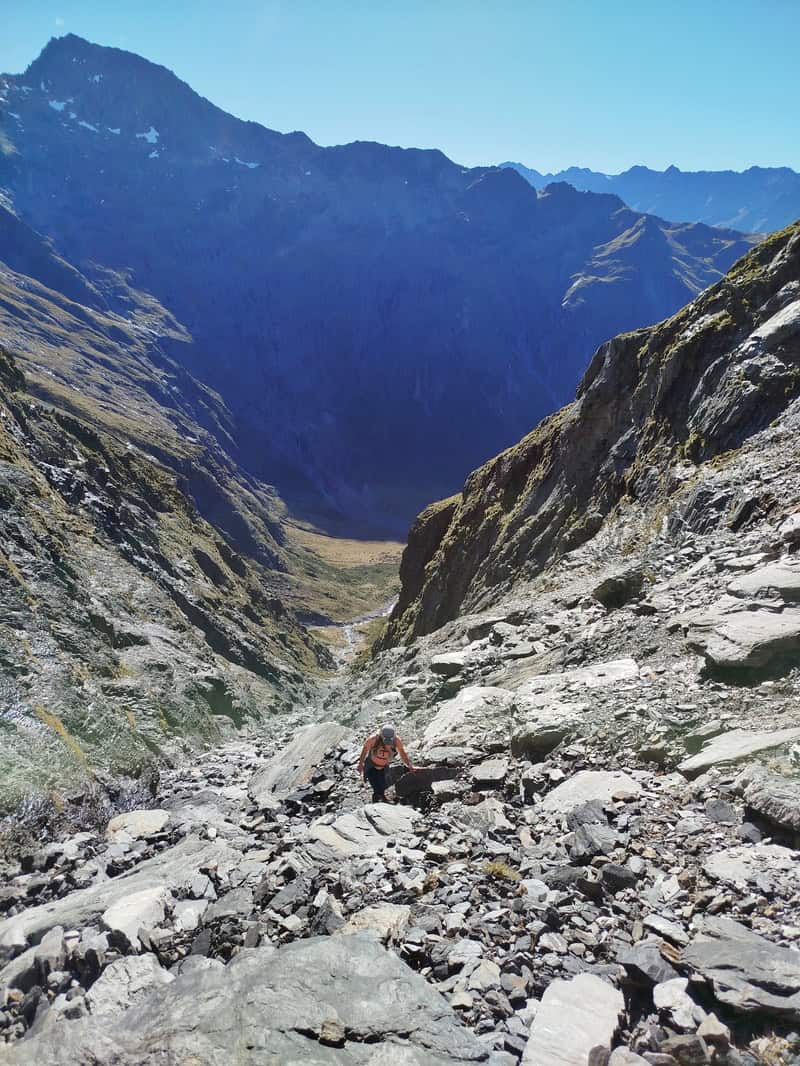
Make sure to look behind where you came from as it’s pretty cool looking back up.
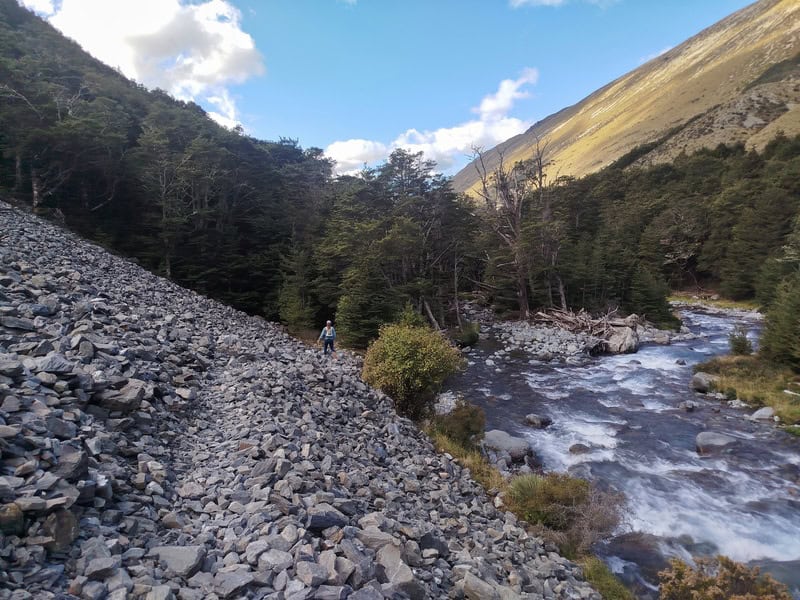
Once you get into the valley, you’ll eventually find yourself boulder hopping (I’m glad none of these decided to come hurtling towards us).
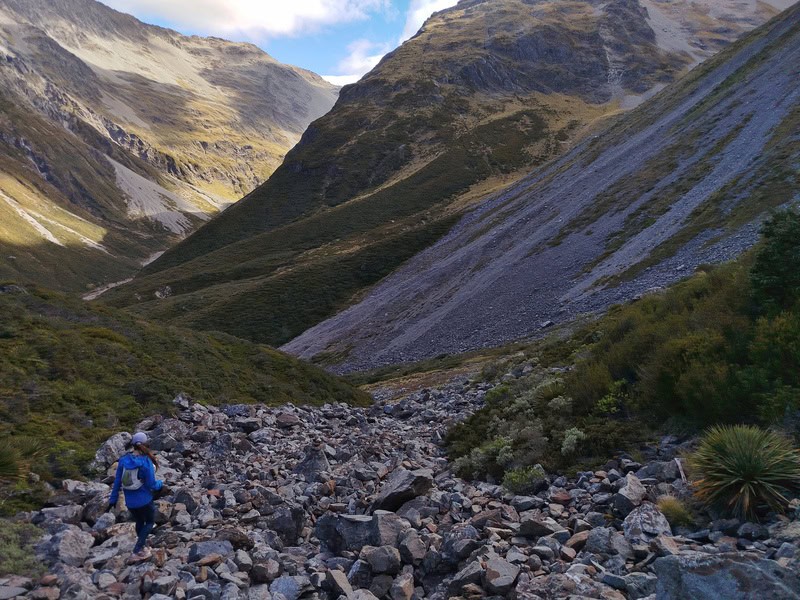
The views are pretty cool through here, but we were on the look out for the ‘bush bash’ section of the trail. We’d heard about this from multiple people before and on the track. We had to make sure we found these pink ribbons to make our life easier.
It turns out it was a lot easier than expected to find. The reason it was crucial for this is to minimize the bush bash to find the Upper South Temple Track. The bush bash only took a minute or so, and once we were on the track it was easier to follow than we expected. The odd ribbon and cairn was handy when you’re by the river, but other than one particular plant poking me on the overgrown trail…it was steady (not fast) going.
The only tricky spot was a little less than 2km before the Hut when we had to cross the stream. We might have missed an easier spot to cross, but once we were across (wasn’t so bad afterall…the water was just flowing faster than we’d seen previously) it was again back on the track with the odd wee bush bash as we closed in on South Temple Hut.
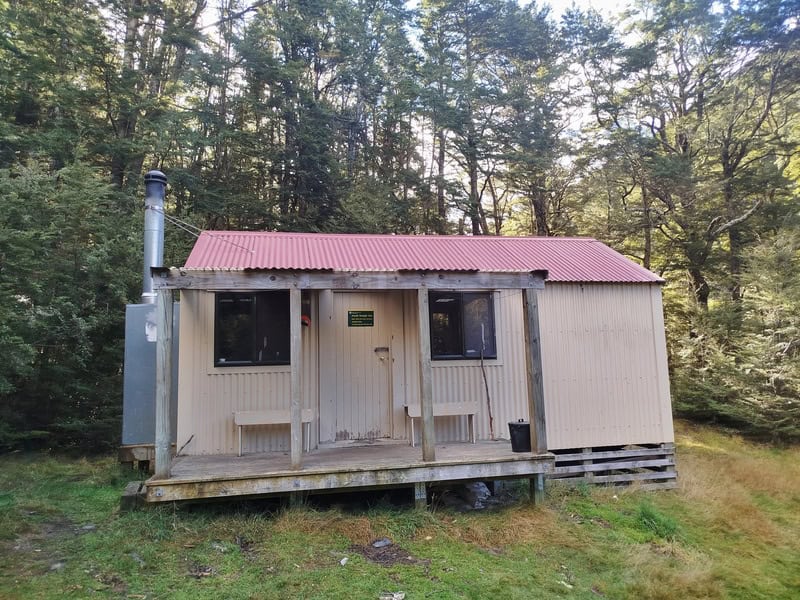
What a cool hut spot! I’ll be back to stay here sometime…we didn’t stay long once the sandflies had found us.
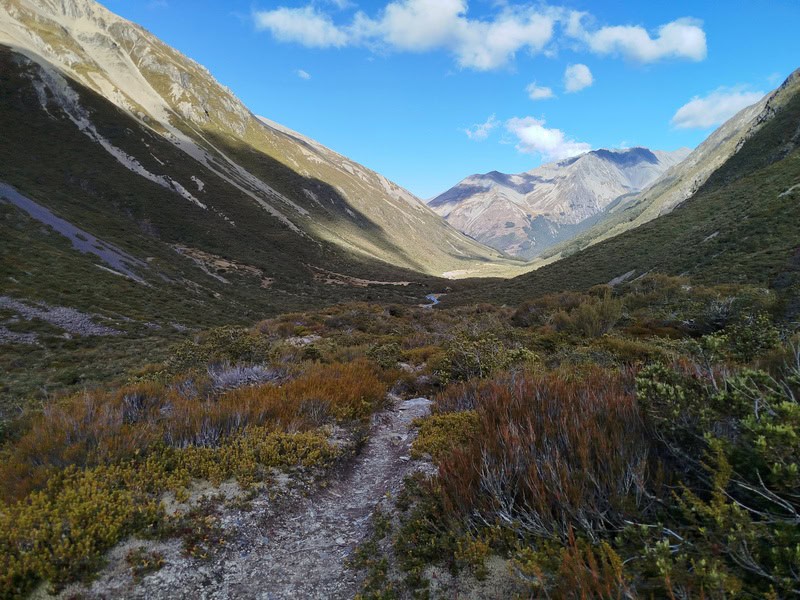
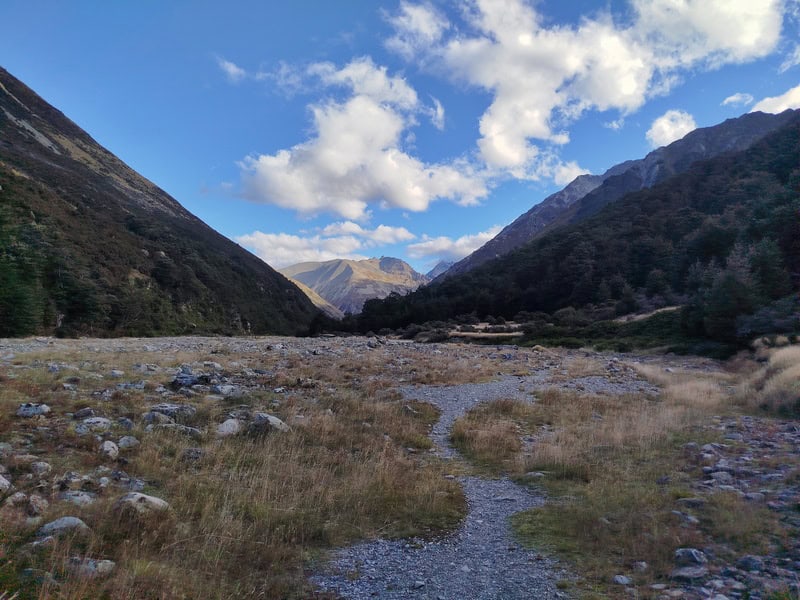
PART 4: SOUTH TEMPLE TRACK (~7.4KM)
Shortly after leaving the Hut you cross back over the stream and the track is certainly much easier to follow from here on out. It was nice to be back in the forest of Ruataniwha Conservation Park.
It’s interesting to see DOC still rate it an advanced tramping track.
There were quite a few going up here for a day hike which was cool to see.
The track does cross some sections where parts of the mountain have given way deposited rocks, but there’s a path built over them. And once you’re on the open river flats you’re nearly home as you get back to the junction where the North and South Temple Tracks veer off.
How good!
If you’ve got any questions or comments about hiking Gunsight Pass, let me know in the comments below or email jub@churnewzealand.com.
p.s. Here’s a map of all the hikes documented on Chur New Zealand. You can click the icon to see brief details, as well as a link to read more about the hike (like this post). If you’re looking for another awesome hike near Lake Ohau, check out Dumb-Bell Lake.
5. MORE PHOTOS


Hey, it’s Jub here. I’m the guy behind Chur New Zealand, helping you have the best time hiking, trekking, walking…whatever you want to call it…in NZ. I’m based in Queenstown and am always out and about exploring trails, old & new. If you have any questions, reach out.